Design-Driven Living Room Wall Decor for a Distinctive Home
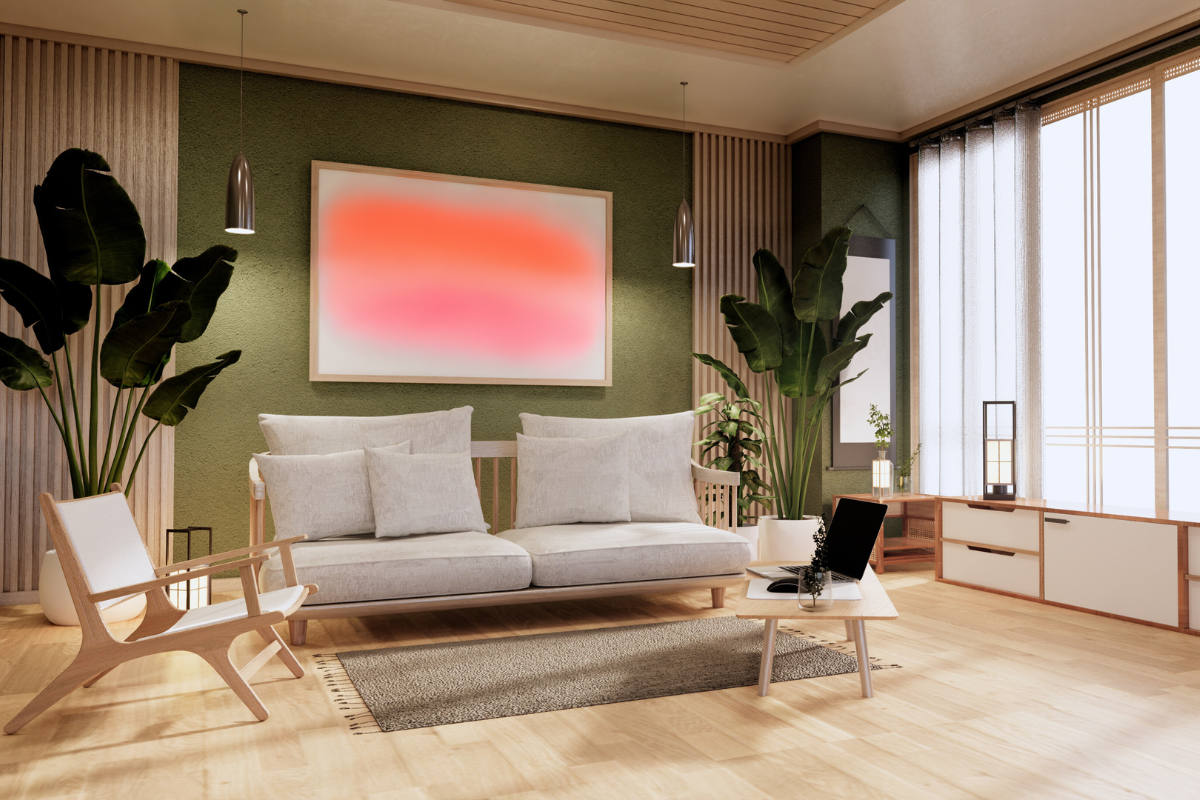
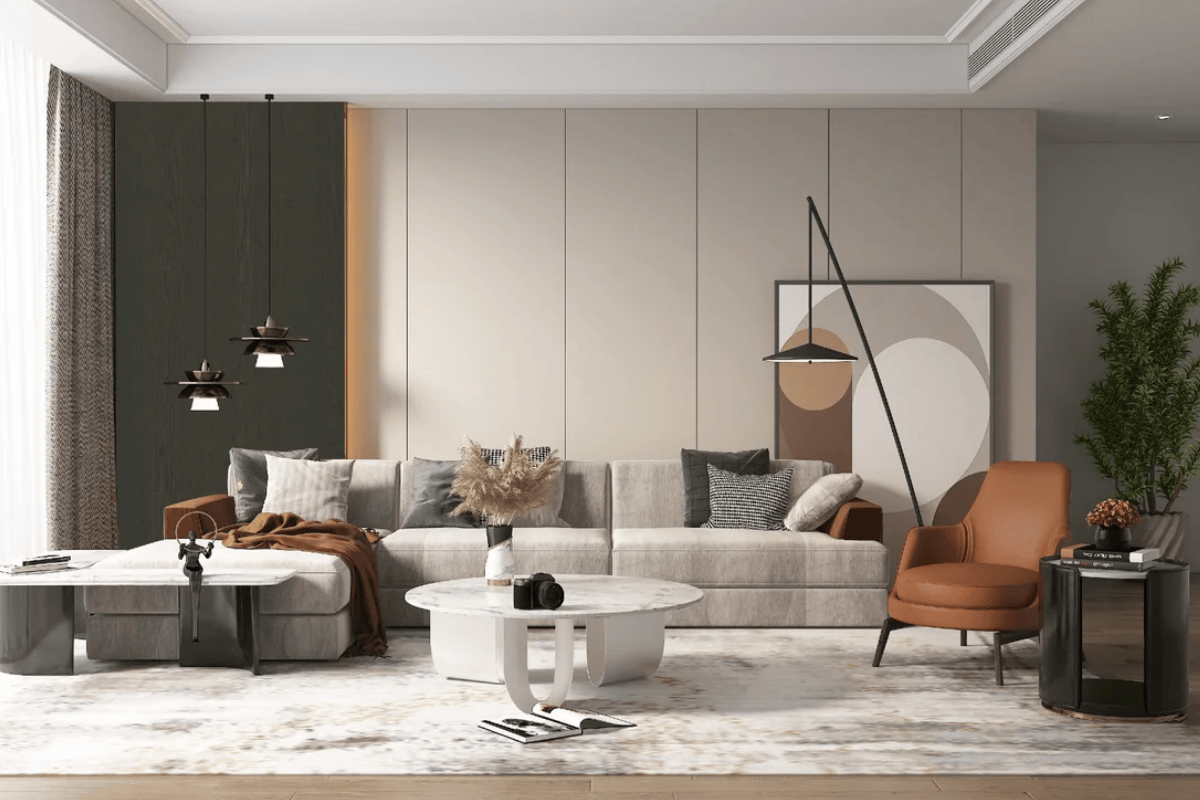
Living-room wall decor works best when the room has a clear focal point and a limited set of finishes. Start with the sofa, television, windows and circulation, then choose the wall treatment that supports that arrangement. A panelled feature wall, a large artwork or a carefully placed mirror can each anchor the room without covering every surface.
This guide combines general styling ideas with practical ways to plan wall panels. Decorative examples do not establish that every pictured accessory is available from USA Builders Depot.
1. Choose the wall that should lead the room
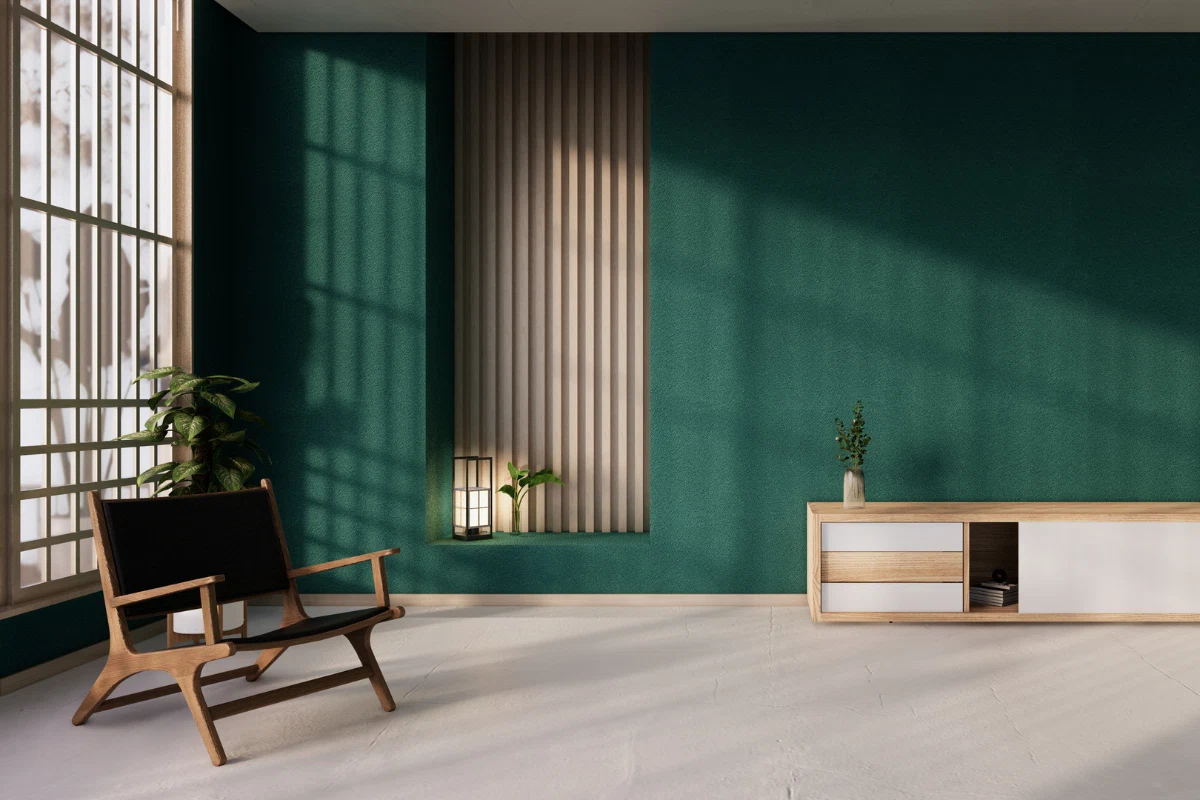
Look at the room from its entrance and main seating positions. Decide whether the wall behind the sofa, the television wall or another architectural feature should draw attention first. Use furniture dimensions to establish the scale of a panelled area or artwork before buying.
Mark the proposed treatment with removable tape and review it from across the room. In a compact living room, a defined area may create a clearer composition than several competing accent walls. In a larger space, repeat a color or material elsewhere to connect the focal wall to the rest of the room.
2. Compare panels by appearance and intended use
Browse our wall panel collection, then check the exact product’s dimensions, construction, finish and installation instructions. Similar-looking panels may require different accessories or attachment methods. Do not assume a decorative panel is suitable for damp locations or exposure to heat.
| Design direction | What to compare |
|---|---|
| Natural veneer | Grain variation, color, sheen and the finish of matching corners and exposed edges. |
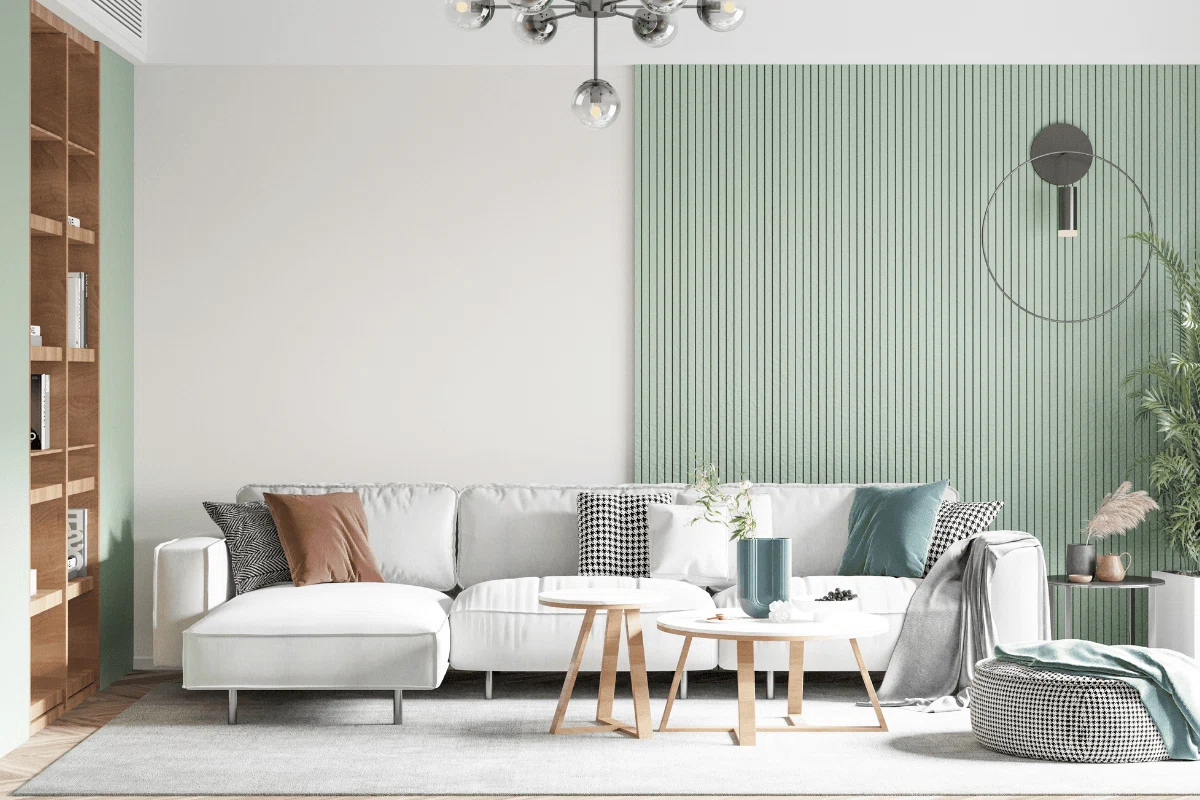
| Fluted or slatted panels | Groove spacing, orientation, pattern alignment and how the surface meets outlets or adjoining walls. |
| Acoustic panels | Slat and backing colors, edge details, installation system and any documented acoustic performance needed for the room. |
| Painted wall with art or a mirror | Proportion, reflected views, mounting requirements and coordination with existing furniture. |
Review samples alongside the floor, upholstery and cabinetry in daylight and evening lighting. Choose a deliberate relationship between wood tones rather than relying on screen images for an exact match. Acoustic treatment and sound isolation are different goals; do not select a panel on the assumption that it will stop sound passing between rooms.
3. Plan the television wall before installing panels
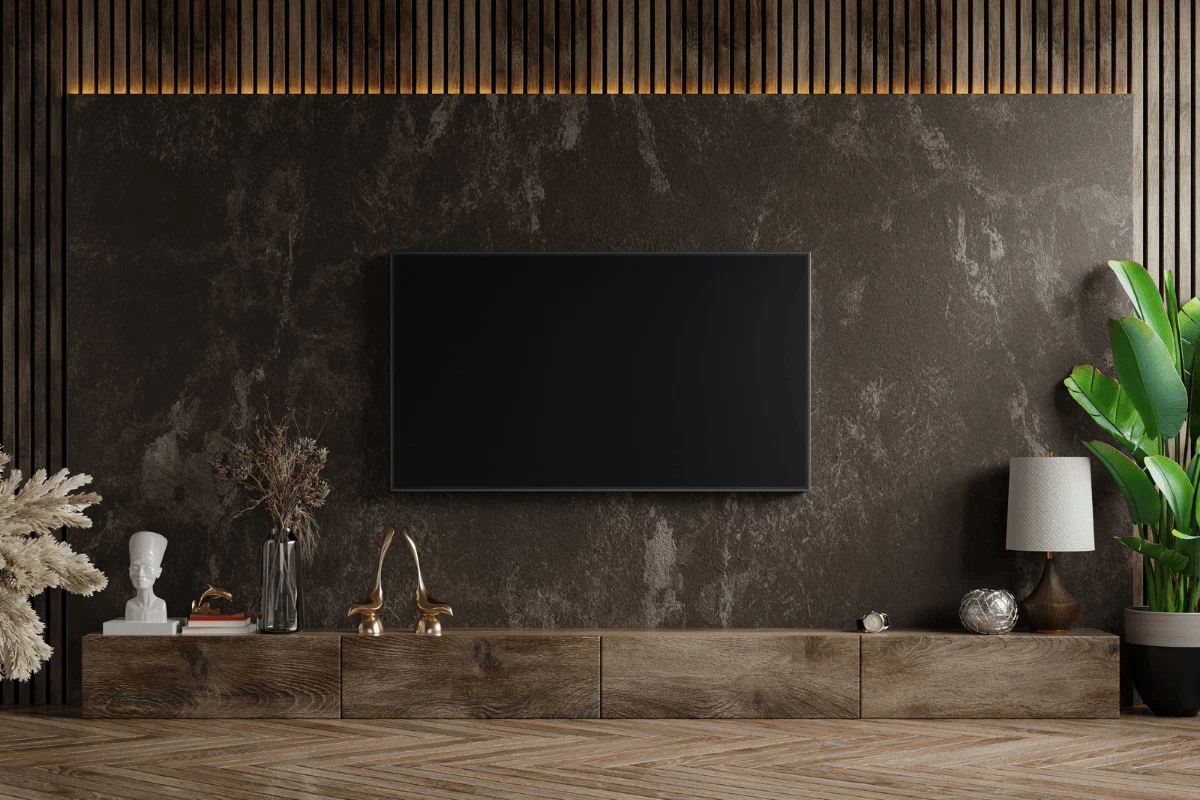
Draw the television, media unit, panel boundaries and any shelves together. Coordinate cable routes, power points and access to equipment before the finish goes on. Check the television and mounting-system requirements, including ventilation and service access.
Confirm how the television, shelving and other mounted items will be supported by the wall. Decorative panels should not be assumed to provide the required structural fixing. Have the installer resolve supports and penetrations as part of the layout, then choose trims that finish visible panel edges neatly.
4. Use art, mirrors and lighting to balance texture
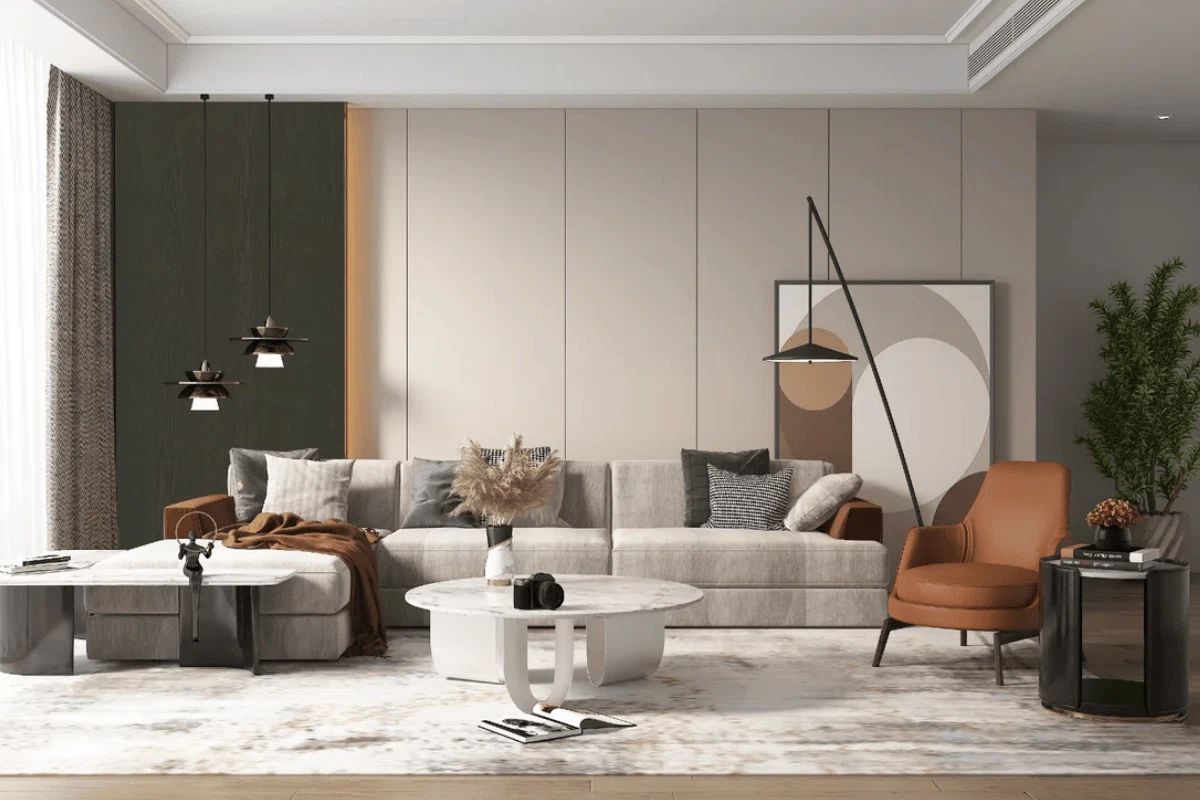
A textured wall can benefit from simpler artwork and fewer competing patterns. On a plain wall, a larger artwork or a considered arrangement of smaller pieces can provide the detail. Lay out a gallery arrangement on the floor first, and compare its overall width with the furniture beneath it.
Position mirrors around the view they reflect, not only the empty space they fill. When choosing lighting, compare fixture dimensions, finish and intended mounting location. Test how light falls across grooves or wood grain. If the design includes separate LED channels, confirm the components and electrical work rather than assuming lighting is included with a panel.
5. Include edges, corners and quantities in the order
Measure the wall and draw panel joints before calculating quantities. Include cuts around openings, the chosen orientation and installer-recommended allowance. List every exposed edge and corner so accessories are ordered with the panels.
For natural veneer projects, review the natural veneered corner trim collection and confirm the matching finish. For Luxury Acoustic Wall Panel in White Oak & Grey Felt, the specified companion is the Classic Oak End Slat. Check compatibility for other panel selections rather than treating one trim as universal.
6. Confirm the finish, installation and care plan
Before ordering, confirm the exact panel, finish, quantity, accessories, availability, delivery charges and return terms. Ask the installer to review the substrate and attachment method. Keep the product’s care guidance and use compatible cleaning products; a cleaning method suitable for one finish may not suit another.
For help coordinating your selections, call or email USA Builders Depot with wall dimensions and room photographs. Our Marietta showroom is available by appointment only, so arrange your visit before coming in.