
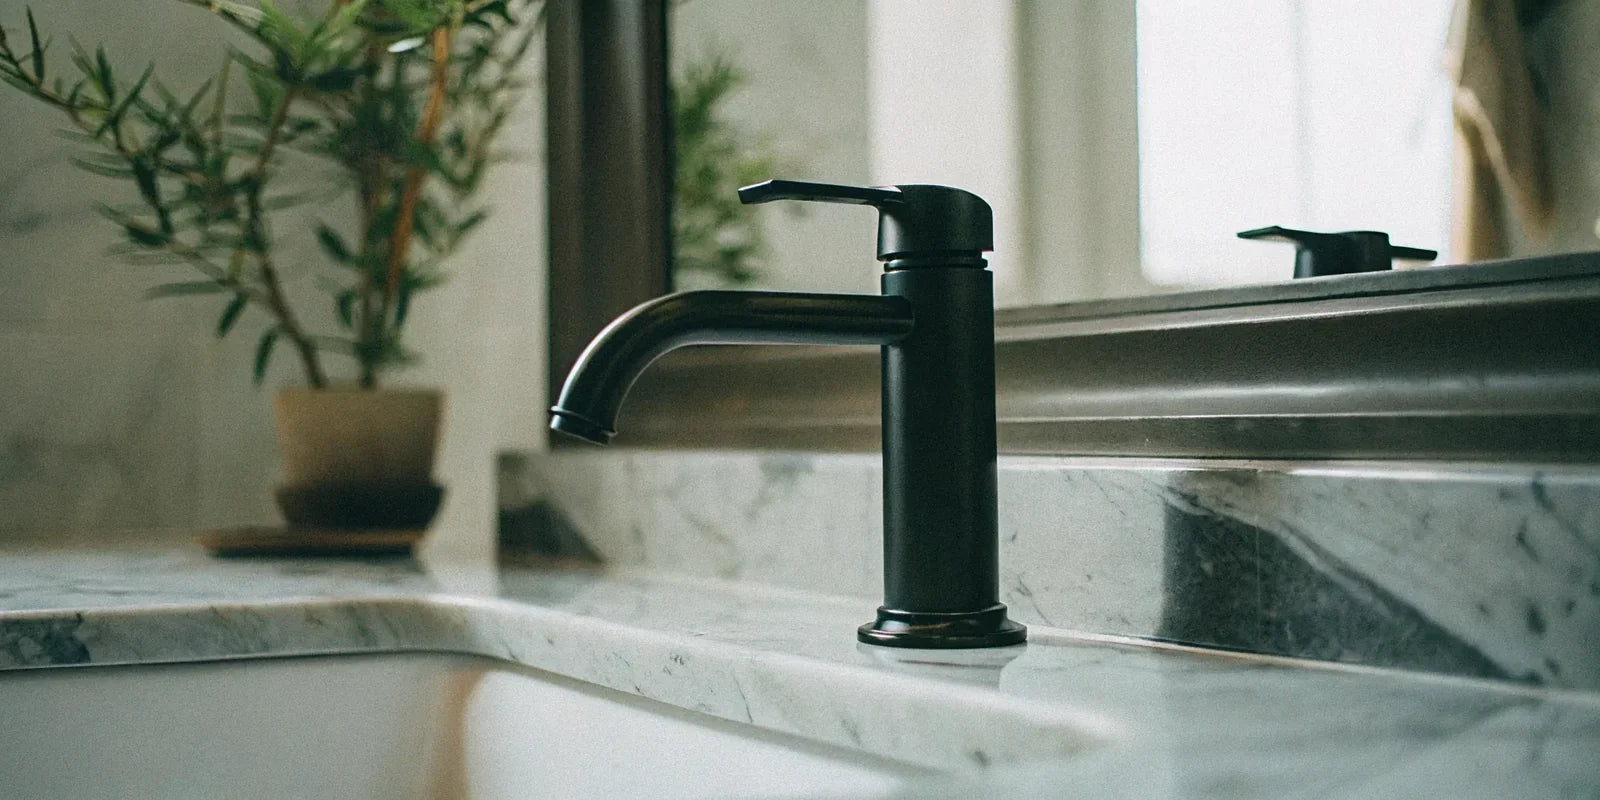
The Complete Single Hole Bathroom Faucet Guide
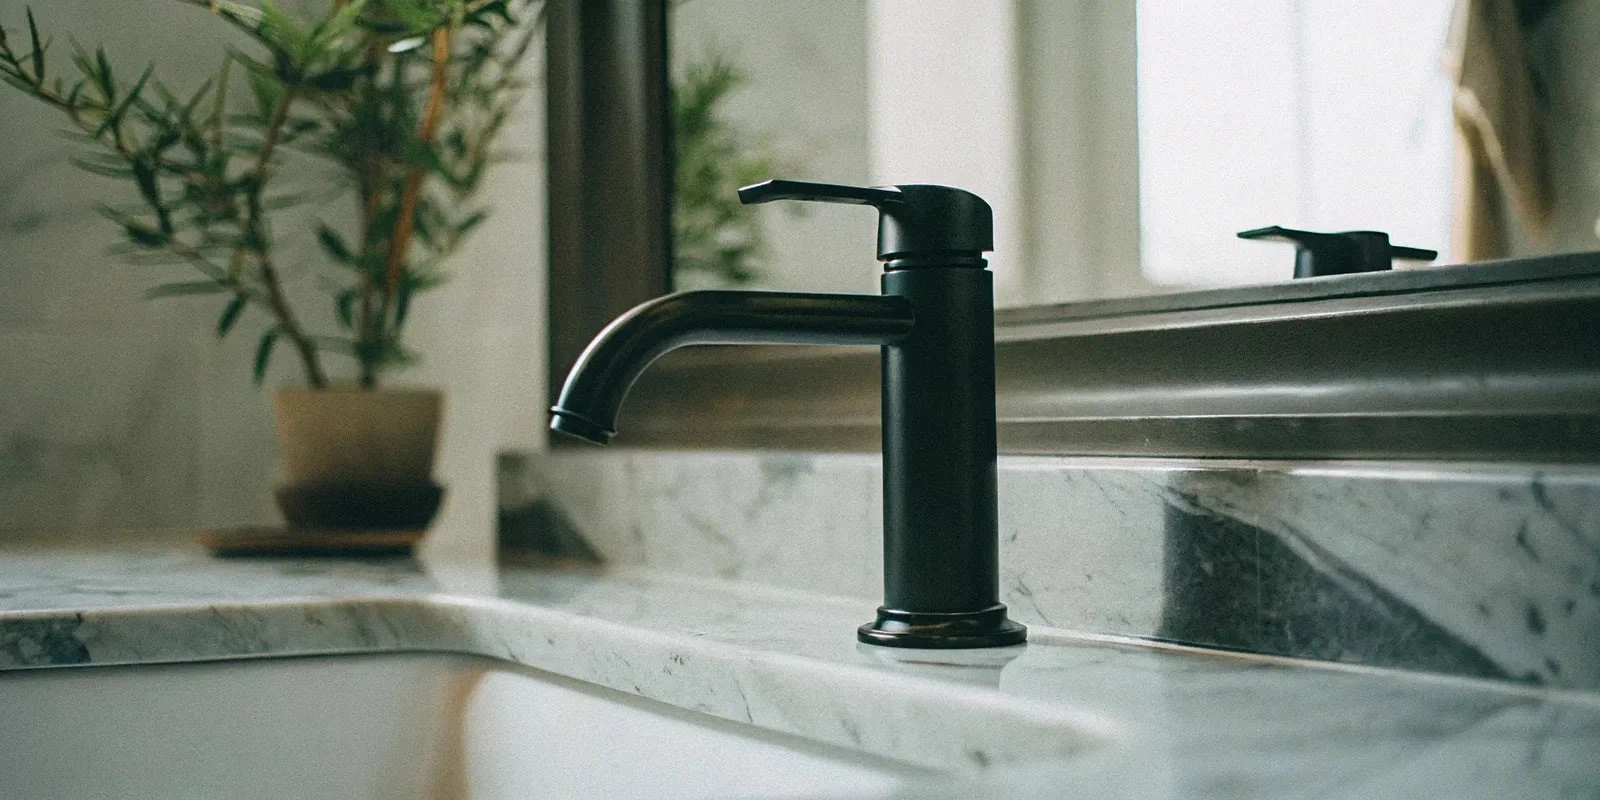
A single hole bathroom faucet can give a vanity a clean, compact look, but the mounting pattern is only the first fit check. The faucet also needs to suit the sink depth, countertop thickness, backsplash clearance and plumbing connections.
Use this guide to compare your measurements with the exact model’s specification sheet. Start with our plumbing collection, then confirm compatibility before ordering or drilling a countertop.
1. Match the faucet to the mounting surface
Single hole describes the mounting arrangement. It does not establish the required hole diameter, maximum deck thickness or handle configuration. Measure the existing opening and the combined thickness of the sink deck or countertop where the faucet will mount. Compare both with the manufacturer’s drawing.
Replacing a three-hole faucet may be possible with a compatible deck plate, but do not assume one is included or that it covers every hole spacing. Check the plate dimensions, faucet compatibility and whether the surrounding surface is flat enough for the approved seal. Ask your installer about existing holes before purchasing.
For a new countertop, provide the fabricator with the selected faucet and sink specifications. Finalize the mounting position before fabrication so the spout and handle have the space they need.
2. Check spout height, reach and handle clearance
Overall faucet height and spout outlet height are different measurements. Spout reach describes how far the outlet extends from the faucet body or mounting reference shown in the drawing. Use these dimensions alongside the sink’s inner shape and faucet setback.
A vessel sink needs clearance above its rim, while a shallow basin may need a different spout arrangement. More height is not automatically better. Stream angle, basin shape and operating flow all affect where the water lands and whether it splashes.
Check the full handle movement against the backsplash, mirror and accessories. Leave room for normal handwashing and for cleaning around the base. If the fit is uncertain, share a side-view sketch and measurements with your installer rather than relying on a product photo.
3. Compare flow and controls for everyday use
Review the listed flow rate in gallons per minute and the conditions attached to that rating. Flow rate is not the same as supply pressure. Ask your plumber to confirm suitability for your supply and project requirements, especially when replacing a fixture with a noticeably different rating.
The EPA’s WaterSense bathroom faucet guidance explains that labeled products undergo independent certification for water efficiency and performance. Verify the exact model’s label or listing; a low advertised flow rate alone does not establish certification.
Try the handle action where possible. For a sensor-operated model, confirm how temperature is adjusted, how it is powered and what servicing requires. Touchless operation, temperature limits and other special features should be confirmed in the selected model’s documentation.
4. Coordinate finish and review construction details
Compare the faucet finish with the drain, cabinet pulls and bathroom lighting. Brushed gold, brass, bronze and nickel names can vary among manufacturers. Samples or actual components are more useful than screen images when a close match matters.
Review the stated body material, cartridge type, finish care and warranty. A brass body or ceramic cartridge does not promise a lifetime without leaks. Availability of a correctly matched replacement cartridge, aerator and seals is useful information to obtain before buying.
For more finish-planning ideas, see our brass bathroom faucet guide and black bathroom faucet guide.
5. Confirm the drain and included components
Check the package contents instead of assuming the pictured accessories are included. Ask about mounting hardware, supply connections, a deck plate and the drain assembly. Compare connection sizes and available space beneath the sink with your installer.
The drain must suit the sink, including whether it has an overflow. A matching finish does not establish drain compatibility. If a lift rod operates the drain, check the clearance behind the faucet and beneath the basin; other drain mechanisms have their own fit requirements.
6. Plan installation and future maintenance
Have a qualified plumber review the shutoff valves, supply connections, drain and access inside the vanity. Follow the specific faucet and countertop instructions for mounting and sealing. Do not apply a generic tape, sealant or tightening method to every connection.
After installation, check the faucet and drain operation and inspect connections for leaks. Retain the model number, parts diagram and care instructions. Use the cleaning method approved for that finish, and avoid assuming a household descaler is suitable.
If a drip develops, identify the model and symptom before ordering parts. Cartridge designs differ; a universal replacement sequence may not fit your faucet. Seek manufacturer or plumber guidance when the source of the problem is unclear.
7. Bring these details to your order
- Sink model, hole diameter and mounting-surface thickness.
- Spout height, reach and available handle clearance.
- Exact faucet model, finish and quantity.
- Flow rating, controls and any required certifications.
- Compatible drain, supply connections and deck plate if needed.
- Included parts, warranty, service parts and delivery timing.
Browse USA Builders Depot plumbing fixtures or contact our team with your measurements and preferred model. Showroom visits are by appointment only. Confirm the final faucet and sink combination with your installer before fabrication or installation.