Everything About Front Doors with Sidelights That Open
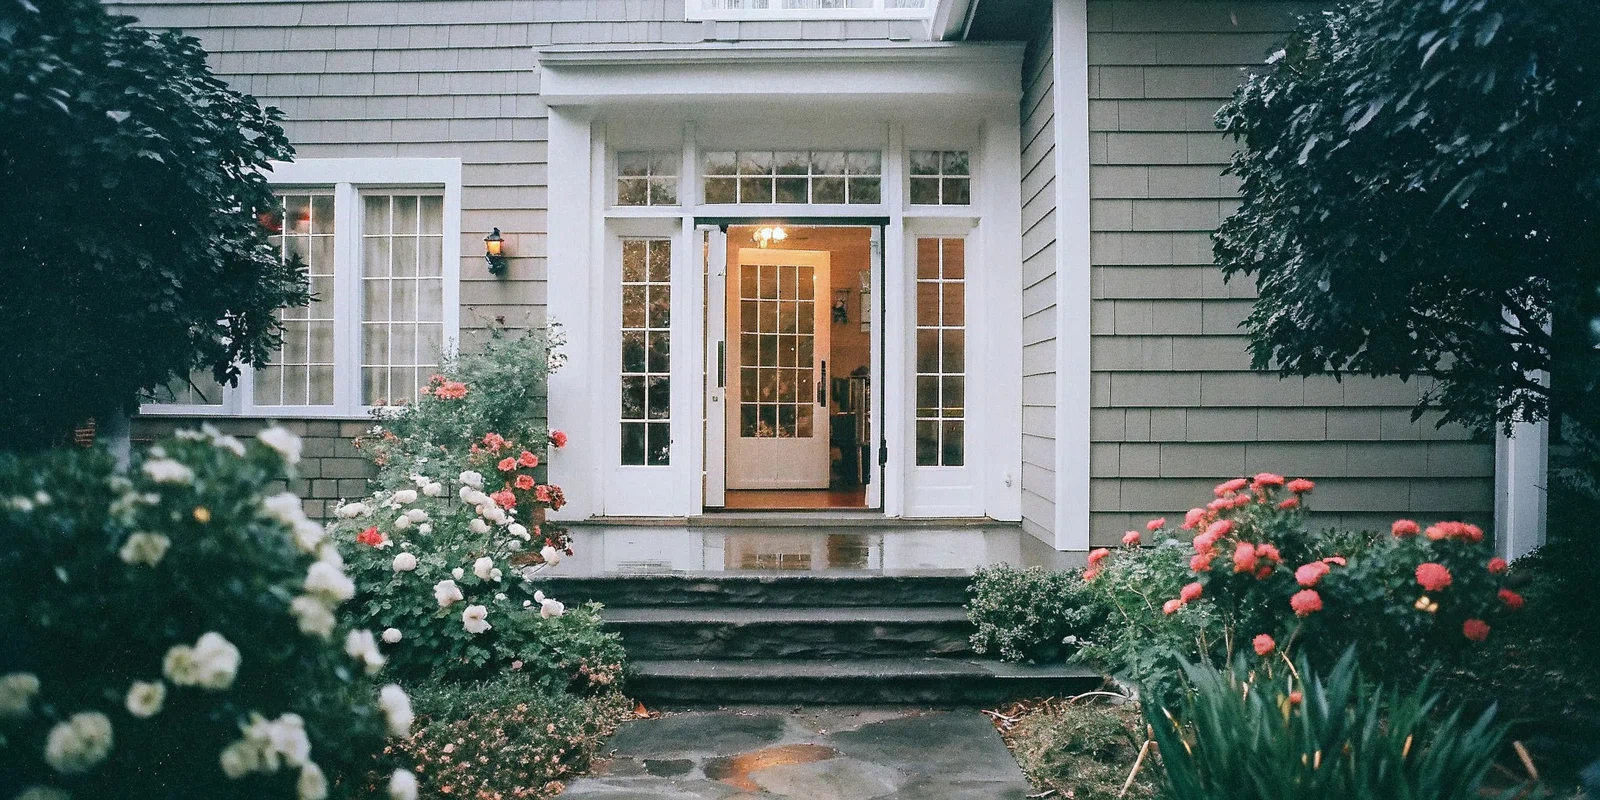
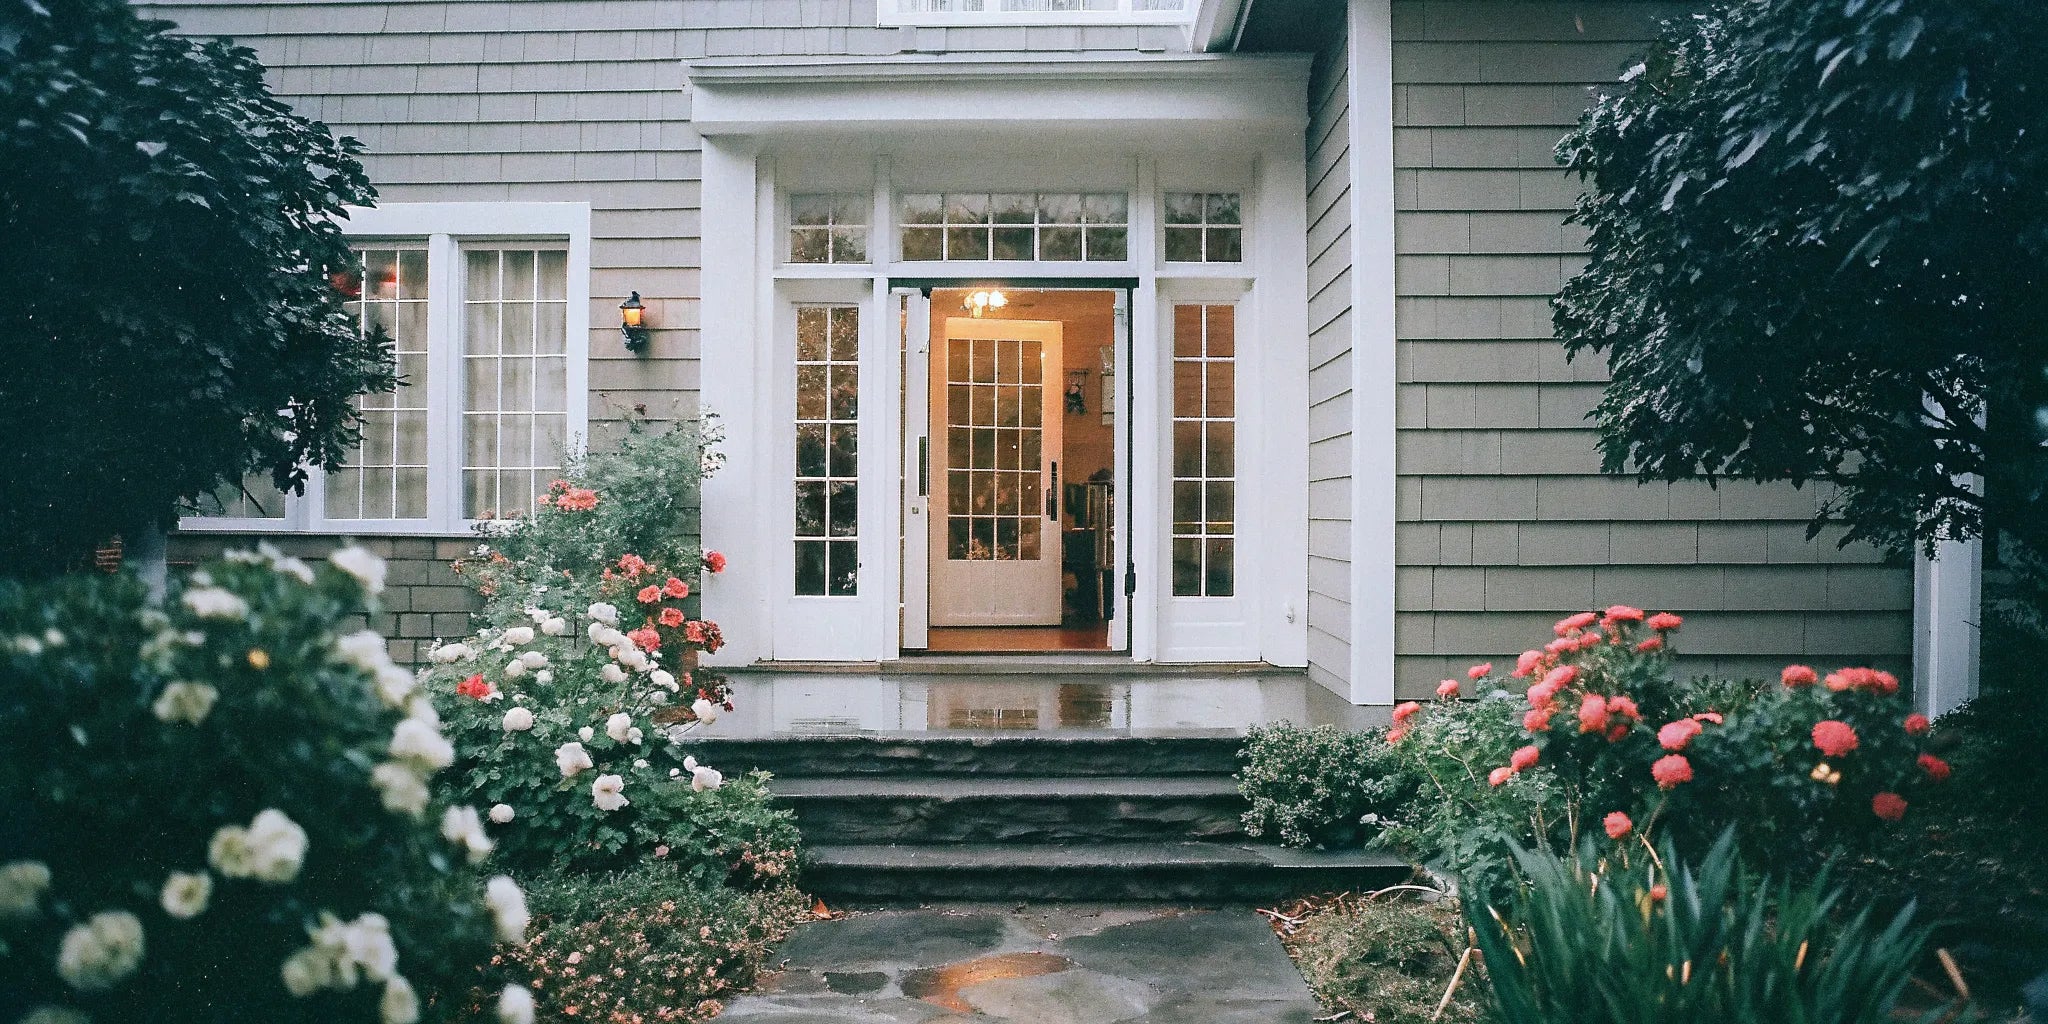
A front door with opening sidelights can mean more than one thing. Some designs provide a venting section beside the main door; others use an operable side panel as part of a wider opening. Before choosing a style, establish exactly which parts move and what remains fixed.
Use this guide to prepare questions for your supplier and installer. Browse our steel doors or discuss custom door options. Opening sidelights, screens and related hardware must be confirmed for the specific model and order.
1. Confirm what actually opens
Ask for a drawing or demonstration that identifies the main door, each sidelight and all fixed frame members. A narrow glazed panel shown beside a door may be fixed, even when the main door or its glass section opens.
If your goal is ventilation, ask which section opens, its opening direction and whether a compatible insect screen is available. If your goal is moving furniture through a wider entry, request the usable clear opening with the relevant panels open.
Do not assume an operable sidelight removes the center frame member or creates an uninterrupted opening. Confirm any removable component and its operating procedure in the selected system’s documentation.
2. Measure the full door-and-sidelight assembly
Give your installer the existing opening, wall depth and finished floor conditions. Distinguish the advertised door size from the overall assembly dimensions and required rough opening. Include both sidelights and any transom in the drawing.
For replacement work, establish whether the existing frame is being removed before approving measurements. Use the proposed assembly’s requirements instead of adding a universal allowance to the door width or height.
Our steel door technical resources can help organize size, swing and documentation questions. Have your installer verify the selected drawing before changing the opening.
3. Review clearance and everyday use
Show the swing paths for the main door and every operable panel. Check nearby walls, steps, furniture, planters and curtains. Confirm that handles and panels will not interfere with one another.
Ask which controls must be released, the order in which panels open and how the system is secured again. Try the controls where possible and consider whether everyone using the entrance can reach and operate them comfortably.
An open panel changes the way the entrance is used. Do not treat an insect screen as a security barrier or assume an opening sidelight provides protection for children or pets. Discuss any required safeguards with the project professional.
4. Choose glazing for the view and privacy you want
Review available glass samples under different lighting conditions and from both sides. Obscured glass may still reveal silhouettes; a daytime photograph does not establish nighttime privacy.
Coordinate the lite pattern with the main door and nearby windows. Ask which glass choices are available for both fixed and operable sections, and confirm them individually in the order.
Include the finish and visible hardware in the review. Similar color names can differ in sheen and tone, so samples are useful when matching an existing entrance.
5. Check hardware, screens and performance documents
Request a list of included locks, hinges, handles and screen components. Confirm compatibility with the actual assembly rather than selecting an accessory solely by appearance. Ask about replacement seals, screen servicing and other available parts.
Give the supplier any project-specific thermal, structural or other performance requirements. Request documentation for the exact configuration, including its operable sections. Do not transfer a rating from a different door or assume insulated glass establishes whole-assembly performance.
Discuss the exposure and intended use with your installer. Broad promises of a weatherproof, condensation-free or equally secure entrance in every operating position should not replace model-specific information.
6. Plan installation, receiving and care
Have the installer review support, anchoring, threshold, flashing and sealing details with the surrounding construction. Agree on removal, disposal, trim repairs and any finish work before installation starts.
Confirm the delivery route, unloading responsibilities and storage arrangements. Obtain the supplier’s inspection and damage-reporting procedure before arrival. Coordinate delivery with the installer rather than assuming the unit can be moved and fitted immediately.
At handover, check every opening and locking sequence with the installer. Keep the care instructions for the frame, glass, hardware, seals and screens. Follow the approved maintenance procedure for the selected system.
7. Approve the complete configuration
- Main door, sidelights and transom shown on one drawing.
- Overall frame dimensions and confirmed opening requirements.
- Fixed and operable sections clearly identified.
- Swing directions, usable opening and operating sequence.
- Glass, finish, compatible hardware and screen availability.
- Required documents, delivery scope and installation responsibilities.
Compare quotes for the same complete assembly. Separate the product price from accessories, delivery and installation, and confirm the current lead time. Custom doors and windows are non-returnable. Eligible in-stock returns carry a 25% restocking fee; see the refund policy for full conditions.
Contact USA Builders Depot with your measurements, project photos and the function you want the sidelights to provide. Showroom visits are by appointment only. Confirm availability and operation before approving the order.