What Are Fluted Tambour Panels? A Complete Guide
Fluted and tambour panels can add a repeating textured detail to walls, cabinetry and furniture. Product names alone, however, do not establish the material, flexibility or permitted use. Start with the exact profile and construction before planning a curved feature or ordering accessories.
Explore our interior wall panels and use this guide to compare finishes, layouts and installation requirements. Confirm availability and suitability for the selected product before finalizing your design.
1. Identify the profile and material
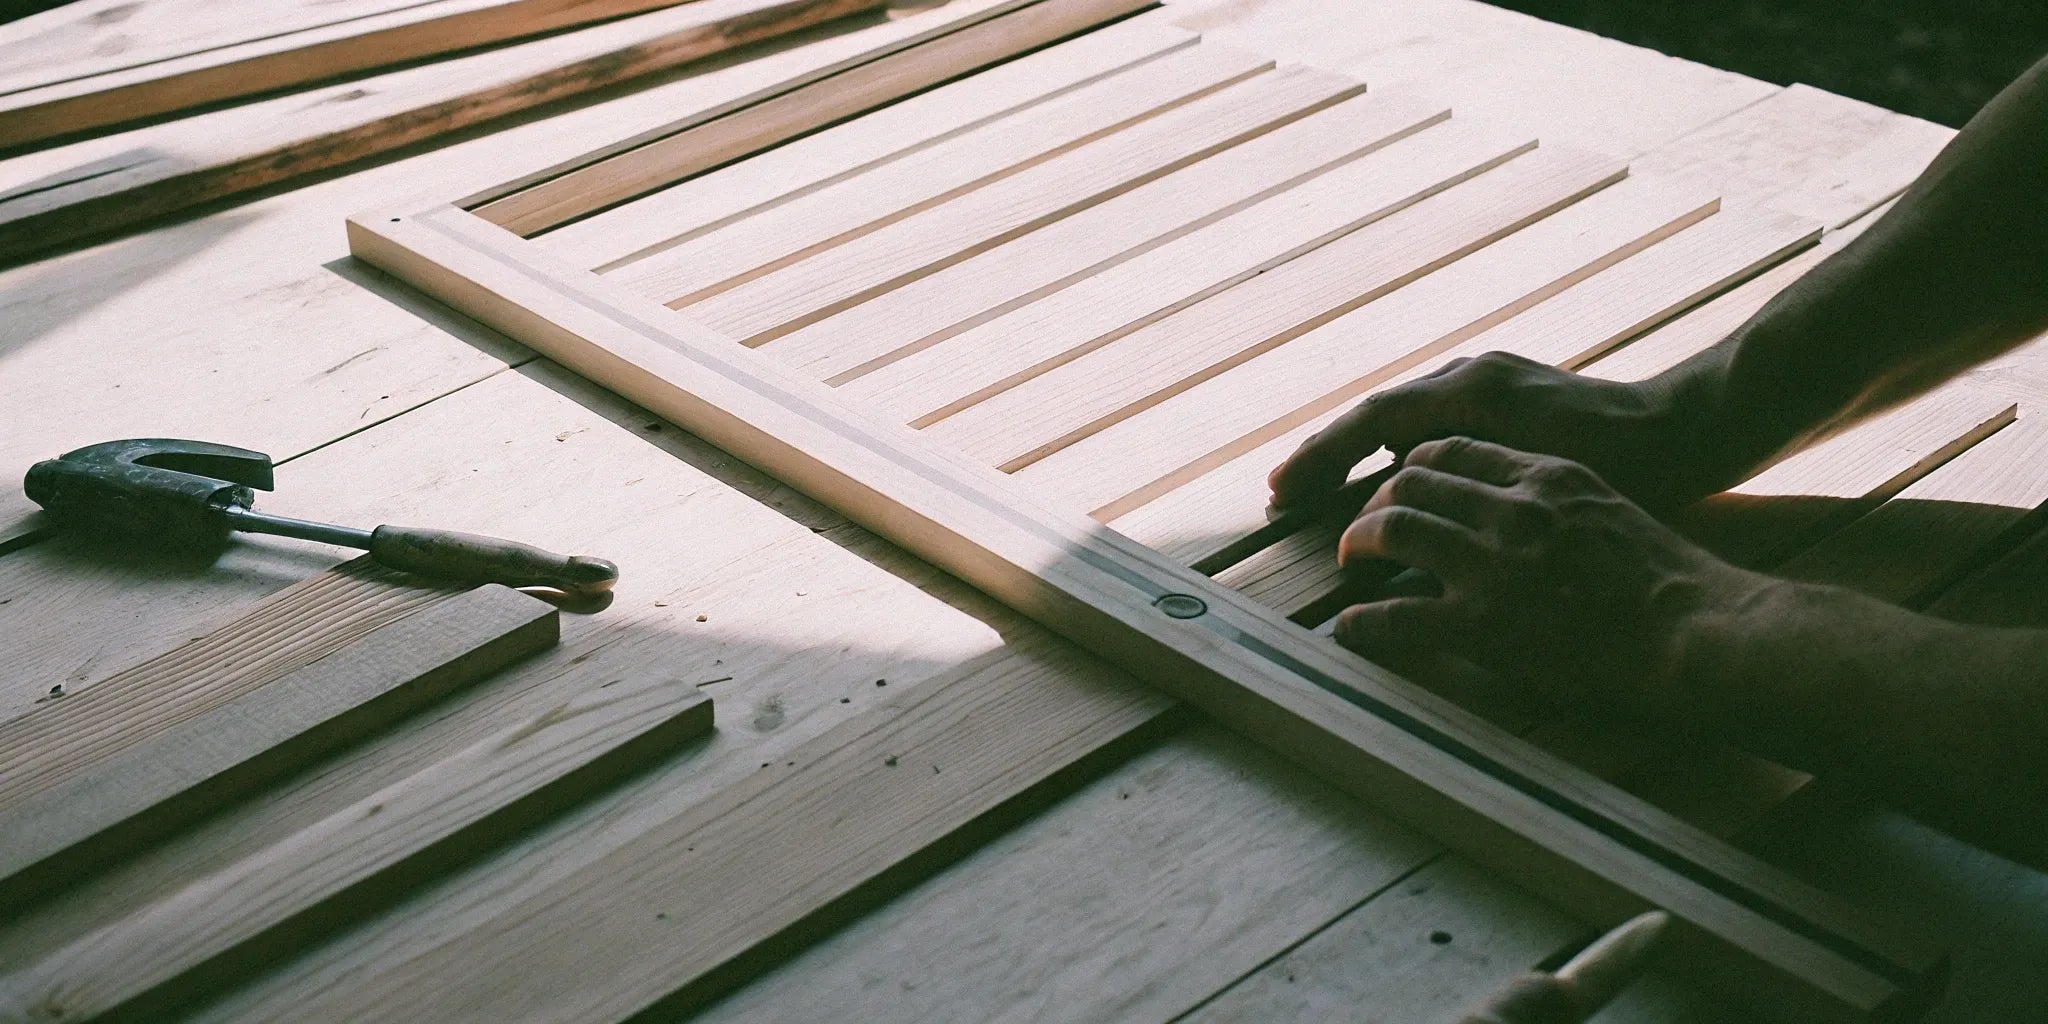
Ask for a profile drawing or sample showing the face shape, depth, backing and connection between sections. Retail descriptions such as fluted, reeded and tambour can group together products that look similar but install differently.
Confirm whether the face is solid wood, wood veneer or a wood-look composite. Check the core, finish and intended location as well. Do not assume every textured panel has real wood on its surface or the same edge detail.
Keep decorative panels and acoustic panel systems separate when comparing performance. Texture alone does not establish sound absorption, fire classification or suitability near moisture and heat.
2. Confirm flexibility before designing a curve
Do not assume a panel bends because it is described as tambour or shown on a curved feature in an inspiration image. Obtain written confirmation for the exact product, including the permitted bend direction, minimum radius and required supporting surface.
Show the supplier and installer the proposed curve in plan and section. Identify whether it is an inside or outside curve, where the panel ends and how the edge will be finished. Ask whether a sample mock-up should be approved before ordering the full quantity.
If the selected panel is rigid, discuss an appropriate alternative rather than forcing it around the shape. Do not cut the backing, separate the profile or modify the panel to create flexibility without an approved method.
3. Compare samples in the actual space
View the finish alongside your flooring, cabinetry and paint under daylight and the room’s lighting. Directional light can make the depth and spacing of a profile more noticeable, so examine the sample in its intended orientation.
Ask what grain and tone variation to expect across the order. Confirm whether the panel arrives finished and whether any field-applied coating is permitted. A product suitable for staining should not be confused with a factory finish that needs only its specified care.
For a furniture or reception-desk project, discuss how exposed ends, corners and high-contact areas will be finished. Approve those details together with the face material.
4. Plan the layout and purchase quantity
Measure the surface and mark doors, outlets, switches and adjoining finishes. Sketch the profile direction, starting edge, joins and termination points. For a curved feature, have the installer verify the surface measurements used for ordering.
Use the selected product’s actual dimensions and sale unit. Allow for cuts based on the design rather than assuming every offcut can be reused. Consider how the pattern continues across joins and around corners.
Review the assembled layout before fixing material in place. Small adjustments to the starting point can avoid an awkward narrow strip at a prominent edge.
5. Match accessories to the panel range
Choose trim by product range, profile and finish, not color name alone. For Natural Veneered Wall Panels, review the Natural Veneered Corner Trim collection and confirm the matching option.
For the interior WPC Fluted Slat range, confirm the applicable corner trim and interior fluted slat clips. Accessories intended for exterior panels or another profile should not be assumed compatible.
If you select Luxury Acoustic Wall Panel, White Oak & Grey Felt, its specified accessory is the Luxury Acoustic Wall Panel, Classic Oak End Slat. This is a separate panel system, not a universal tambour edge solution.
6. Review installation, performance and care
Have the installer confirm substrate preparation, approved fixings or adhesive, cutting and edge treatment using the selected product’s instructions. Include access to outlets and any coordination with lighting or other services.
Ceilings, damp areas and locations near fireplaces require specific suitability checks. Do not use a general wall-panel installation method as approval for those applications.
If the project needs acoustic or fire documentation, request the applicable report for the exact assembly. Our acoustic panel technical resources explain the information to provide when requesting documents.
Keep the finish-care instructions and use the approved cleaning method. Avoid adding oil, wax, stain or household cleaners without confirming compatibility with the face and backing.
7. Prepare a complete project order
- Exact product, material, profile and finish.
- Measured layout, orientation and planned cuts.
- Written curve suitability where relevant.
- Matching edge details, trims and approved fixings.
- Installation instructions and required project documents.
- Material availability, delivery scope and installer schedule.
Compare complete quotes, including preparation, accessories, fabrication and installation. Ask about any unresolved details before approving the order rather than relying on generic price or installation-time estimates.
Contact USA Builders Depot with your design sketch, measurements and preferred finish, or browse our interior wall panels. Trade professionals can review the trade application. Showroom visits are by appointment only.