
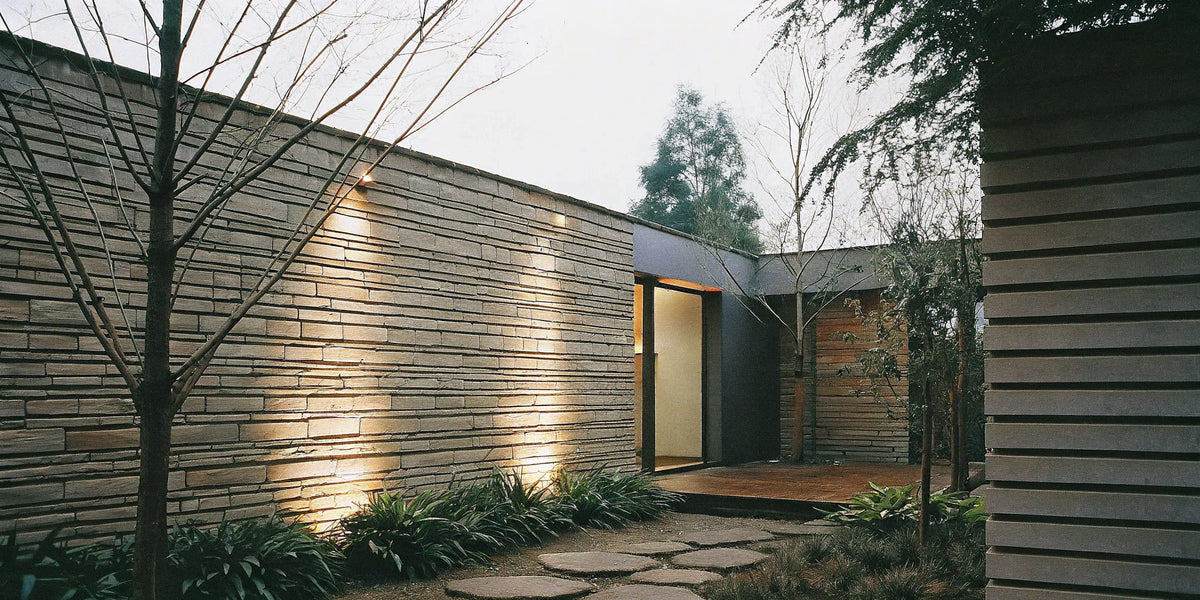
Stone Panel Exteriors: The Ultimate Guide

A stone-look exterior can add texture to an entry, accent wall or full facade. Before choosing a finish, identify what the product is made from and how it attaches to the building. Natural stone, manufactured masonry veneer and polymer imitation panels can look similar while requiring different support, moisture management and installation details.
Identify the Stone or Stone-Look System
| System | What to confirm |
|---|---|
| Natural stone veneer | Stone type, thickness, weight and the specified adhered or anchored installation system. |
| Manufactured masonry veneer | Cement-based product composition, approved backing, mortar or attachment requirements and exterior detailing. |
| Polymer imitation stone | Exterior approval, fasteners, expansion provisions, temperature limits and finish care. |
| Other stone-look cladding | The actual material, panel dimensions, attachment system and documented exterior applications. |
These are distinct categories, not a single mixture of polyurethane and concrete. Weight, color treatment and performance vary by product. A chipped surface may expose a different color; do not assume every panel is colored throughout.
This comparison is not a statement that USABD stocks every system listed. Browse our exterior wall panel collection and confirm the exact product and availability with our team.
Review Texture, Corners and Transitions
Compare samples beside the roof, windows, doors and other facade finishes. View them in sunlight and shade. A small sample shows color and texture, while a larger layout helps reveal repeating patterns and the overall scale.
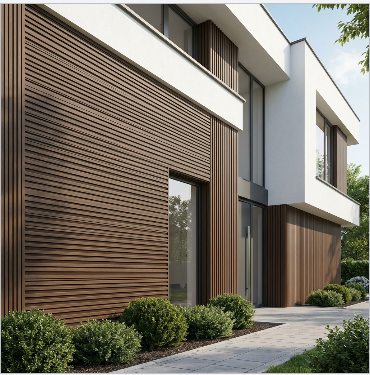
Plan how the finish ends at corners, windows, doors and the top of an accent wall. Check whether matching corner units, caps, returns or trim pieces are part of the system. A flat panel cut at an edge may not produce the appearance of a purpose-made corner.
Coordinate transitions with adjacent siding before installation. Choose the visible finish and the water-management detail together, rather than treating trim as a final cosmetic step.
Verify Suitability for the Actual Location
Confirm that the exact product is intended for the project's exterior exposure. Review applicable information for moisture, freezing conditions, sun, wind, impact and fire performance. A product described as stone-look or 3D is not automatically suitable for every climate or location.
Chimneys, outdoor cooking areas, retaining walls and locations near grade need specific evaluation. Do not assume a decorative polymer panel has the same heat tolerance as masonry, or that a wall-cladding approval permits ground contact.
Insulation values, acoustic properties, expected service life and warranty coverage must come from the selected product's documentation. A decorative finish alone does not justify a promised reduction in energy bills or increase in resale value.
Treat Cladding as Part of a Complete Wall
The visible finish is only one part of the exterior assembly. Confirm the backing, load support, attachment method, weather protection, drainage and flashing details for the chosen system. Interlocking joints do not eliminate the need for water management behind the finish.
For adhered manufactured masonry veneer, the Concrete Masonry & Hardscapes Association installation guide is a useful industry reference covering that specific system. Use it with the product instructions and applicable project requirements; its details should not be transferred automatically to polymer panels or anchored natural stone.
Have the installer resolve window and door flashing, penetrations, base drainage and required clearances before ordering. Do not attach a new finish directly over existing siding or to bare sheathing without confirming an approved assembly. Existing damage or moisture problems must be addressed first.
Measure Panels and Accessories Separately
Prepare an elevation sketch showing wall dimensions, openings, corners and transitions. Use installed coverage per unit or pack, accounting for overlaps or joints. Review the cut layout before deducting the full area of every opening.
List corner units, caps, starter pieces, flashing, sealants and attachment components separately where required by the system. Allow spare material according to cuts, pattern blending and project complexity rather than a universal percentage.
Confirm the order unit and finish batch arrangements. Mixing colors or product ranges unintentionally can make later repairs and additions difficult to match.
Compare Complete Installation Quotes
Request quotes that include removal of existing finishes where necessary, repairs, backing preparation, weather protection, access equipment, panels, accessories, labor, waste and delivery. A lower panel price does not necessarily mean a lower installed project cost.
Ask which assumptions the quote includes and who is responsible for flashing and transitions. Avoid comparing a material-only price for one system with a complete installed price for another. Exterior work may require experienced trades even when individual panels are relatively easy to handle.
Follow the Product's Cleaning and Maintenance Instructions
Use the recommended cleaning method. Do not assume pressure washing, acid cleaners, sealers or household detergents are suitable for every stone or imitation finish. Inspect joints, edges and drainage areas as directed, and investigate staining or loose components rather than covering a symptom.
Keep product details and spare material for future repairs. Before purchasing, confirm availability, delivery, warranty and return terms. Contact USA Builders Depot with project photos, measurements and your preferred finish for help reviewing available options. Showroom visits are by appointment only.