
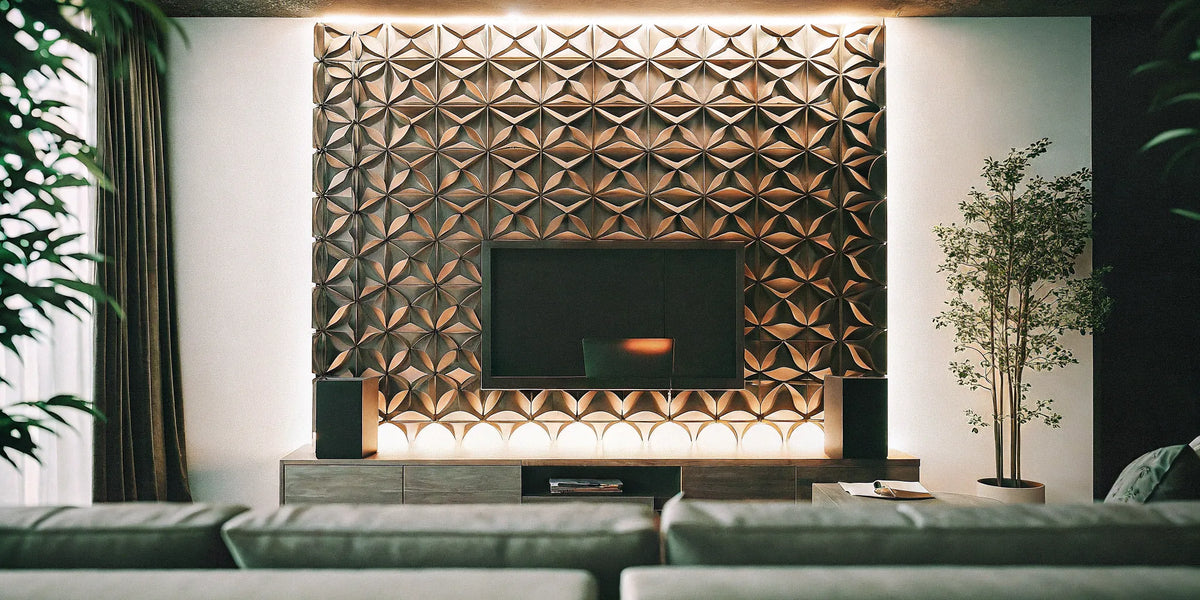
A Buyer's Guide to 3D Wall Panels with LED Lights

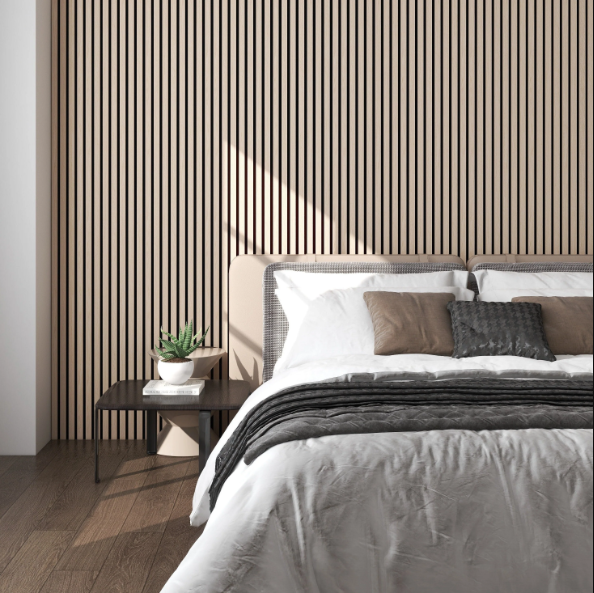
Lighting can emphasize the depth of a textured wall, creating shadows across flutes, geometric shapes or other raised patterns. A successful design starts by coordinating the panel and the lighting system—not by assuming every decorative panel includes LEDs.
Browse wall panels and lighting options separately, then confirm what is supplied and whether the selected components are suitable together.
Distinguish an integrated product from a custom design
An integrated illuminated panel is supplied as a defined product or system. A decorative panel with lighting added around it is a separate design project. Product photos showing a glowing feature wall do not establish that LEDs, channels, drivers, wiring or controls are included.
Ask for an itemized list of supplied components. Confirm any required accessories and who is responsible for compatibility. Do not assume a wall panel has a groove intended for an LED strip or that cutting a new channel is approved.
Decide how you want light to reveal the texture
Light close to a textured surface can emphasize its relief and also make joints or uneven areas more noticeable. Edge lighting creates a different effect from lighting aimed across the front of the wall. Use a small mock-up with the actual panel and proposed light source before committing to a full installation.
Check the result from normal seating and standing positions. Look for visible LED dots, glare, distracting reflections and uneven illumination. For a television wall, assess reflections on the screen as well as the appearance of the panel itself.
Compare the light’s color appearance with your wall finish, flooring and other fixtures. Brightness, color temperature and color rendering are separate specifications; a warm-white label alone does not describe the whole lighting effect. Keep general room lighting in the plan rather than relying on the feature wall for every task.
Confirm the panel’s intended use
Check the material, finish, dimensions, weight and mounting requirements of the exact panel. PVC, WPC, wood and composite products should not be treated as having identical resistance to moisture, heat or impact.
For kitchens, bathrooms or other exposed locations, obtain approval for the intended conditions for both the panel and lighting system. A water-resistant surface is not a complete waterproof assembly. Near heat-producing equipment, confirm suitability and required clearances with the product suppliers and installer.
Do not use panels to conceal unresolved dampness, loose material or structural damage. Repair and prepare the substrate according to the panel instructions before covering it.
Match the lighting equipment as a system
Have the lighting supplier or qualified installer confirm the power supply or driver, LED type, permitted run lengths, connectors and controls. A strip, driver and dimmer that are sold separately are not automatically compatible.
Confirm whether the proposed system supports dimming, color changes or smart control. Remotes, apps and voice control are product-specific features. Request the relevant compatibility information before purchasing controls or planning a smart-home connection.
Follow the lighting manufacturer’s requirements for channels, mounting surfaces, ventilation and heat management. Do not assume adhesive backing alone establishes a suitable permanent installation on the chosen panel.
Plan wiring routes and service access before mounting panels
Draw the panel layout alongside the lighting runs, power locations and access points. Include corners, joints, trim and electrical fixtures. Drivers and connections may need to remain accessible; agree on the service arrangement before the wall is finished.
Use a qualified electrician for hardwired electrical work and any changes to the building’s wiring. The installer should review the relevant product instructions and location requirements before work begins. Do not conceal components or alter panel construction without approval.
Confirm the panel fixing method independently of the lighting attachment. Televisions, shelves and other loads need suitable support rather than relying on decorative panels. Test the planned lighting functions before the installation is closed up.
Keep cleaning and replacement practical
Follow the panel finish and lighting manufacturers’ maintenance instructions, including power isolation before servicing. Avoid wetting electrical components or saturating panel joints. Do not apply paint, stain or cleaners without confirming compatibility.
Ask which light sources, drivers or controls can be replaced and how they are accessed. Cutting an LED strip is only appropriate where the manufacturer permits it and specifies the method. For faults such as flickering or intermittent operation, contact the supplier or installer rather than improvising electrical repairs.
Compare the complete project scope
Budget for panels, matching trim, approved mounting materials, lighting channels, LEDs, drivers, controls, wiring, labor and delivery. Confirm separate warranties for the decorative finish and electrical components, including any installation conditions.
Send your wall dimensions, panel preference, lighting inspiration and intended location to USA Builders Depot to review available products. Showroom visits are by appointment only. For further layout ideas, read our 3D wall panel guide.