

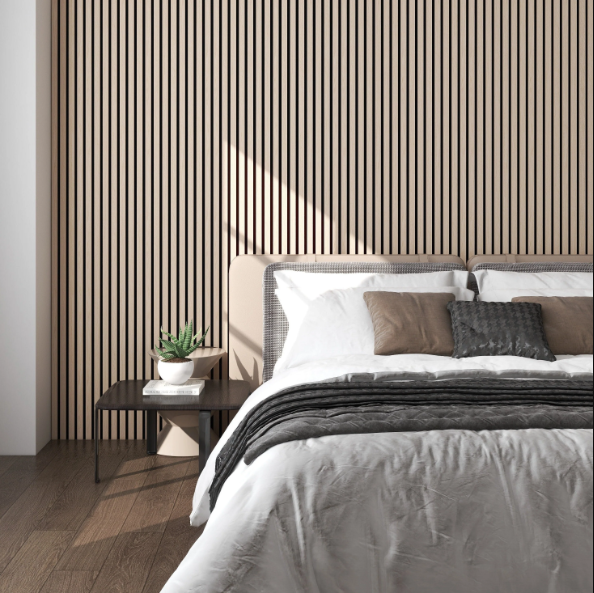
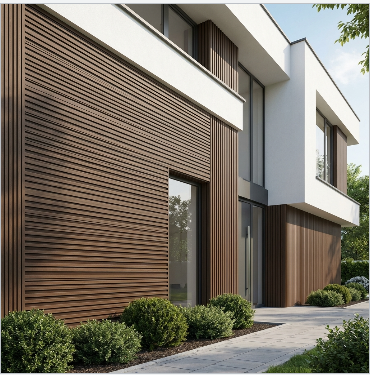

Fluted Wood Panels 101: The Complete Guide

Fluted wood panels add repeating lines, texture and shadow to a wall. The appearance alone does not tell you whether a panel bends, accepts paint, works outdoors or provides tested sound absorption. Start with the exact panel construction and intended use, then plan the layout and matching accessories.
Explore interior wall panels for indoor projects. If the application is outside, begin with exterior wall panels and confirm the appropriate installation system.
Identify the panel type before choosing its location
Product names can describe a visual style rather than a single construction. Compare the face material, backing, profile, dimensions and finish. A wood veneer panel, a WPC profile and a felt-backed acoustic panel may look related while requiring different accessories and installation methods.
- Natural veneered panels: review the selected finish, visible grain variation and exposed-edge treatment.
- Interior WPC fluted panels: check the intended indoor application and compatible clips and trims.
- Acoustic slat panels: confirm the backing and mounting configuration when sound absorption matters.
- Exterior panels: select a product intended for the actual outdoor exposure and wall assembly.
Do not assume a wood-look surface is solid wood, or that all panels sold under a fluted label share the same material. For damp locations, request written suitability for the exact application; a material name alone does not establish approval for direct water exposure.
Confirm flexibility before designing a curved surface
A fluted appearance does not mean a panel is flexible. For a column, curved wall or reception desk, provide the supplier with the curve dimensions and ask whether the selected product can follow them.
Confirm the permitted bending direction, minimum radius and backing requirements. Do not transfer a radius quoted for another product, force a rigid profile around a curve or cut the backing without approval.
A sample or small mock-up can help establish how the grooves, joints and edges will look. For furniture applications, also review added thickness, door clearances, exposed edges and the way the panel will be supported.
Plan the pattern, joints and purchase quantity
Vertical lines can emphasize height; horizontal layouts create a different rhythm. Compare the options in the actual room and account for lighting, nearby finishes and the proportions of the feature wall.
Draw the wall elevation before calculating the order. Mark corners, openings, switches, skirting, upper edges and any change in panel direction. Plan where the first and last profiles will fall so a narrow cut does not become the focal point.
- Measure the wall and record openings and obstructions.
- Confirm the selected panel’s usable coverage and orientation.
- Map full pieces, joints and cuts.
- Allow for waste based on the layout and cutting plan.
- Round to the available pack quantity and include finishing pieces.
Panel area alone may not predict the number of pieces required. Review the profile repeat and end treatment, especially on a short feature wall or a layout with several openings.
Choose Matching Trim / Accessories by product and color
Match the panel family, profile and finish. Similar color names across product ranges do not guarantee a match, and a corner trim should not be substituted for an end slat without checking its purpose.
- Natural Veneered Wall Panel: choose the corresponding finish from Natural Veneered Corner Trim.
- Interior WPC Fluted Slat Wall Panel: confirm the compatible interior WPC clips and matching corner trim. The linked Alder corner trim is for an Alder finish selection, not a universal color match.
- Luxury Acoustic Wall Panel, White Oak & Grey Felt: use the Luxury Acoustic Classic Oak End Slat as the specified finishing accessory.
For other acoustic finishes, ask for the matching option rather than assuming Classic Oak suits every panel. Acoustic end slats ship free when ordered with full acoustic panels; when ordered separately, the flat shipping fee is $349.
If you are planning exterior fluted panels, confirm the exterior trim and fixing system separately. Interior clips and trims should not be assumed suitable for an exterior profile.
Prepare the substrate and fixing plan
Obtain the instructions for the chosen product before scheduling installation. Review substrate condition, storage requirements, cutting method, fixing locations and any required expansion space. An adhesive-only method is not automatically suitable for every panel, substrate or orientation.
Plan the support for shelves, televisions and other attached items independently of the decorative face. Arrange electrical adjustments with a qualified electrician where the new wall thickness affects boxes or devices. Keep service access and required clearances in the layout.
For ceiling applications, request explicit approval and the specified mechanical support. For exterior work, use the applicable wall assembly and exterior WPC technical resources.
Texture alone does not establish an acoustic rating or soundproof a room. If sound control is part of the brief, consult the acoustic panel technical resources and request evidence for the exact product and mounting configuration.
Review finish options and care before installation
Do not assume a factory-finished panel can be stained or painted. Confirm whether the chosen product is intended to accept a coating, which preparation is allowed and how a change affects its warranty. Test an approved finish on an offcut before committing to the full wall.
Compare samples beside flooring and cabinetry in daylight and evening light. Ask about expected grain and color variation across the order, including the trims. Keep product and finish details for future reference.
Use the manufacturer’s recommended cleaning method. Avoid soaking the surface or applying an unapproved cleaner or polish. Inspect joints and fixings if movement or damage appears rather than concealing the issue with a cosmetic treatment.
Build a complete panel order
Confirm panels, matching trim, approved fixings, cutting allowance and delivery together. Ask for current availability and lead time for the exact finish and quantity.
Send USA Builders Depot your wall measurements, a photograph, preferred panel and color, plus any curved or exterior application details. Showroom visits are by appointment only. Trade professionals can also explore the USABD trade program.