Large Format Porcelain Shower Walls: A Complete Guide
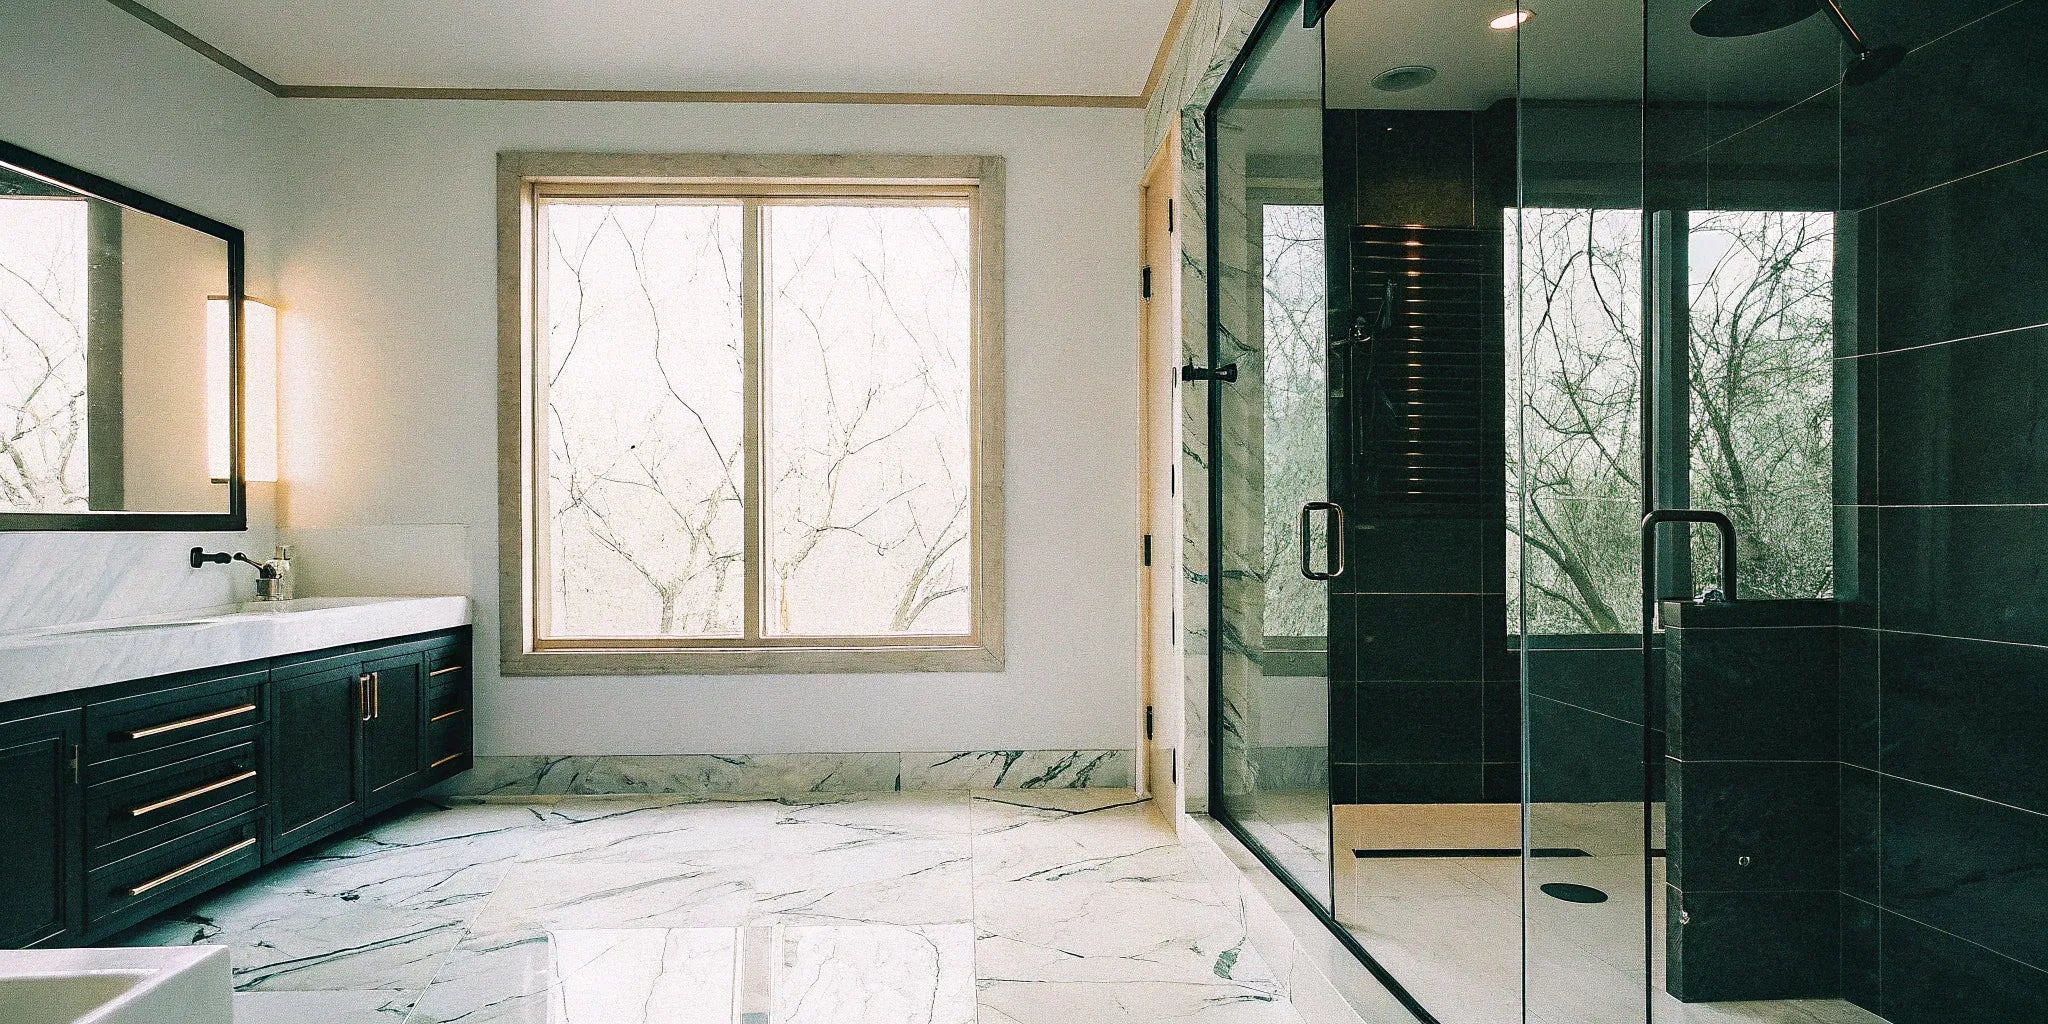
Large-format porcelain shower walls can give a bathroom a calmer appearance by reducing the number of joints. The best layout depends on the selected material, wall dimensions and details around the fixtures. Before ordering, turn your design idea into a wall-by-wall plan that your supplier and installer can review.
This guide focuses on layout and purchasing decisions. For an overview of the complete enclosure, see our porcelain slab shower planning guide.
1. Choose a format that fits the project
Compare the actual dimensions of the available products against your shower walls. A larger piece may reduce visible seams, but it also changes the delivery route, handling requirements and fabrication plan. Ask for the exact product code, thickness, weight, edge type and documentation confirming suitability for shower walls.
Do not treat large tiles and full-height slabs as interchangeable installation products. Have the installer confirm experience with the selected format and the manufacturer’s required system. A wall-rated product is not automatically suitable for the shower floor, a bench or a steam enclosure.
2. Draw each wall before deciding where seams go
Prepare elevations showing finished dimensions, corners, ceiling height, valve and showerhead locations, glass attachments and niches. Mark the intended pattern direction and the edges visible from the bathroom entrance. Review where narrow strips or awkward cuts would occur before committing to a tile size.
| Layout choice | What to review |
|---|---|
| One broad piece on a feature wall | Available slab dimensions, access route, cutouts and the visual position of the pattern. |
| Several large tiles across a wall | Balanced cuts, joint alignment and pattern repetition between pieces. |
| Pattern continuing around a corner | Actual slab faces, usable offcuts and whether the desired match is achievable. |
| Matching niche or bench surfaces | Additional material, support, edge finishing and drainage details. |
A minimal-joint design still has joints. Confirm their locations, dimensions and treatment with the installer rather than specifying a grout-free finish. Keep the approved drawing with the order so design changes can be checked before cutting.
3. Resolve niches, edges and fixture openings
Choose the niche position and size alongside the layout, not after the wall material arrives. Review how its edges meet surrounding pieces and how the bottom is detailed for drainage. Ask whether exposed slab edges will show a different body color from the decorative face.
Agree on finished edge profiles, trims and outside corners. Supply the installer with the fixture and shower-glass requirements so openings and attachments can be coordinated with the waterproofing system. Avoid making field changes to cutouts without checking the product’s fabrication instructions.
4. Review samples and full-piece images
Look at finish samples under the bathroom’s planned lighting. Then review full-piece images or the actual material to understand vein scale and repetition. A small sample cannot establish how a whole wall will look, and bookmatching should be confirmed for the exact selection.
Compare polished and matte appearances without assuming either finish is appropriate for every surface. Ask for separate confirmation when choosing a shower-floor product. Browse our tile collection and contact us to check current options, sizes and intended applications.
5. Order from the approved cut plan
Area alone does not determine the number of pieces needed. Pattern orientation, opening locations, edge work and usable offcuts affect the order. Have the installer calculate quantities from the final layout and discuss spare material for potential future repairs.
Request a quote that identifies the exact selection, quantities, fabrication, delivery, unloading and installation responsibilities. Confirm availability, replacement lead times and applicable return terms before payment. Compare quotes using the same scope; a lower material price may exclude important preparation or finishing work.
6. Confirm installation responsibilities and care
Ask who will prepare the backing, install and check waterproofing, set the wall material and finish the joints. These components must work together under the selected manufacturers’ instructions. Backer board, tile and grout should not be assumed to provide a complete waterproof enclosure on their own.
At handover, collect the product information and care instructions for the surface, grout, sealants and fixtures. Use compatible cleaning products and soft tools. Discuss chips or cracks with the installer before attempting a repair; a filler may not resolve the cause of damage or match the original finish.
Contact USA Builders Depot with your wall dimensions, preferred finish and project schedule to check available selections. Showroom visits in Marietta are by appointment only; call or email through our contact page to arrange a visit.