


Paneling Clips: Guide to Seamless Wall Panel Installation
If you've ever tried your hand at home development, you have possibly discovered that putting in wall panels is not a stroll in the park unless you're using Wall panel clips. These tiny heroes of creation are probably invisible once the process is achieved, but their effect on the manner and final result is massive. Whether revamping your residing room or decking out an office space, Wall panel clips can distinguish between a swish, expert finish and a DIY catastrophe. This manual is your one-stop resource for all you need to know about these robust fasteners.
Introduction to Wall Panel Clips
Paneling Clips are small hardware gadgets designed to connect wall panels securely to a surface without the want for nails, screws, or visible fixings. They are available in various sizes and styles; however, they serve one centralcentral purpose: to provide a clean, seamless installation. You'll often find them in indoor layout projects where aesthetic enchantment is essential. Others permit quick disassembly, making them ideal for modular designs or brief setups.
Their versatility doesn't forestall at walls. Many humans additionally use Wall panel clips for ceilings, cabinetry, partitions, and even furnishings. They paintings by anchoring into a sub-surface like a stud or body and then snapping the panel into area. It's speedy, easy, and extraordinarily effective.
Types of Wall panel clips
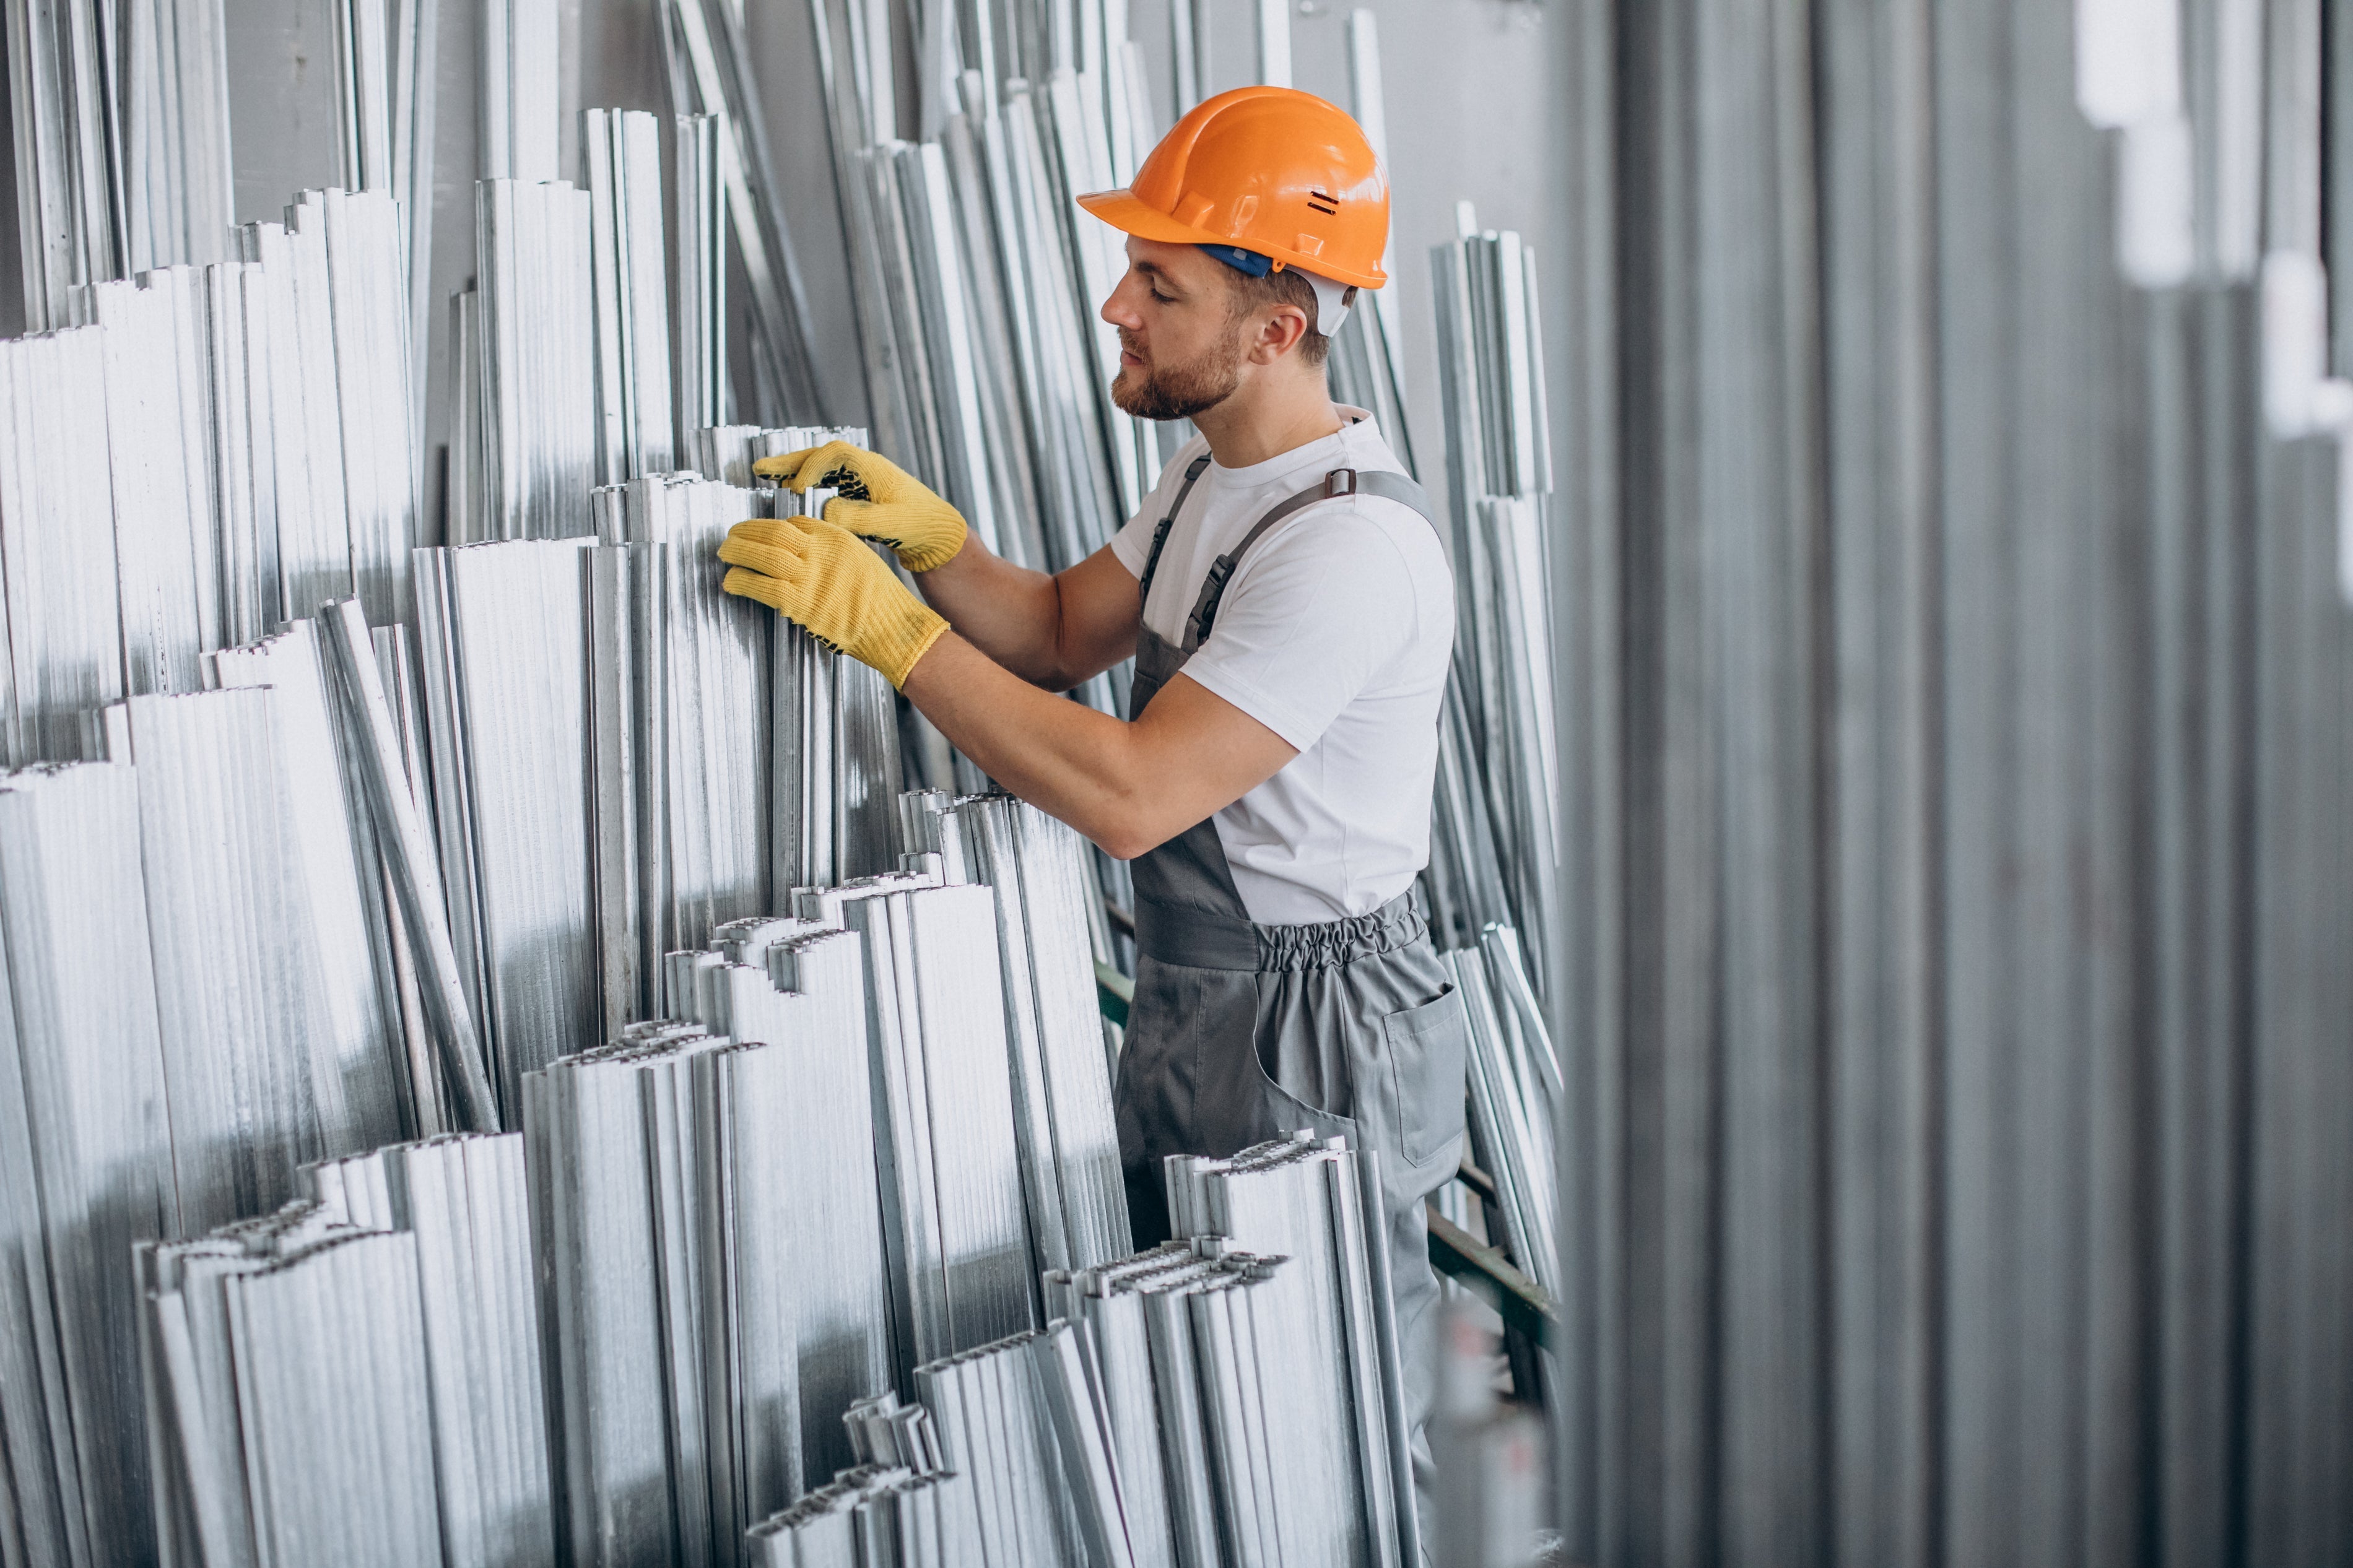
Metal Wall panel clips
Metal Trim clips are the move-to alternative for heavy-obligation initiatives. Made generally from chrome steel or aluminum, these clips are robust, long lasting, and able to assisting widespread weight. They're best for commercial programs or installing thick or heavy panels like MDF or engineered wood.
Plus, steel clips tend to have an extended lifespan compared to their plastic counterparts, offering higher long-term cost despite arriving at a barely better value.
One disadvantage, even though, is that metallic clips may be less forgiving in the course of set up. You need precision to get them aligned efficaciously. But whilst you do, the end result is rock-stable. Some even include spring-loaded mechanisms for easier panel removal and reattachment, mainly beneficial in industrial settings where get entry to to wiring or plumbing at the back of the panels is needed.
Plastic Trim clips
Don't allow the word "plastic" to fool you. Today's excessive-performance plastic Trim clips are a force to be reckoned with. These clips are lightweight, cost-effective, and perfect for residential use.
Plastic clips are particularly popular in DIY initiatives because they're extra forgiving throughout installation. You can snap them into vicinity with minimum tools, and that they regularly include integrated flexibility to accommodate slight misalignments. They're also less likely to harm delicate panel surfaces.
However, plastic clips do have their limits. They're not ideal for cumbersome panels or excessive-traffic regions. Plastic might be your fine bet for an inexpensive, user-friendly choice.
Hidden Fastener Clips vs. Visible Clips
One of the most significant decisions you'll face when deciding on trim clips is whether or not to go with hidden fasteners or visible clips.
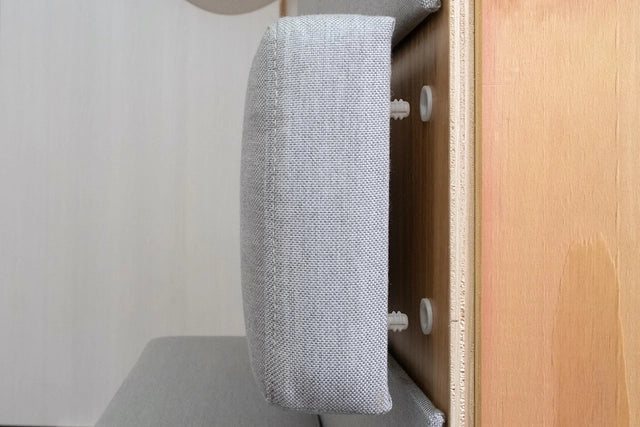
Hidden fasteners are the designer's dream. They will let you create a clean, uninterrupted panel surface without a seen screws or bolts. These clips connect in the back of the panel and discreetly lock it into the wall framework. Perfect for modern, minimalist aesthetics.
Visible clips, then again, are extra helpful and simpler to install. They're regularly used in application rooms, commercial settings, or areas wherein clean access and reconfiguration are more important than aesthetics. While no longer as glossy, they're realistic and sturdy.
Choosing between the two depends on your priorities or characteristics. If you need a showroom, hidden is the way to go. If you are after pace and ease, seen clips might be the higher desire.
Benefits of Using Fixing clips for panels
Easy Installation and Removal
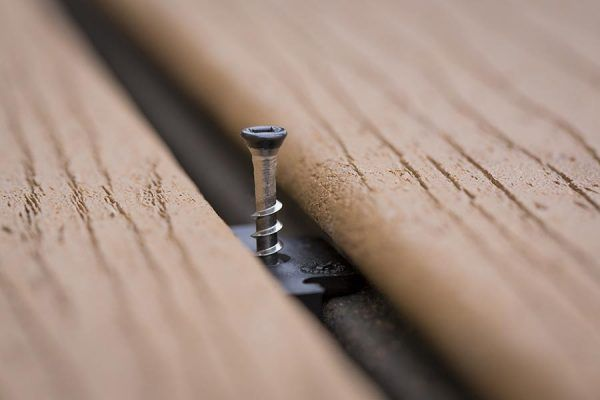
Another benefit of fixing clips for panels is their sheer convenience throughout installation. Traditional methods involve nails, screws, adhesives, and a whole lot of pressure—specially if something is going incorrect. But with clips, you may without a doubt snap panels in and out with out destructive the wall or the panel.
This flexibility is precious in both residential and business tasks. Say you need to access electric wiring, exchange out a broken panel, or redesign a part of a roomclips let you do that with minimum problem. Many structures are even designed for device-loose set up, making it less difficult than ever for DIYers to get professional-searching outcomes.
Time is money, particularly for contractors. The quicker you may set up, the more you can get finished. Fixing clips for panels drastically cut down on exertions time, that can translate to important value savings in huge-scale projects. It's no surprise that greater specialists are switching to clips for the whole thing from retail displays to convention rooms.
Increased Durability and Longevity
Let's be real nobody wants to redo their wall panels each few years. That's why Fixing clips for panels are this kind of smart investment. They assist preserve the structural integrity of your panels by means of presenting strong guide and minimizing motion. This is vital for regions that revel in shifts in humidity or temperature, that can in any other case lead to warped or cracked panels.
Unlike adhesives, which can degrade over time, or nails which can loosen, Fixing clips for panels are constructed to ultimate. High-nice clips, in particular metallic ones, can undergo decades of use with out rusting, breaking, or dropping grip. Plus, due to the fact they are hidden, they're included from direct publicity to the factors, including to their sturdiness.
And right here's an advantage: due to the fact clips don't puncture the panels like nails or screws, you lessen the hazard of lengthy-time period damage. That way your partitions stay looking new for longer, in spite frequent panel removal or changes.
How to Choose the Right Fixing clips for panels
Factors to Consider Based on Material
Choosing the right Fixing clips for panels begins with knowledge the fabric you're operating with. Wood, PVC, laminate, acoustic felt—every cloth has unique needs, and now not all clips are suitable for each panel kind.
For instance, heavy wooden panels need strong metal clips with high load-bearing capacity. On the other hand, lightweight plastic or foam panels can easily be secured with plastic clips. Acoustic panels frequently require specialized clips that won't interfere with sound absorption.
Are you mounting onto drywall, studs, or steel framing? Certain clips are better suited for specific backings. Reading producer guidelines allows you to keep away from high-priced mistakes.
A mismatch among clip and panel cloth can cause sagging, instability, or maybe total failure of the installation. Spend time comparing your desires before you purchase it'll save you a global of problem down the line.
Compatibility with Wall Panels
Not all panels are designed to paint with clips, and not all clips are designed for all panels. Some panel brands include proprietary clips explicitly designed for their structures. In those instances, they usually follow what's encouraged to ensure protection and effectiveness.
If you're going the custom course, make certain the clips you select can securely grip the panel thickness and aid the weight. Look for max load, panel hole tolerance, and mount intensity specs.
Another aspect is whether or not your panels want to be flush with the wall, or if a moderate offset is suitable. Some clips allow for an air hole behind the panel, which can be helpful for air flow or cable control.
Always check one panel first before committing to a complete installation. This ensures the whole thing suits and functions, saving you from capacity failures midway through the task.
Load-Bearing Capacity and Clip Strength
Perhaps the most critical attention while deciding on Fixing clips for panels is how a whole lot weight they can deal with. Going reasonably-priced on clips can lead to steeply-priced consequences, mainly if you're managing heavy MDF, hardwood, or multi-layer acoustic panels.
Each clip has a maximum weight rating—pay close attention to it. For instance, a fashionable plastic clip might hold five–10 lbs consistent with the clip, whilst heavy-duty metallic ones can assist 20–50 lbs or extra.
The well-known rule? Overestimate. It's constantly better to pick clips with better potential than you suspect you'll want. This guarantees a margin of safety and decreases the likelihood of disaster.
Also, bear in mind how many clips you'll need per panel. More isn't always higher strategic placement subjects. Follow the spacing pointers from manufacturers for ultimate overall performance. Poor distribution of weight, even with robust clips, can purpose panels to tilt or fall over the years.
Step-by-Step Guide to Installing Wall Panels with Clips
Tools and Materials Needed
Before jumping into the setup, ensure you have all the right equipment and substances. Here's a simple tick list:
Fixing clips for panels(matched to your panel kind)
Wall panels (wooden, MDF, PVC, and so forth.)
Measuring tape and pencil
Spirit degree or laser stage
Drill and suitable drill bits
Screws or anchors for mounting clips
Screwdriver
Safety equipment (gloves, goggles)
Optional but useful:
Stud finder (for mounting on studs)
Adhesive or double-sided tape (for alignment assistance)
Clamp set (for containing panels temporarily)
Preparation is half of the battle. Having a lot of these tools geared up guarantees a smoother, quicker method with out last-minute trips to the hardware save.
Preparation Before Installation
Start by examining your wall surface. If you're mounting on drywall, discover the studs using a stud finder and mark them. For concrete or brick partitions, you'll want unique wall anchors.
Measure and mark the layout of your panels. Use a level to make certain horizontal alignment. It's regularly high-quality to begin from the middle or a corner, depending on your design layout.
Lay out the clips on the wall of their approximate positions and ensure they align with the clips that will be connected to the panels. Doing a dry run through putting the first couple of panels with out absolutely securing them is a exquisite manner to test the fit and make modifications early.
This step may seem tedious, but it guarantees your panels will sit instantly, flush, and securely saving you time and frustration throughout real set up.
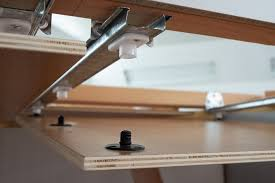
Clip Placement and Panel Attachment
Now it's time to put in the clips. Start by means of mounting the clips to the wall using screws or anchors, based totally for your wall kind. Follow manufacturer recommendations for spacing generally 12 to 24 inches aside horizontally and vertically.
Double-check alignment before snapping them into the region. Begin with the lowest row and work your way up, ensuring each panel is level and securely connected.
If needed, use spacers to hold constant gaps between panels. Once clipped in, lightly press or faucet the panel to ensure it's engaged with the wall-established clips. Repeat the method panel through the panel.
