Shiplap Paneling 4x8 Sheets: A Buyer's Guide
For contractors and DIY enthusiasts, a successful project is all about getting a professional result efficiently. Shiplap is a popular request from clients and a great way to add value to a home, but installation time can be a major factor. Individual planks require careful spacing and leveling, which can slow things down. This is why shiplap paneling 4x8 sheets are such a game-changer. They cover a large area quickly, ensure perfectly consistent spacing, and reduce the overall labor involved. This guide breaks down the practical side of shiplap, from material selection to installation tips that will help you get the job done right.
Key Takeaways
- Choose the right material for the right space: Your shiplap's success depends on its material. Use moisture-resistant options like PVC or composites for bathrooms and exteriors, and save budget-friendly MDF for dry, indoor rooms like bedrooms or living areas.
- A little prep work goes a long way: For a professional finish, always let your panels acclimate to the room's climate for at least 48 hours before installation. Painting the wall behind the panels first also prevents the original color from peeking through the gaps.
- Shiplap is more than a farmhouse trend: This versatile material fits any style. Install it vertically to create the illusion of height, paint it a dark, dramatic color for a modern accent, or mix it with other textures like brick or tile for a custom look.
What Is Shiplap Paneling?
At its core, shiplap is a type of wall covering known for its overlapping joint, called a rabbet, which creates a subtle, distinctive gap between boards. Originally used to weatherproof ships and barns (hence the name), shiplap has become a go-to for adding texture and character to interior and exterior spaces. It’s incredibly versatile, capable of creating anything from a rustic farmhouse vibe to a clean, modern backdrop. Unlike installing individual planks, modern wall panels make it easier than ever to achieve this classic look. The simple groove detail adds depth and a sense of craftsmanship to a room without overwhelming it, making it a favorite for designers, contractors, and DIY homeowners alike.
Traditional vs. Modern Styles
Shiplap's versatility shines through in its wide range of styles. Traditional looks often feature a natural wood grain or a weathered finish, perfect for creating a cozy, rustic feel in a living room or bedroom. This style leans into the material's history, adding warmth and a touch of nostalgia. On the other hand, modern shiplap is all about clean lines. Smooth-faced panels painted in crisp white, dramatic black, or a bold color can define a contemporary space. You can find options that mimic everything from reclaimed wood to sleek, uniform surfaces, including durable Exterior Shiplap Cladding Wall Panels that bring a sharp, sophisticated look to a building’s facade.
The Advantage of 4x8 Sheets
If you love the look of shiplap but not the idea of installing it one plank at a time, 4x8 sheets are a game-changer. These large panels are designed to cover a significant area quickly, which saves a ton of time and effort on any project. Installation is much simpler because you're working with one large piece instead of many small ones. This also means fewer seams and perfectly consistent spacing, giving you a professional-looking finish without the hassle. Plus, you can easily cut the panels to fit your specific wall dimensions, making them a practical choice for custom jobs.
Where to Use Shiplap
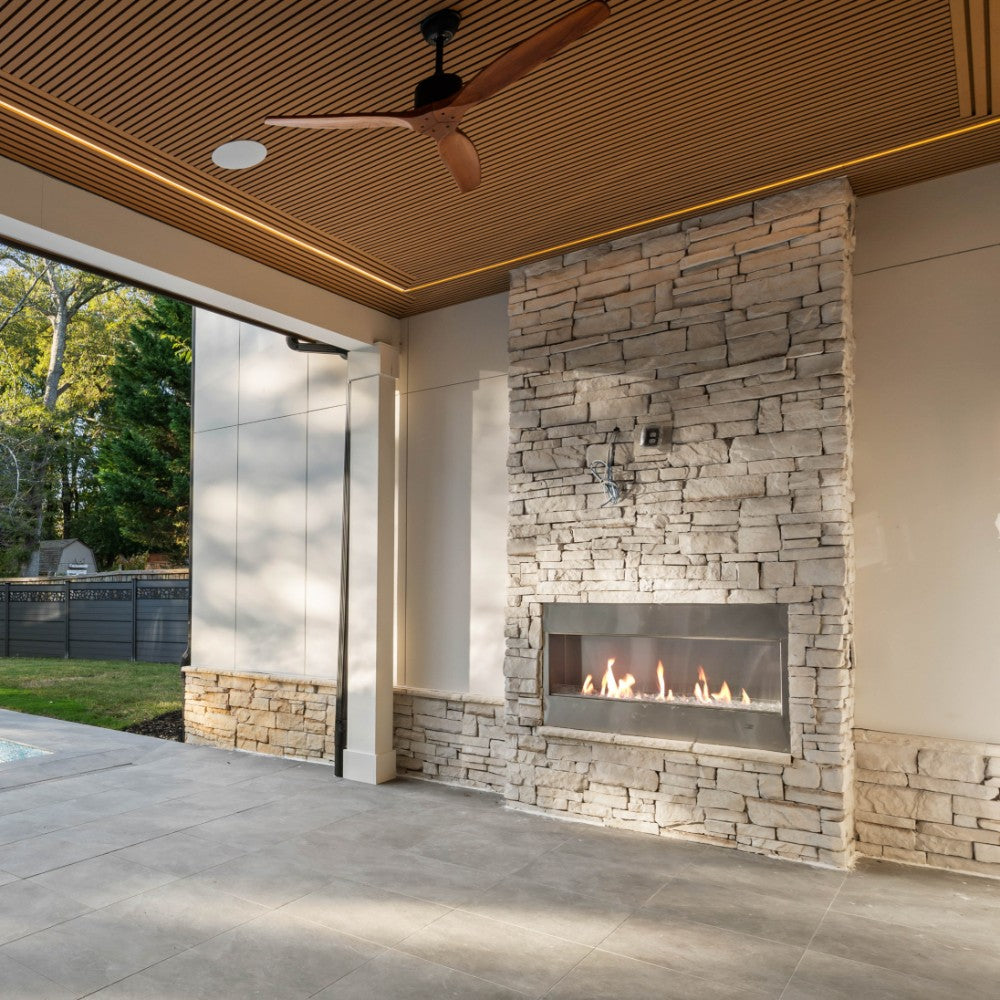
The beauty of shiplap is that it works almost anywhere you want to add visual interest. It’s a popular choice for creating an accent wall in a bedroom or living room, adding texture to a kitchen backsplash, or even covering a ceiling for a dramatic effect. Think beyond full walls—shiplap is great for wainscoting in hallways, wrapping a kitchen island, or updating a fireplace surround. For trade professionals, it’s a reliable way to add custom character to both residential and commercial projects. If you're a contractor or designer, you can get bulk pricing through our trade application.
Explore Shiplap Materials
Choosing the right material for your shiplap is the first major decision you’ll make, and it impacts everything from the final look to long-term durability. There’s no single "best" option—it all comes down to your project's location, your budget, and the style you want to achieve. Are you aiming for a rustic, natural vibe or a sleek, modern finish? Will the panels be in a humid bathroom or on a sun-drenched exterior wall? Let's walk through the most common materials so you can pick the perfect fit for your space.
Real Wood
For a truly authentic look, nothing beats real wood. The natural grain, knots, and subtle imperfections give it a character that’s hard to replicate. Common options include pine, cedar, and poplar, each offering a unique appearance and level of durability. Real wood is versatile; you can stain it to highlight the grain or paint it any color you like. It’s an excellent choice for living rooms, bedrooms, and entryways where you want to add warmth and texture. Our Unfinished Wood Wall Panels give you a perfect canvas to create a custom look that feels both timeless and personal. Just keep in mind that wood can expand and contract with temperature changes.
MDF
If you’re looking for a budget-friendly option with a flawless finish, Medium-Density Fiberboard (MDF) is a fantastic choice. As an engineered wood product, MDF is incredibly stable and consistent, with no knots or imperfections to work around. This makes it the ideal surface for a smooth, even coat of paint. Because it’s so uniform, it’s easy to cut and install, which can save time and effort. MDF works best in dry, indoor spaces like bedrooms, hallways, and living areas. It’s not recommended for bathrooms or basements, as it can swell if it comes into contact with moisture. For a clean, polished look without the cost of solid wood, MDF delivers.
PVC and Composites
When your project involves moisture or the outdoors, PVC and composite materials are your best bet. Made from plastic or a blend of wood fibers and plastic, these panels are built to withstand the elements. They are completely waterproof, so they won't rot, warp, or swell in humid environments like bathrooms, laundry rooms, or basements. They’re also a top choice for Exterior Shiplap Cladding because they resist pests and harsh weather. PVC and composite shiplap are low-maintenance and easy to clean, often just needing a simple wipe-down. They come in a variety of finishes, giving you a durable solution without sacrificing style.
Prefinished vs. Unfinished
Your final material consideration is whether to buy prefinished or unfinished panels. Prefinished shiplap arrives ready to install, saving you significant time and labor. The factory-applied coating is consistent and durable, so you can get your project done faster. Unfinished panels, on the other hand, offer complete creative control. They are a blank slate, allowing you to choose the exact paint color or stain to match your decor perfectly. Our Paint and Stain Grade Panels are perfect for this. The choice comes down to convenience versus customization. If you’re on a tight timeline, go prefinished. If you have a very specific vision, unfinished is the way to go.
How to Choose the Right Shiplap
Picking the perfect shiplap goes beyond choosing a color you love. To get a look that lasts, you need to consider where you’ll install it, the climate you live in, and the material that best suits your lifestyle. A beautiful wood panel that works wonders in a dry living room might not hold up in a steamy bathroom. The key is to match the material and finish to the environment.
Thinking through these factors ahead of time saves you from potential headaches like warping, peeling, or moisture damage down the road. We’ll walk through everything you need to know, from understanding how different materials react to moisture to picking a finish that fits your maintenance style. By the end of this section, you’ll be able to confidently select the right wall panels for any room in your home, ensuring your project looks great from day one and for years to come.
Indoor vs. Outdoor Use
First things first: decide where your shiplap will live. Panels designed for indoor use are not built to handle the elements. They lack the necessary treatments to resist moisture, UV rays, and temperature swings, which can lead to rot, fading, and warping when exposed to the outdoors. For exterior projects like siding or porch ceilings, you need shiplap specifically made for that purpose. Our Exterior Shiplap Cladding is engineered to withstand weather, giving you a durable and beautiful finish that protects your home. Always check the product specifications to ensure you’re buying the right panel for the job.
Consider Climate and Moisture
Your local climate and the specific room's humidity levels are huge factors in choosing a material. For instance, MDF (medium-density fiberboard) is a popular and affordable indoor option, but it’s sensitive to moisture and can swell in damp environments like bathrooms or basements. In these areas, a moisture-resistant material like PVC or our Interior WPC Fluted Slat Wall Panels is a much safer bet. These composite materials won’t warp, rot, or grow mold, making them ideal for spaces with high humidity. For dry rooms, you have more flexibility with materials like natural wood or MDF.
What to Look for in Quality
Not all shiplap is created equal. High-quality panels are made from solid materials that offer stability and longevity. For example, shiplap crafted from high-quality hardwood plywood is superior to panels made from compressed wood because it’s less likely to expand or contract with changes in humidity and temperature. When shopping, look for panels with a solid core and a consistent, smooth finish. Investing in a better-quality product from the start means your walls will look straight and seamless for years, preventing frustrating gaps or buckling that can occur with lower-grade materials.
Pick Your Perfect Finish
Shiplap comes in two main options: prefinished or unfinished. Prefinished panels arrive ready to install, often with a durable laminate or factory-applied paint. These are fantastic time-savers and are often easy to clean and resistant to fingerprints. On the other hand, unfinished wood wall panels give you complete creative freedom. You can paint or stain them any color to perfectly match your decor. This route requires a bit more work, but the custom result is often worth it. Your choice comes down to whether you value convenience or customization more.
Match the Shiplap to the Room
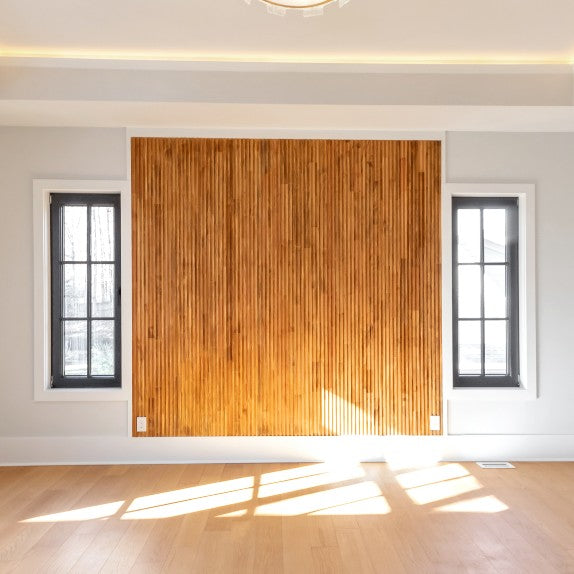
Shiplap is incredibly versatile and can complement almost any design style. The key is to match the panel’s style to the room’s function and aesthetic. For a modern farmhouse living room, classic white horizontal shiplap is a go-to. If you want to add warmth and texture to a bedroom, consider natural veneer wall panels for an organic feel. In a small space like a powder room or entryway, installing shiplap vertically can create the illusion of height, making the room feel larger. Don’t be afraid to think beyond a simple accent wall—shiplap looks amazing on ceilings, kitchen islands, and fireplace surrounds.
Get Ready for Installation
With your perfect shiplap panels chosen, it’s time to prepare for installation. A little planning goes a long way toward ensuring a smooth process and a beautiful, professional-looking result. Taking the time to gather your supplies and prep your space will save you headaches later and help you achieve that clean, classic shiplap look you’re after. Let’s walk through the key steps to get you ready.
Gather Your Tools and Materials
Before you start, make sure you have everything you need within reach. A typical shiplap installation requires a measuring tape, a level, a pencil, a saw for cutting panels to size, and safety glasses. For attaching the panels, a nail gun and a strong construction adhesive like Liquid Nails are your best bet. Using adhesive helps secure the panels firmly and allows you to use fewer nails. This is a great time-saver, as it means you’ll have fewer nail holes to fill and sand later on. You’ll also want to have wood filler and caulk on hand for the finishing touches.
How to Prep Your Walls
Proper wall preparation is a step you don’t want to skip. Start by clearing the room and wiping down the walls to remove any dust or grime. Next, use a stud finder to locate and mark the wall studs—this is where you’ll nail the panels for the most secure hold. One of the best pro tips is to paint the wall the same color you plan to use for your shiplap. Because shiplap has small, intentional gaps between the boards, the original wall color can peek through. A quick coat of paint beforehand ensures a seamless, uniform look once your Exterior Shiplap Cladding Wall Panels are up.
A Step-by-Step Installation Guide
While you should always follow the specific instructions for your chosen panels, the general process is straightforward. First, measure and cut your panels to the correct size. Start with the bottom row, ensuring the first panel is perfectly level—this will guide the rest of your installation. Apply construction adhesive to the back of the panel and press it firmly against the wall. Then, use a nail gun to secure the panel to the studs. Work your way up the wall, locking each new panel into the one below it. Once all the panels are installed, you can fill the nail holes with wood filler and caulk the seams for a polished finish.
Tips for Spacing and Expansion
The signature look of shiplap comes from the consistent gap between the boards. A simple trick to keep your spacing even is to use coins. Nickels are a popular choice, but you can use pennies for a tighter gap or even tile spacers for a wider one. It’s also crucial to let your Natural Veneer Wall Panels acclimate to the room’s environment for at least 48 hours before installation. Wood naturally expands and contracts with changes in temperature and humidity. This rest period prevents the panels from buckling or creating unwanted gaps after they’re on the wall.
Avoid These Common Mistakes
A few common missteps can derail an otherwise perfect shiplap project. The biggest mistake is skipping wall prep and not acclimating the panels. Another is using the wrong adhesive or forgetting to leave small expansion gaps, which can cause problems down the line. When it comes to finishing, make sure your cuts are precise and even; don’t rely on caulk to fill large, uneven gaps, as it can look messy. Taking your time and paying attention to these details will make all the difference. If you’re a contractor, joining a trade program can give you access to resources and discounts to ensure every project is a success.
Style Your Shiplap Walls
Once your shiplap is installed, the real fun begins. This versatile material is a fantastic canvas for expressing your personal style, whether you’re aiming for a cozy farmhouse feel or a sleek, modern look. Shiplap can be the star of the show or a subtle backdrop that lets other design elements shine. It’s all about how you incorporate color, texture, and surrounding details to create a space that feels uniquely yours. Think of it as the foundation for your room's personality—a simple element that can be styled in countless ways to achieve the exact atmosphere you want.
Find Your Design Style
While shiplap is famous for its role in modern farmhouse design, its clean lines make it a perfect fit for many other aesthetics. For a coastal or beachy vibe, use wide, white-painted planks to create a bright and airy backdrop. If your style is more industrial, consider painting shiplap a dark charcoal or black to add drama and texture. In a minimalist space, a seamless wall of vertical shiplap can add subtle interest without creating clutter. The key is to see shiplap not as a single style, but as a versatile texture. Explore different wall panels to find a finish that aligns with your vision, from rustic to refined.
How to Choose the Right Color
Color has a huge impact on the feel of a room, and shiplap is the perfect surface to play with paint. A crisp white is a timeless choice that makes any space feel larger and brighter. For a moodier, more dramatic effect, a deep navy or forest green accent wall can create a cozy, sophisticated focal point. Natural wood tones bring warmth and an organic feel, perfect for rustic or Scandinavian-inspired designs. If you have a specific shade in mind, starting with Unfinished Wood Wall Panels gives you the freedom to paint or stain them to match your decor perfectly, offering complete creative control over the final look.
Pair with Architectural Details
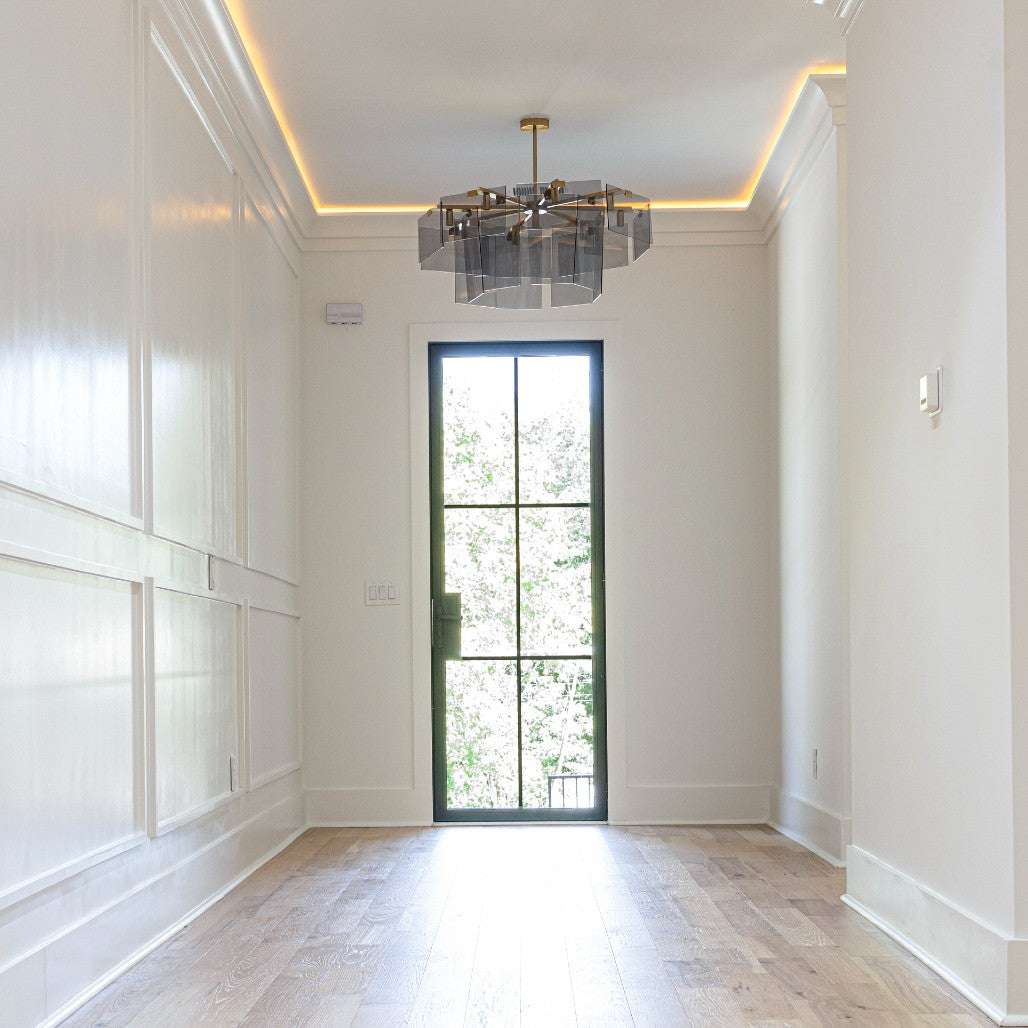
Shiplap works beautifully with other architectural elements to create a cohesive and polished design. The direction you install it matters: horizontal planks can make a room feel wider, while vertical shiplap draws the eye upward, creating a sense of height. Frame your shiplap walls with substantial baseboards and crown molding for a traditional, finished look. It also makes a stunning statement on ceilings or as a fireplace surround. Consider how your shiplap will interact with other features, like pairing its clean lines with the bold frames of modern steel windows to create a balanced and visually interesting space.
Mix with Other Materials
One of the best ways to create a dynamic, layered look is by mixing shiplap with other materials. The contrast in textures adds depth and character to any room. For an industrial-chic aesthetic, pair a shiplap wall with exposed brick or sleek metal accents. In a bathroom or kitchen, combine shiplap with glossy porcelain tiles for a look that’s both classic and contemporary. You can also contrast its rustic charm with smooth, modern surfaces like concrete countertops or floors. This interplay of materials prevents the design from feeling one-dimensional and adds a custom, high-end touch to your project.
Keep Your Shiplap Looking Great
Once your shiplap is installed, keeping it looking fresh is pretty straightforward. The right care routine will protect your investment and ensure your walls look fantastic for years to come. The most important factor determining your maintenance plan is the material you chose. Real wood, MDF, and PVC composites each have different needs, especially when it comes to cleaning and moisture.
A little bit of upkeep goes a long way. For most indoor applications, a simple dusting or wipe-down is all you’ll need to do regularly. For outdoor or high-traffic areas, you might need a more robust plan. The key is to address scuffs, dirt, and moisture promptly to prevent them from causing long-term damage. By following a few simple guidelines tailored to your specific wall panels, you can easily maintain that clean, classic shiplap look.
Simple Cleaning and Care
For routine cleaning, simply use a soft microfiber cloth or a vacuum with a brush attachment to remove dust from the boards and the gaps between them. This prevents buildup that can make the panels look dull over time. If you need to tackle smudges or dirt, wipe the area with a slightly damp cloth and a mild soap solution. Be sure to wring out the cloth well to avoid oversaturating the panels, especially if they are made of real wood or MDF. After wiping, go over the spot with a dry cloth to remove any remaining moisture.
When and How to Refinish
Over time, you might notice that your painted or stained shiplap is looking a bit worn, with scuffs, scratches, or fading color. This is a good sign that it’s time for a refresh. To refinish, start by cleaning the surface thoroughly. Next, lightly sand the panels to scuff up the old finish, which helps the new coat adhere properly. Wipe away the dust, apply a coat of primer if you’re making a drastic color change, and then finish with your new paint or stain. This is one of the great benefits of using unfinished wood wall panels—you have complete control to change the look whenever you want.
Protect Panels from Moisture
Moisture is the biggest enemy of many shiplap materials. If you’re installing panels in a bathroom, kitchen, or basement, material choice is critical. PVC-based panels are an excellent option for these spaces because they are inherently moisture-resistant and won’t warp or swell. Wood and MDF panels, on the other hand, are wood-based and can be damaged by prolonged exposure to water. If you use them in a damp area, be sure to seal them with a high-quality, moisture-resistant primer and paint. Wiping up splashes immediately and ensuring good ventilation will also help protect your walls and keep them in top condition.
Factors in Long-Term Durability
The long-term durability of your shiplap walls comes down to two things: choosing the right material and proper care. Real wood offers incredible durability and natural beauty, but it requires consistent maintenance to prevent warping or fading. MDF is a budget-friendly and low-maintenance alternative that provides a smooth, consistent look, though it doesn’t have the same impact resistance as solid wood. Proper installation also plays a huge role. Leaving the correct expansion gap during installation allows the boards to shift with temperature changes, preventing buckling and ensuring your walls stay straight and secure for the long haul.
What Does Shiplap Cost?
Budgeting for your shiplap project involves more than just the price tag on the panels. The total cost depends on the material you choose, whether you hire a pro or do it yourself, and the supplies needed to get the job done right. Understanding these factors will help you create a realistic budget and avoid any surprises along the way. Let’s break down the main expenses you can expect when adding shiplap to your space.
Compare Material Prices
The material you select is the biggest factor in your shiplap budget. Prices can range from budget-friendly MDF to premium real wood options. For example, you can often find basic 4x8 MDF shiplap panels at big-box stores for around $35 to $40 per sheet. If you’re looking for something more specialized, like pre-finished or specialty wood panels, the cost can be higher. It’s always a good idea to browse a wide selection of wall panels to compare styles and prices. This will give you a clear picture of what’s available and help you find the perfect material that fits both your design vision and your wallet.
Factor in Installation Expenses
Are you planning to install the shiplap yourself or hire a professional? A DIY installation can save you a significant amount on labor, but remember to account for any tools you might need to buy or rent. If you hire a contractor, labor costs can vary widely based on your location and the complexity of the job, often ranging from $4 to $10 per square foot. Using large 4x8 sheets can sometimes speed up the installation process compared to individual planks, which could potentially lower labor time and costs. Always get a few quotes from local professionals to find a fair price.
Account for Additional Supplies
Beyond the panels themselves, you’ll need a few other supplies to complete the installation. This includes construction adhesive, nails for your nail gun, caulk for finishing seams, and potentially primer and paint if you choose unfinished panels. While these items might seem small, they can add up. For a smooth finish, be mindful of how many nails you use—each one creates a hole that will need to be filled and sanded later. Creating a detailed shopping list before you start will help you keep these extra costs under control and ensure you have everything you need on hand.
Save Money with Bulk Orders
If you’re tackling a large room or multiple areas, buying your materials in bulk is a smart way to save money. Many suppliers offer tiered pricing, where the cost per panel decreases as the quantity you purchase increases. This is especially beneficial for contractors and designers working on bigger projects. For example, our Trade Program is designed to give professionals access to exclusive pricing and bulk discounts. Don’t hesitate to ask about volume pricing when you’re getting quotes, as it can make a real difference in your project’s bottom line.
Find Your Perfect Shiplap
Once you know what you’re looking for, the final step is finding a supplier you can trust to deliver high-quality materials on time. The right partner makes all the difference, ensuring your project runs smoothly from start to finish. Look for a company that offers a great selection, reliable service, and support for both DIY homeowners and trade professionals. A good supplier won’t just sell you panels; they’ll provide the resources and confidence you need to get the job done right.
Explore the USA Builders Depot Collection
The material you choose—whether it’s pine, cedar, or a durable composite—shapes the final look and longevity of your walls. Our extensive collection of wall panels gives you the freedom to find the perfect match for your project’s needs and aesthetic. We offer everything from unfinished wood that you can customize completely to exterior-grade cladding designed to withstand the elements. By exploring the different options, you can make an informed choice that ensures your shiplap looks great for years to come.
Get Access to Our Trade Program
For contractors, designers, and other building professionals, sourcing consistent, high-quality materials is key to success. We created our trade program to support your business with exclusive pricing and bulk discounts on our entire product line. When you submit a trade application, you get access to customized solutions tailored to your project specifications. This partnership helps you deliver exceptional results for your clients while managing your budget and timeline effectively.
Fast Shipping for Your Project
Nothing slows down a project like waiting for materials to arrive. We understand that timing is critical, which is why we offer fast nationwide shipping on our products. Whether you’re a homeowner tackling a weekend renovation or a contractor on a tight deadline, you can count on us to get your shiplap panels to your job site quickly. This reliable service helps you keep your project on schedule and avoid unnecessary delays, so you can move on to the next phase with confidence.
Review Our Warranty
Investing in quality materials is an investment in your home or project, and you want to know it’s protected. A solid warranty provides peace of mind, assuring you that the company stands behind its products. Before making a purchase, it’s always a good idea to review the warranty details to understand what is covered. You can also read our customer reviews to see what others have to say about their experience. We are committed to quality and customer satisfaction, ensuring you feel confident in your choice.
Related Articles
Frequently Asked Questions
Can I actually use shiplap in a bathroom? Yes, you absolutely can, but you have to choose the right material. Standard wood or MDF panels are not a good fit for high-moisture areas because they can swell, warp, or even grow mold over time. For a bathroom, laundry room, or basement, your best bet is to use panels made from PVC or a composite material. These are completely waterproof, so they can handle the steam and humidity without any issues, giving you the shiplap style without the worry.
What's the real difference between installing 4x8 sheets and individual planks? The biggest difference is the time and effort you'll save. Installing shiplap one plank at a time is a meticulous process that requires careful measurement and leveling for every single board. With 4x8 sheets, you cover a large area all at once. This not only makes the job go much faster but also guarantees that the spacing between the grooves is perfectly consistent, giving you a clean, professional finish with far fewer seams.
Do I really need to paint the wall before installing shiplap? I highly recommend it. That small gap between shiplap boards is part of its signature look, but it also means the original wall color can peek through. If you're installing white shiplap over a dark-colored wall, you'll definitely notice the contrast. Taking a little time to paint the wall a similar color to your panels first will ensure a seamless, high-end result.
Should I install my shiplap horizontally or vertically? This choice depends entirely on the effect you want to create. The classic, horizontal installation tends to make a room feel wider and more spacious. A vertical installation, on the other hand, draws the eye upward and can create the illusion of higher ceilings. This makes it a great trick for making smaller rooms or spaces with low ceilings feel taller and more open.
Is it better to buy prefinished or unfinished shiplap panels? This comes down to a simple trade-off: convenience versus customization. Prefinished panels are ready to install right out of the box, which saves you the time and effort of painting or staining. If you're on a tight schedule, this is the way to go. Unfinished panels are a blank canvas, giving you the creative freedom to choose the exact paint color or stain that perfectly matches your vision for the room.


