


Sound Absorbing Panels: A Complete Buyer's Guide

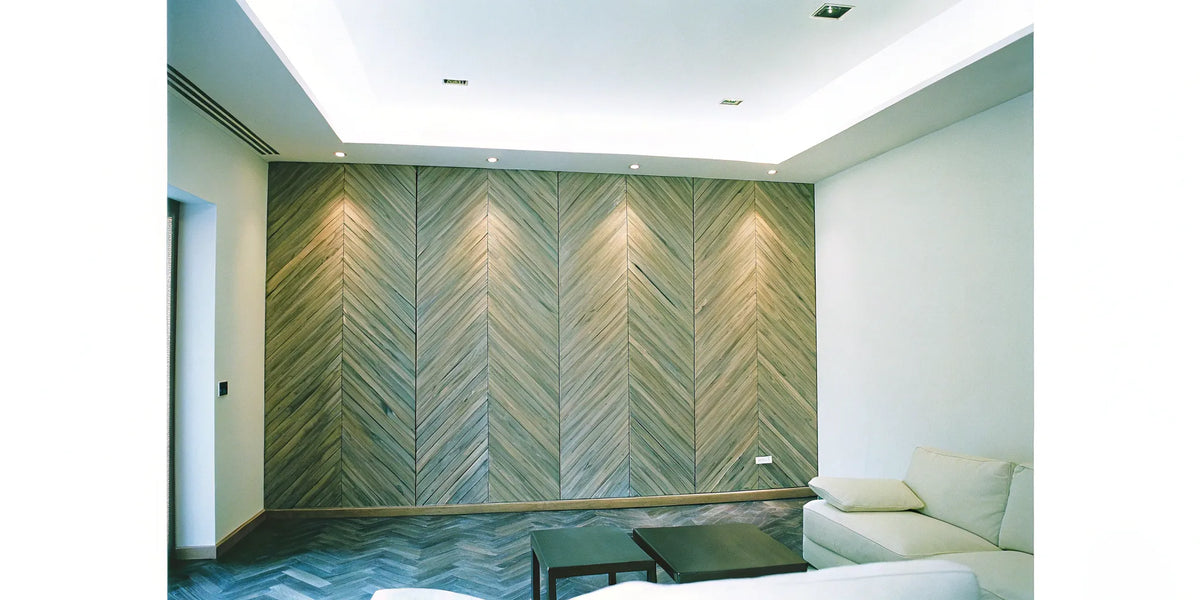
Choosing sound absorbing panels starts with understanding the room and the sound problem. A feature wall can be part of an acoustic plan, but appearance alone does not tell you how a panel performs or how much material your room needs.
This guide helps you compare documentation, plan coverage and prepare a complete order. Browse acoustic wood slat panels for current USABD options, then confirm the specifications for your chosen product and installation.
Start with the problem you want to solve
Write down where the sound comes from, where you hear it and what you want to improve. An echo during conversation, bass unevenness around a listening room and noise arriving from a neighboring space are different problems. The same treatment should not be assumed to solve all three.
Sound absorption addresses reflected sound within a space. Limiting transmission between rooms requires consideration of the separating construction and sound paths. Do not treat decorative acoustic panels as a standalone guarantee of privacy or sound isolation.
For a home office, record the desk location and the surfaces nearby. For a media room, include speaker and seating positions. For an open living area, note the connected spaces as well as the wall you would like to feature. A room sketch makes the discussion more useful than a wall measurement alone.
Compare the tested assembly, not just a rating
Ask for acoustic documentation for the exact panel. If an NRC value or another absorption rating is supplied, check the report’s product description and mounting conditions. Panel thickness, backing, air space and added materials should match the assembly being specified.
A single absorption rating is not a promised percentage reduction in the room’s noise level. Do not transfer a result from a different panel, or from a batten-mounted assembly to a direct-mounted installation, without supporting evidence. If a particular frequency range matters to the project, ask for the relevant test data rather than relying only on a summary value.
Use the acoustic panel technical resources to organize your questions. A studio, meeting room or project with a defined acoustic target may need a professional assessment of the complete room.
Choose materials for both appearance and use
Acoustic products can have different surfaces, cores and backings. Confirm each layer rather than assuming that a wood-look surface is solid wood or that every felt-backed panel has the same construction. A decorative veneer panel should not be assigned an acoustic rating simply because it resembles a tested slat product.
- Appearance: review the surface, grain or pattern, sheen and backing color.
- Dimensions: check overall size, thickness, weight and installed coverage.
- Location: confirm suitability for the room conditions and intended wall or ceiling application.
- Documentation: request any project-specific fire, emissions or sourcing information.
- Maintenance: review the cleaning and finish restrictions before ordering.
View a sample beside the room’s flooring, paint and furnishings, under both daylight and evening lighting. Where a natural wood surface is specified, allow for variation between pieces. Review the delivered panels together before cutting or mounting them.
Plan coverage from the room and the product
There is no single coverage percentage that guarantees the desired result in every home. Establish the acoustic goal first, then consider the room’s dimensions, existing finishes, furnishings and the documented performance of the proposed assembly.
A supplier’s calculator can be a planning aid, but review its assumptions and the product it uses. Do not treat its output as a guarantee. For a listening room, placement should be assessed with the actual speaker and seating arrangement; a decorative wall position may not address the main issue.
Turn the agreed layout into a material count
- Measure each area to be treated and mark openings and obstructions.
- Draw full-panel positions using the product’s installed coverage.
- Check joints, orientation, perimeter clearances and exposed edges.
- Plan cuts and identify offcuts that can actually be reused.
- Add an allowance based on the cut plan and confirm pack quantities.
Keep acoustic treatment area and purchase quantity separate: cuts and spare pieces affect what you order, while only installed material contributes to the planned treatment.
Check the mounting method before installation
Use the selected panel’s instructions for substrate preparation, storage, acclimation, fasteners, adhesive and clearances. Clips, screws, adhesives and battens are different systems; do not assume that any mounting hardware is included or interchangeable.
Confirm that the substrate is sound, dry and suitable for the attachment method. Inspect the panels, test cuts on an offcut and dry-fit visible joints before permanent installation. Follow the tool and adhesive instructions, including any curing support.
Plan around electrical boxes, concealed services and the support required for TVs or shelves. Decorative panel backing should not be assumed to carry those loads. Have electrical changes handled by a qualified electrician. Ceiling applications need an attachment arrangement specifically approved for overhead use.
If the acoustic design specifies an air space or additional material, preserve that assembly during installation. Adding battens on its own does not establish a new rating.
Match accessories to the selected panel
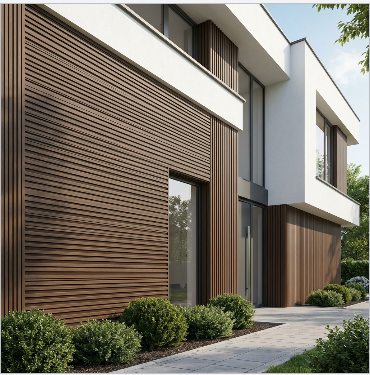
Include end slats and other finishing pieces when planning exposed edges. Confirm profile compatibility, dimensions and finish rather than selecting a trim by color name alone.
For Luxury Acoustic Wall Panel, White Oak & Grey Felt, use the Luxury Acoustic Wall Panel, Classic Oak End Slat as the matching accessory. Other finishes require their own compatibility check. Send USA Builders Depot the panel name and a sketch showing the exposed edges if you need help identifying the detail.
Prepare the complete order and care plan
Budget for panels, matching accessories, attachment materials, any specified battens or additional layers, wall preparation and installation. Confirm availability and lead time for the exact quantity and finish before scheduling work.
Full acoustic panels ship free. Acoustic end slats ship free when ordered with full acoustic panels; end slats ordered separately carry a $349 flat shipping fee. Include the required matching pieces with your panel order.
Follow the product’s care instructions after installation. Use gentle dust removal and approved cleaners, and avoid soaking the panel or backing. Do not paint, oil or otherwise modify a factory finish unless the manufacturer permits it. Keep the instructions and a spare offcut for future maintenance.
For more project planning, read the DIY wood slat wall guide or walnut acoustic panel guide. Builders and designers can review the USABD trade program.