
The Slat Wall Panel Guide: Design & Install Tips
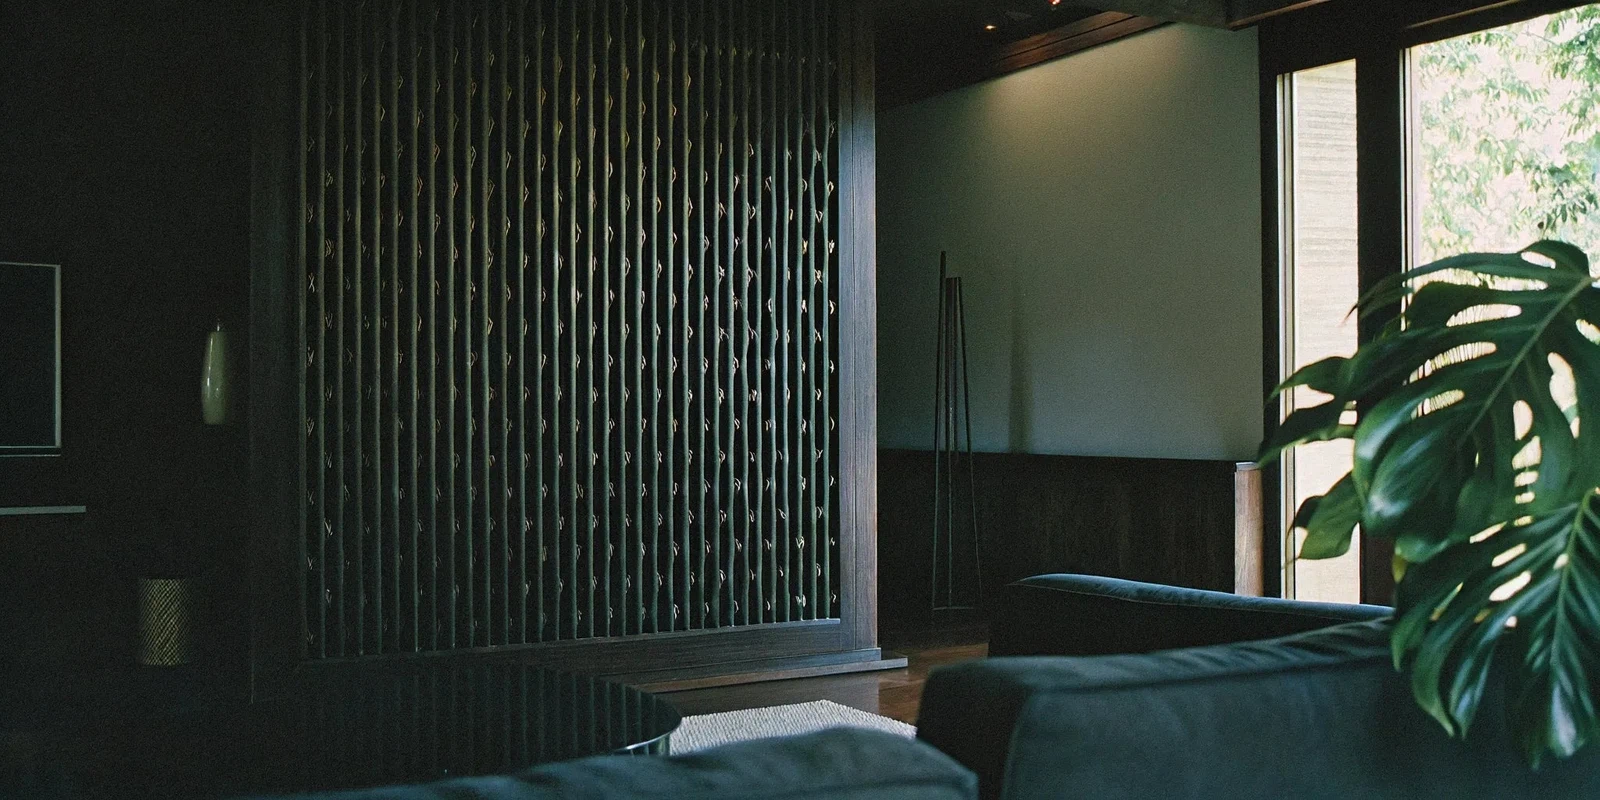
A decorative slat wall panel adds a repeated linear pattern to a room. To get a coordinated result, choose the panel system first, then plan its joints, exposed edges and attachment method. Panels that look similar can have different construction, room suitability and installation requirements.
Browse wall panels for current designs. Use this guide to turn a preferred finish into a complete layout and order.
Choose the system before the color
Confirm the actual surface, core and backing of the selected panel. A wood color name does not establish solid-wood construction, and a decorative slat pattern does not establish acoustic performance. Compare product specifications alongside the appearance.
- Acoustic slat panels: ask for performance documentation covering the exact panel and planned mounting assembly.
- Decorative veneer panels: confirm the surface material, finish and matching edge profiles.
- Interior WPC panels: check approved room conditions and the specified fastening system.
- Exterior panels: use a product and installation detail intended for the actual exterior exposure.
Browse interior wall panels, acoustic wood slat panels or exterior wall panels according to your project. Do not assume an interior panel is suitable for a ceiling, splash zone or outdoor application.
If your goal is to manage sound, distinguish reflections inside the room from sound transmission between spaces. Request evidence for any quoted acoustic rating. Adding battens or backing material does not automatically give a decorative panel a particular rating.
Plan the pattern and its boundaries
Decide whether the feature covers a whole wall, a framed section or an area behind furniture. Sketch the start and end points before choosing the number of panels. Show baseboards, corners, outlets, switches and any nearby doors or windows.
Vertical and horizontal arrangements create different compositions, but confirm that the product supports your intended orientation. Check the pattern across panel joints, not just within one sample. Decide how cut edges will be concealed or finished.
Compare a sample beside the flooring, cabinetry and paint under daylight and evening lighting. Include backing color and sheen in the comparison. For a natural wood surface, review delivered panels together before installation so the variation can be arranged intentionally.
Plan lighting channels, drivers and access before closing the wall. Confirm component clearances and compatibility rather than assuming lights are included with the panel. TVs, shelves and other loads need an appropriate support arrangement independent of decorative backing.
Calculate quantities from the installed layout
Measure the feature area at several points and use the selected product’s installed coverage. Overall panel width may differ from the width added by each joined panel. Check the pack quantity and required perimeter clearances.
- Mark full-panel positions and the direction of the pattern.
- Locate cuts around openings and at both ends.
- Identify offcuts that can be reused without disrupting the pattern.
- Add a cut allowance based on the layout.
- Count exposed edges, corners and all required accessories.
Do not use one waste percentage or a generic panel size for every project. A narrow feature wall with visible ends can need a different cut plan from a large uninterrupted wall.
Match the profile as well as the finish
Choose accessories from the compatible panel family. Check thickness, profile and intended edge detail as well as color; similarly named wood tones may not match.
For Luxury Acoustic Wall Panel, White Oak & Grey Felt, the matching accessory is the Luxury Acoustic Wall Panel, Classic Oak End Slat. Confirm the quantity from your exposed-edge layout. Other acoustic finishes need their own compatibility check.
For natural veneered panels, review natural veneered corner trim and select the corresponding finish and profile. For interior WPC panels, confirm the appropriate clip and trim system for the selected model. Do not substitute exterior accessories simply because the pattern looks similar.
Send USA Builders Depot the panel link, preferred color and a photo or sketch of the edges if you need help completing the accessory list.
Use the instructions for the selected product
Check substrate condition, flatness, storage and any acclimation requirements before starting. Resolve loose surfaces or moisture problems before covering the wall. Dry-fit the first run and test the cutting method on an offcut.
Adhesives, screws, clips and battens are different attachment methods. Confirm which is approved for the panel and substrate, including fastening locations, spacing and curing support. A generic construction adhesive or a few screws are not a universal specification.
Do not pull a panel against an uneven wall until it distorts. Use the approved substrate preparation or support detail. Preserve specified gaps and joint arrangements.
Ceiling installations need a system and attachment arrangement approved for overhead use. Coordinate concealed services and electrical-box details before drilling or cutting; have electrical alterations handled by a qualified electrician. Follow the tool and product instructions throughout the work.
For a preparation sequence, see the DIY wood slat wall guide. Acoustic projects can also use the acoustic panel technical resources to organize the required information.
Keep the finish compatible with the product
Follow the selected finish’s cleaning instructions. Start with gentle dust removal and use approved cleaners without soaking the surface or backing. Keep an offcut for testing permitted cleaning or touch-up products.
Do not sand, paint, stain or oil factory-finished panels unless the manufacturer allows it. For a product supplied unfinished, confirm the full finishing system and test it first. A surface coating does not establish wet-area suitability or replace the product’s room restrictions.
Order the complete feature wall
Include panels, cutting allowance, matching edges, fasteners or adhesive, any specified supports, finishing supplies and installation labor in the budget. Confirm stock and lead time for the exact finish and accessory combination.
Full acoustic panels ship free. Acoustic end slats ship free when ordered with full acoustic panels; end slats ordered separately carry a $349 flat shipping fee. Include the required matching pieces when placing your acoustic panel order.
Contact USA Builders Depot with dimensions, finish preferences and edge details. Builders and designers can explore the USABD trade program.