



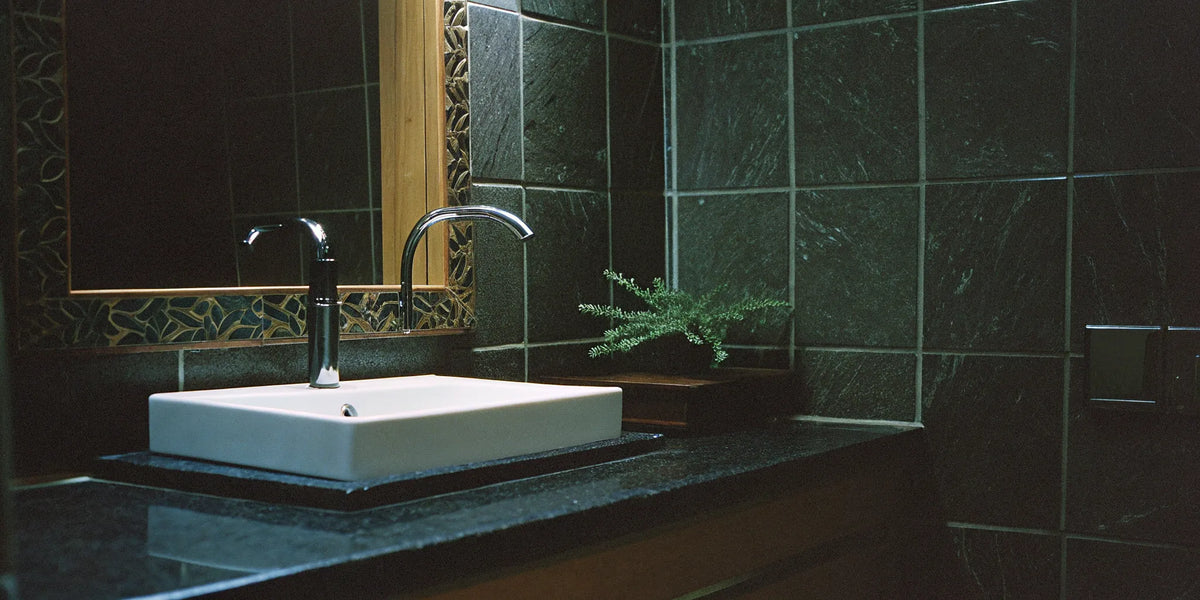
Your Guide to Bathroom Porcelain Slab Walls

Porcelain slab walls can give a bathroom broad areas of color or veining with fewer joints than a small-tile layout. Achieving that look takes careful planning: slab dimensions, wall preparation, waterproofing, access and fabrication all affect the result.
Use this checklist to discuss your project with a supplier and an installer experienced with the selected slab system. Confirm product suitability before committing to a bathroom or shower installation.
Confirm the slab is suitable for the location
Start with the exact product reference, thickness, finish and approved uses. A slab offered for one application is not automatically suitable for every bathroom surface. In particular, wall suitability does not establish floor suitability.
| Area or detail | What to check |
|---|---|
| Bathroom feature wall | Wall-use approval, slab weight and a compatible support and bonding system. |
| Shower or tub surround | Wet-area approval and the complete waterproofing and joint details. |
| Niches and corners | Fabrication, edge finish, joints and any required drainage details. |
| Valve and fixture openings | Confirmed positions, cutout requirements and coordination with plumbing. |
| Matching floor | Separate floor-use approval and documented surface performance for the intended conditions. |
Porcelain surfaces do not replace the waterproofing needed behind a wet-area finish. Slabs, seams, corners and service penetrations must form part of a coordinated assembly. Ask your installer to identify the complete system rather than treating the slab itself as waterproofing.
Plan the pattern, edges and joints
Compare samples under your bathroom lighting, then review images or layouts that show the full slab pattern. A small sample cannot show every vein or the overall composition of a large face.
Draw each wall with slab divisions, niches, fixtures and cutouts. Confirm actual slab dimensions and usable areas before assuming a wall can be covered in one piece. If you want bookmatching, verify that the selected product offers the necessary coordinated faces.
Fewer joints does not mean no joints. Ask the installer to specify seams, changes of plane, movement allowances and compatible joint materials. Rectified edges do not remove these requirements. Decide how exposed edges and outside corners will be finished before fabrication begins.
Check the delivery route before ordering
Measure the route from the unloading area to the bathroom, including doors, hallways, stairs and tight turns. Slab size, packaging and handling equipment can affect access even when the finished piece fits the wall.
Agree who unloads, moves and stores the material, and where fabrication will occur. Have the installation team confirm the lifting equipment, staffing and workspace required for the chosen format. Large pieces can be damaged during transport or handling, so plan these steps before delivery.
Inspect delivered material against the order and record any visible damage before cutting or installation. Keep product identification and care information with your project records.
Review wall preparation and the complete system
Have the installer assess wall condition, support and the preparation required to meet the selected system’s flatness requirements. Existing tile or another finish should not be covered simply because it looks sound; suitability depends on the underlying assembly and the installation instructions.
Resolve leaks or moisture damage first. Coordinate backing, waterproofing where required, bonding materials, joints and fixture penetrations. Use materials and methods approved for the exact slab and substrate rather than a generic adhesive recommendation.
Confirm cutting and drilling requirements before fabrication. Valve locations, niches and accessories should be coordinated with the relevant trades so openings are placed correctly. Follow the specified curing and return-to-service instructions before using the bathroom.
Request a complete project quote
Ask for current material pricing and an itemized scope. Include delivery, unloading, wall preparation, removal of existing finishes where necessary, waterproofing, fabrication, edge finishing, installation materials and labor.
Slab quantity depends on the cutting layout and pattern—not just total wall area. Have the fabricator confirm the number of slabs, allowance for cuts and whether spare material is practical. Avoid applying a generic price per slab or a fixed waste percentage to every bathroom.
Compare what each quote includes, who confirms measurements and how unexpected wall conditions will be handled. Confirm availability and delivery arrangements before setting the installation date.
Plan routine care and place the order
Follow the slab, grout and sealant manufacturers’ care instructions. Use approved cleaners and test them in an inconspicuous area. Do not assume every finish needs the same cleaner or sealer, or that it cannot chip, scratch or stain.
Keep joints and seals under review as part of normal bathroom maintenance. Fewer joints may simplify cleaning, but they still need attention along with the surface itself.
Browse our tile collection and review the large-format porcelain buying guide. For available bathroom options, contact USA Builders Depot with your wall measurements, preferred finish and installation location. Showroom visits are by appointment only.