Exterior Fluted Wall Panel: Modern Cladding Ideas for Every Home
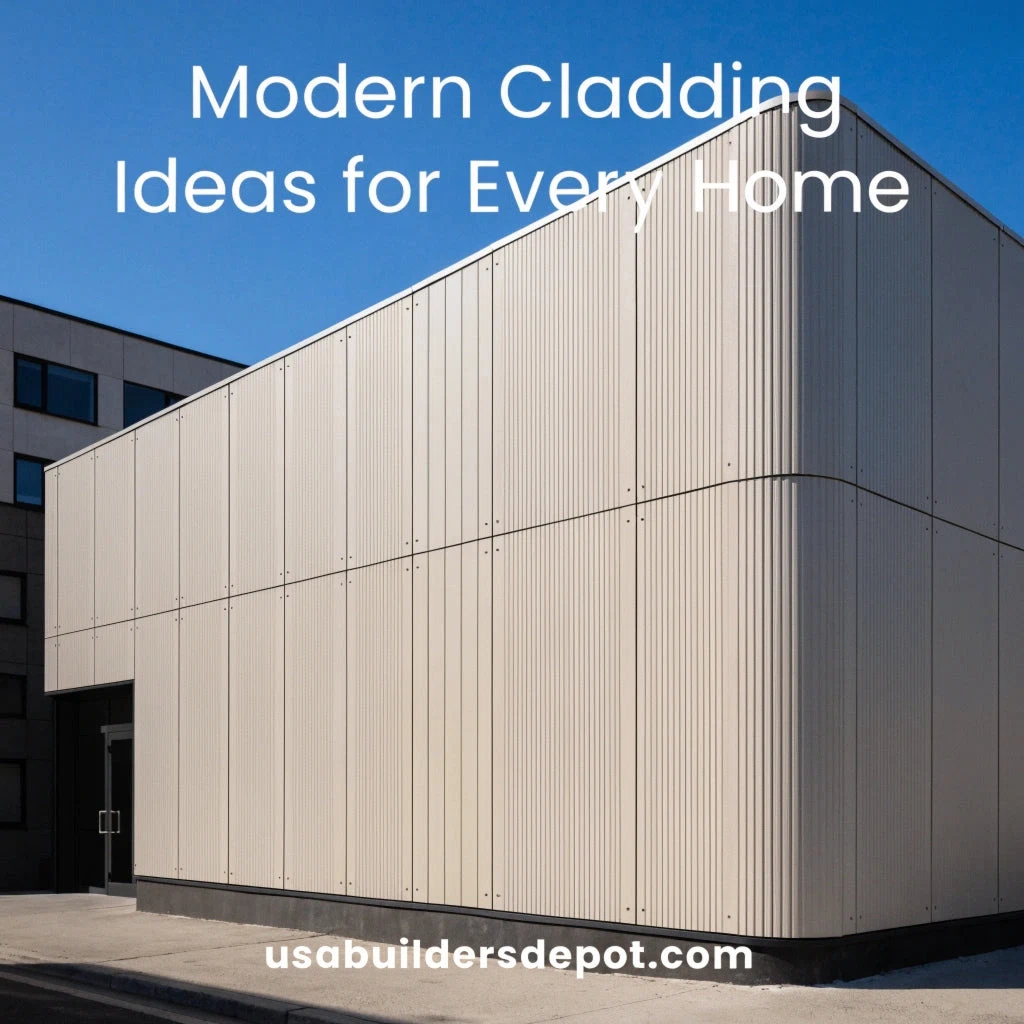
Exterior fluted wall panels introduce repeating grooves and shadow lines to an elevation. Used around an entry or across a carefully planned accent, they can connect a modern facade’s windows, doors and surrounding finishes. Start with the design, then confirm that the exact panel and installation system suit your project.
1. Choose where the texture will work hardest
You do not need to clad an entire house to make fluted panels a feature. Begin with one area and consider how it looks from the street and at close range.
| Design idea | Planning consideration |
|---|---|
| Entryway accent | Align the panel layout with the door surround, lighting and visible edges. |
| Garage-side feature | Break up a broad wall while planning terminations at the garage opening. |
| Window bay or vertical accent | Coordinate narrow cuts and trim with window positions and flashing details. |
| Larger facade area | Review joints, support, drainage, movement clearances and material transitions as one system. |
Check which orientations and applications the manufacturer permits. Wall approval does not automatically cover porch ceilings, soffits or other overhead uses.
2. Compare finishes against the whole exterior
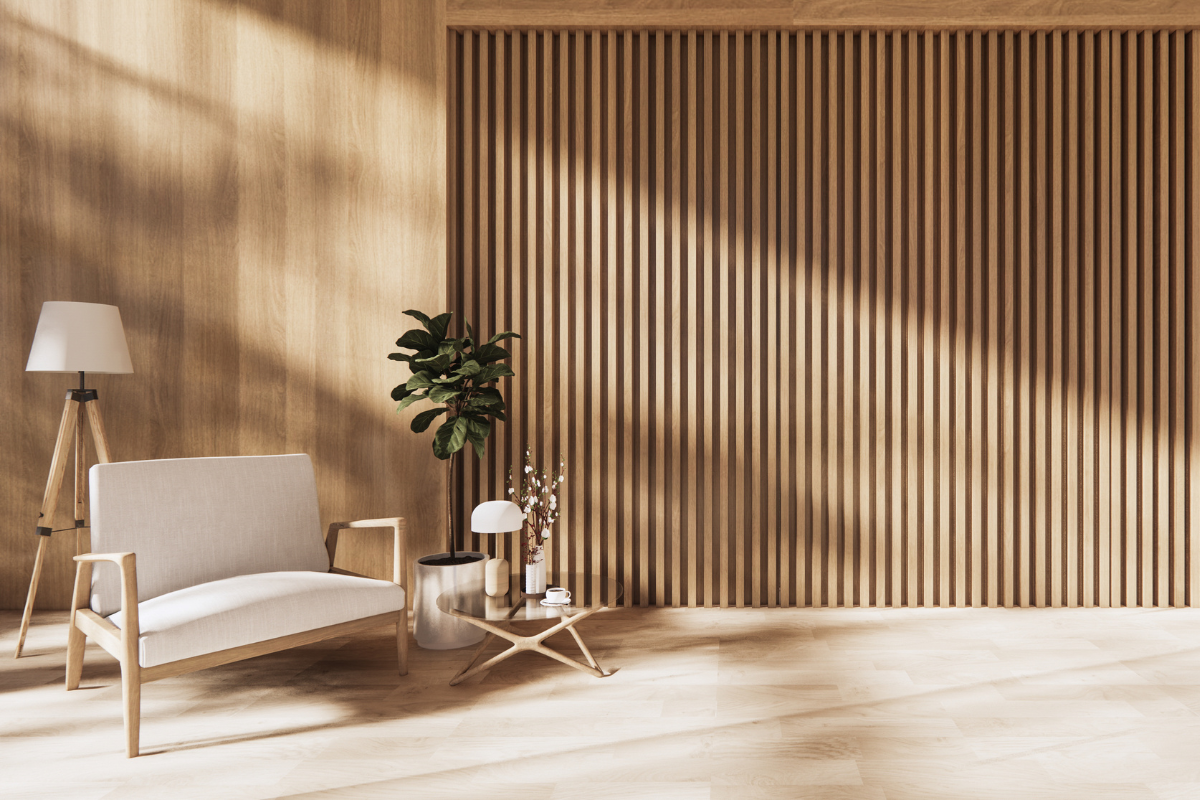
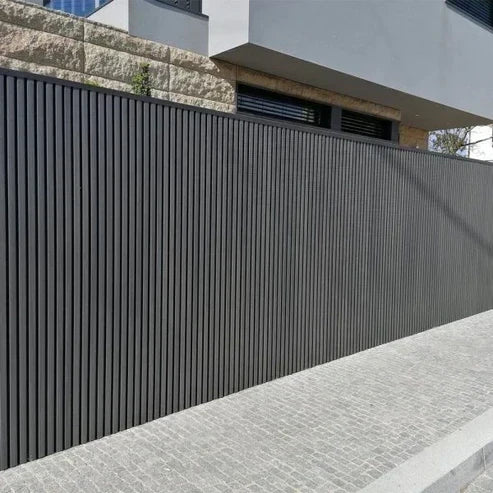
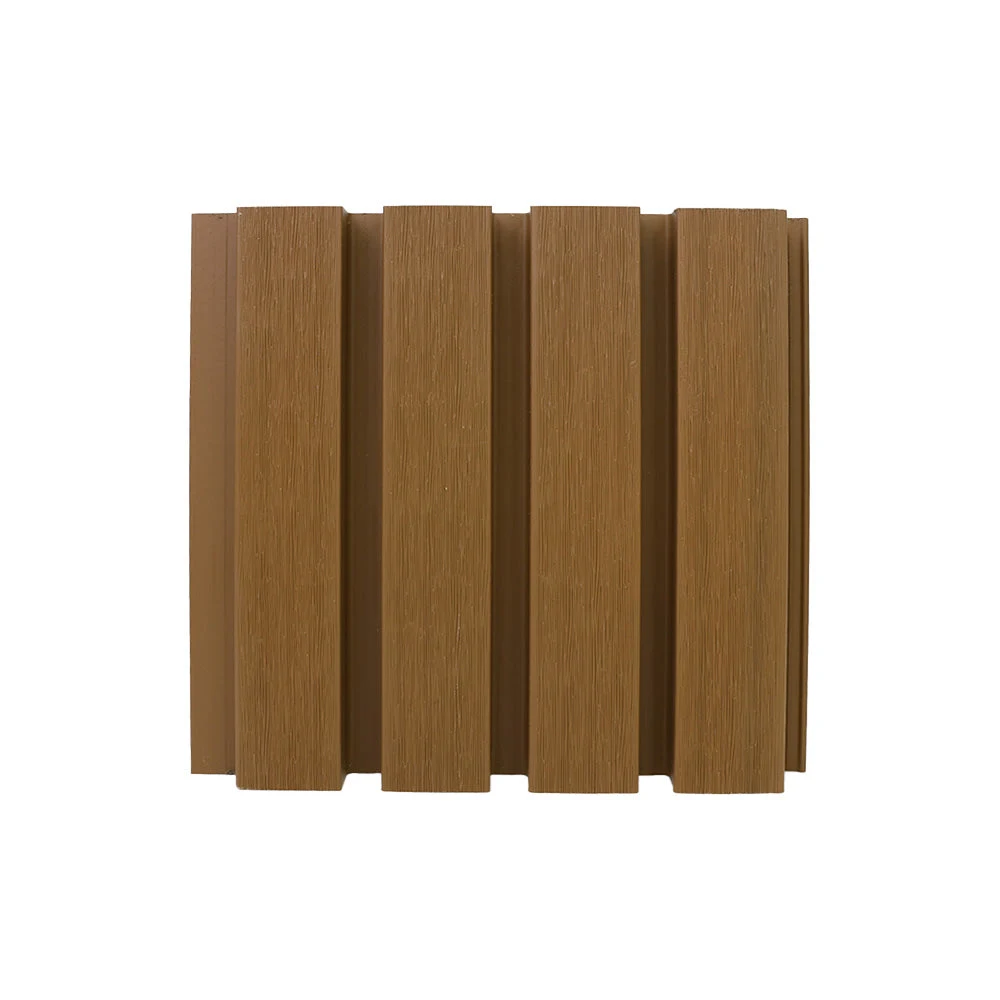
A warmer wood-look finish can complement masonry or a neutral facade, while gray can create a quieter contrast. Compare Golden Teak exterior fluted panels and Ash Gray exterior fluted panels using the current product listings and physical samples.
View samples beside your window frames, roofing, doors and other cladding in daylight. Screen images are a starting point, not an exact color reference. Confirm the finish name and available trim options before ordering; do not assume every accessory is offered in every panel color.
3. Draw the panel layout before calculating quantities
Measure each wall section and mark openings, corners, fixtures and changes in material. Use the panel’s effective coverage, rather than its overall width alone, when calculating quantities. Plan where full panels begin, where cuts fall and how exposed edges will finish.
Include an allowance based on the actual cutting layout and keep the lengths of corner and edge trims in the takeoff. For wider projects, agree on visible joint positions before installation. Review the layout with your installer rather than relying on a single square-foot estimate.
4. Match trims and clips to the exact panel
Corner trim, edge trim and clips serve different purposes. Select them for the panel profile and approved fixing method, then confirm the finish. Black trim may provide an intentional contrast, but should not be described as a color match for a gray or wood-look panel.
- Fluted panel black corner trim: review for the planned corner detail.
- Fluted panel black edge trim: review for exposed edges and terminations.
- Exterior WPC wall panel clips and spacer clips: confirm which type and quantity the installation requires.
Do not treat different clip types as interchangeable or assume both are needed. Use the fixing instructions for your selected panel.
5. Plan the wall assembly, not just the visible boards
A flat surface alone does not establish that a wall is ready for cladding. Confirm the required support, attachment, weather protection, drainage and ventilation details with the installer. Coordinate flashing at windows, doors and other penetrations before covering the wall.
Follow the manufacturer’s requirements for support spacing, fasteners, movement gaps, edges and material transitions. There is no single gap or clip spacing that applies to every composite panel. For more project planning, read our outdoor fluted panel installation guide.
6. Allow for accessories, installation and ongoing care
Compare complete project quotes: panels, trim, clips, supporting materials, preparation, installation and delivery. Current product prices and an accurate layout are more useful than a broad comparison with brick or stone.
Follow the panel’s cleaning instructions and check the warranty’s finish and exposure terms. Exterior suitability does not mean the panel is maintenance-free, immune to fading or a substitute for the wall’s weather-protection system. Do not paint, seal or pressure-wash the surface unless the product guidance permits it.
Contact USA Builders’ Depot with measurements, project photos and your preferred finish for help checking the panel and accessory selection. Showroom visits are by appointment only. You can also browse our installation gallery for real-space inspiration.