



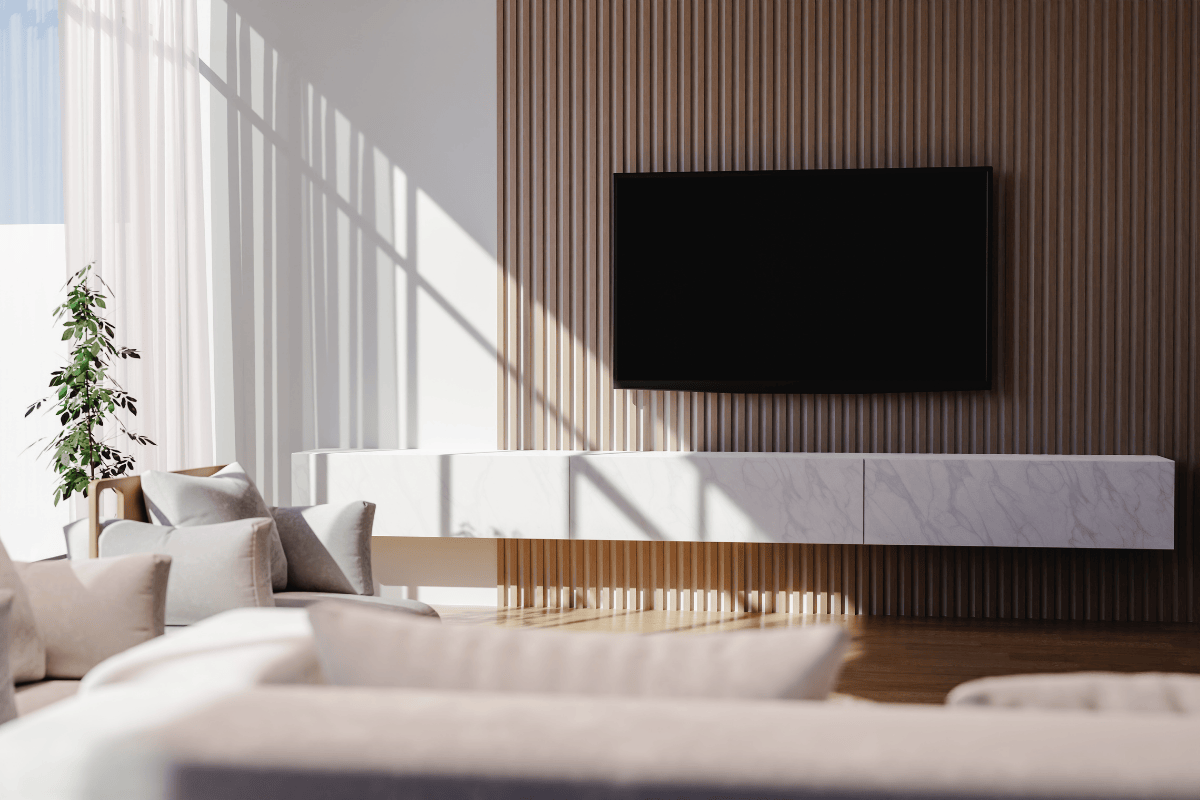
Fluted Slat Wall Panel Installation Tips for Long-Lasting Performance

A fluted slat wall panel can completely change the feel of a room, but the final result depends heavily on how well it is installed. The quality of the installation process determines whether a fluted wall panel will look professionally installed for many years to come or immediately warp or dislocate.
The following guide provides all the necessary tips for installing a fluted slat wall panel in your space so that you can do it correctly.

Why Installation Quality Matters
The main purpose of a fluted slat wall panel is to create vertical, straight, clean lines. When wall panels are measured and installed incorrectly, the lines become distorted, making any mistakes in this process more obvious.
Before You Start: Planning Your Layout
Measure Twice
Before installing any wall panel, measure the wall. Measure the height and width of the wall, and also take into account potential obstructions such as electrical outlets or vents.
Decide Your Starting Point
Many installers start in the middle of the wall to ensure symmetry. If there are any important objects on the wall (such as a television), symmetry becomes even more important.
Account for Trim
Before installing your fluted slat wall panel, plan out where all the trim pieces will go. It’s always a good idea to have trim pieces ready in advance or include them in your planning stages.
Tools and Materials You Will Need
-
Measuring tape and pencil
-
Screws/glue (depending on your panel installation method)
-
A level (laser level is best for large walls)
-
Special panel clips to match your specific fluted slat wall panel system
-
Corner trim and edge trim
-
A saw or circular saw with a sharp blade for clean cuts
Step-by-Step Installation Tips
1. Prepare the Wall Surface
Installing Wall Panels requires a flat, clean, and dry surface. Before installing the panels, remove old wallpaper, repair any holes, and allow the newly applied paint or spackle to dry thoroughly.
2. Install a Baseboard Guide (If Needed)
Depending on the brand of Fluted Slat Wall Panels you are using, you may want to install a baseboard guide to ensure that the rows of panels are aligned correctly.
3. Mount the First Panel Carefully
The first Wall Panel sets the pattern for the rest of the wall panels. It is very important to install it correctly; using a level is essential. This panel acts as a guide for all other panels.
4. Use Panel Clips for a Clean Finish
Modern fluted slat wall panels usually have a hidden clip system. The clips are either locked or screwed into place. The panel is securely held in place without any visible fasteners, giving your wall panel an elegant look.
5. Leave Room for Expansion
Fluted slat wall panels made of composite or wood materials can contract or expand with changes in temperature and humidity. Leave enough space around your wall panel to avoid warping or curling.
6. Cut Around Obstacles Carefully
When installing electrical switches, outlets, or vents, ensure accurate measurements and cut slowly with a fine-toothed blade to avoid cracking the panel surface. Any small cuts can be covered with a switch plate or outlet plate. On the other hand, larger cuts are harder to cover.
7. Finish with Matching Trim
Corner and edge trims are designed to complement your fluted slat wall panels in colour and shape. Installing them at the end adds a touch of professionalism to your wall panels.
Common Installation Mistakes to Avoid
Skipping the level check. A slight discrepancy in the first panel will be evident throughout the wall.
Mixing panel batches without checking the colour. Since natural materials may vary, check that the colour of two panels from different lots matches before combining them.
Ignoring expansion gaps. This can cause the panel to warp and crack after some time.
Rushing obstacle cuts. It is important to cut slowly and carefully to avoid damaging the panel's surface.
Forgetting to acclimate panels. You should give your Wall Panel 24-48 hours to acclimate to the room climate.
Maintenance After Installation
Once installed, Fluted Slat Wall Panels are very easy to clean:
-
Use a soft, dry cloth or a microfiber duster.
-
Do not use any chemical cleaners on your panels, as this can affect their quality.
-
Panels should not be left in constant contact with water, unless the product is specifically designed for wet areas.
When to Call a Professional
For complex angles, high ceilings, or even entire rooms, hiring a contractor experienced in installing fluted slat wall panels is a viable solution and helps avoid any costly mistakes. For simple accent walls, many DIYers confidently install these panels in a weekend.
Frequently Asked Questions
Do I need special tools to install a fluted slat wall panel?
These tools include a simple tape measure, level, fine-toothed saw, and manufacturer-recommended clips.
What causes a fluted slat wall panel to warp after installation?
Reasons for warping include not allowing enough room for expansion or installing the panel on an unfinished wall.
How long should a fluted slat wall panel acclimate before installation?
Most manufacturers recommend allowing a wall panel to acclimate for 24 to 48 hours before installation.
Can I install a fluted slat wall panel without professional help?
Yes, for example, when working on an accent wall. However, professional installation is advisable for larger spaces or more complex rooms.
A properly installed Fluted Slat Wall Panel can give you a truly attractive and durable look that will last for many years. Accurate measurements, a good starting line, sufficient expansion space, and appropriate trim will help you get the results you want.
Take your time when installing your Wall Panels, and you will find that the effort is well worth it.