
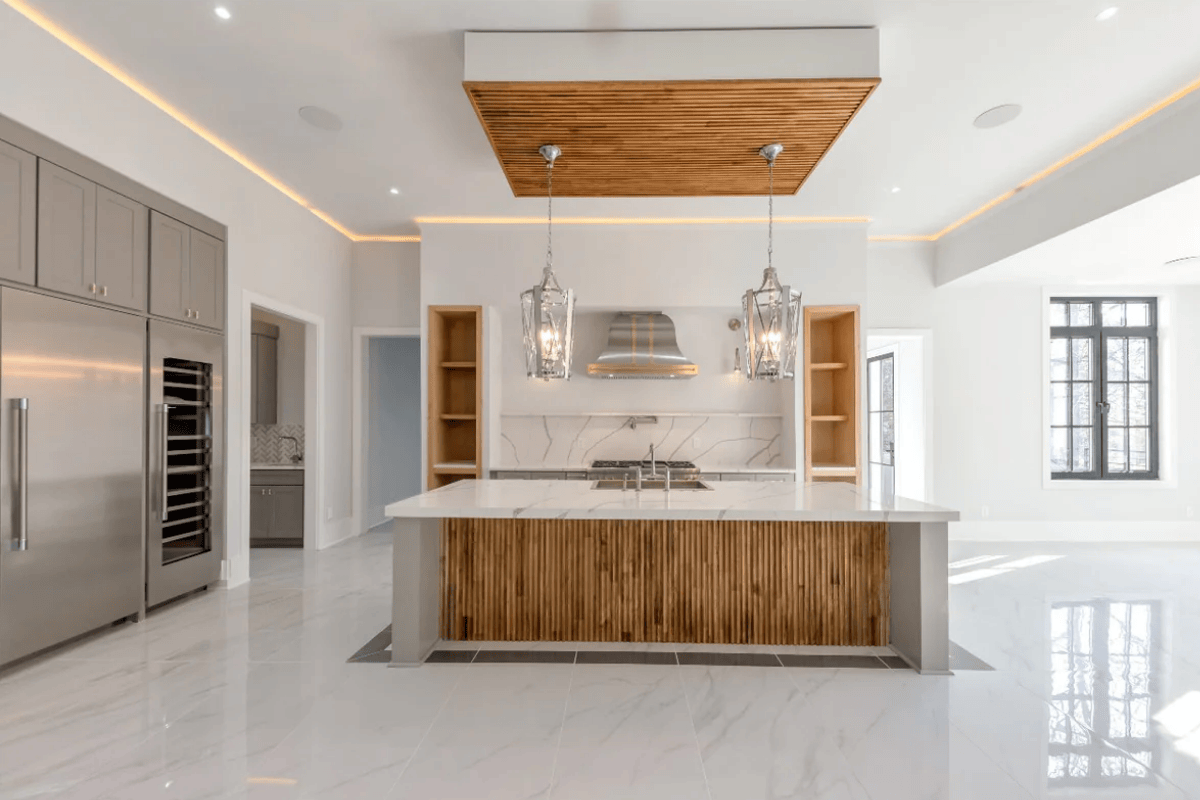
Half Wall Paneling Ideas: Elevate Your Space with Modern, Stylish Designs
Half-wall paneling adds a defined band of texture or color while leaving space above for paint, wallpaper or artwork. The right height and edge treatment matter as much as the panel itself. Start with your room’s proportions, furniture and existing trim, then select a product suited to the location.

1. Choose a height that relates to the room
“Half wall” describes a partial-height treatment; it does not require covering exactly half the wall. Mark a proposed top line with removable tape and view it from the doorway and seating positions. Compare it with the sofa back, headboard, window sills, switches and artwork.
Review how the line continues around corners and meets doors or built-in furniture. A level reference line is useful, but existing floors, ceilings and trim may vary. Have the installer check those conditions before committing to panel cuts. Avoid selecting a height solely because it minimizes material use if it creates awkward intersections.
2. Select a style and a product separately
Board-and-batten, beadboard, fluted panels and slatted treatments are design approaches. They do not all use the same material or installation system. Browse our wall panel collection for current products; the ideas below are not a claim that every style or molding is stocked.
| Style | Design effect | Detail to plan |
|---|---|---|
| Board-and-batten or framed molding | A repeated grid or rhythm beneath a plain upper wall. | Spacing around doors, outlets and corners, plus the intended paint system. |
| Beadboard-style treatment | A fine, repeated groove pattern. | Panel joints and the relationship between the top rail and baseboard. |
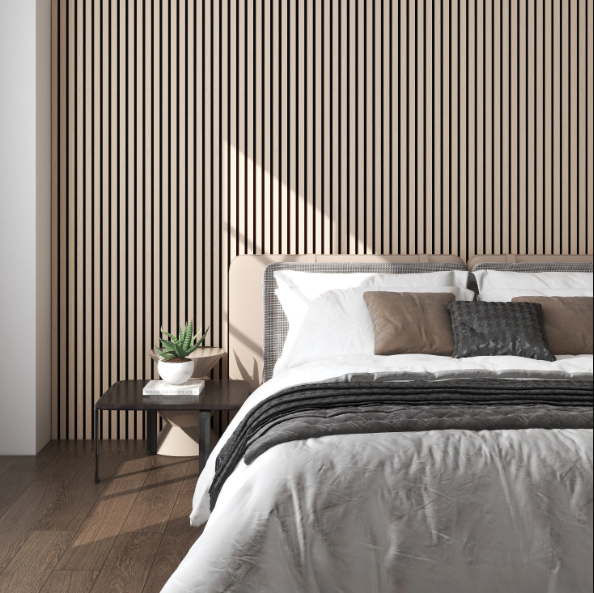
| Fluted or slatted panels | More pronounced texture and shadow. | Cut ends, pattern alignment, exposed backing and compatible trims. |
| Natural veneer panels | A broader field of wood grain. | Grain direction, variation between panels and matching edge finishes. |
Test samples beside the upper-wall finish, flooring and furniture. A close but imperfect wood-tone match can be more noticeable than a deliberate contrast. Compare color and sheen under both daylight and evening lighting.

3. Confirm the intended room and exposure
For a hallway, discuss cleaning needs and likely contact from furniture or bags. For a bedroom, plan the panel height with the actual bed and headboard. In a living or dining room, check whether furniture will hide the treatment or interrupt its pattern.
Bathrooms and kitchens need additional product checks. Do not assume that beadboard, WPC or a moisture-resistant finish makes an entire assembly suitable for wet areas. Confirm the exact panel’s permitted exposure, backing, cut-edge treatment and installation requirements. Decorative paneling is not a substitute for a specified waterproofing system.
If acoustic performance is a project requirement, request documentation for the selected product and installation. A textured appearance alone does not establish sound absorption or sound isolation. Likewise, verify any sourcing or certification requirements against product-specific documentation.
4. Resolve the top edge before ordering
A partial-height wall leaves a prominent horizontal edge. Decide whether the design needs a compatible cap, rail or another approved finishing detail. Check the profile and thickness so the top treatment covers the panel neatly without interfering with switches or adjoining trim.
List internal corners, external corners, visible ends and transitions separately. For veneer projects, review the natural veneered corner trims and confirm the matching finish. A corner trim is not automatically suitable as a top cap; verify the intended use and fit before ordering.

5. Draw the layout and confirm the installation method
Measure each wall and mark openings, sockets, trim and furniture positions on a simple elevation. Plan where panel joints and cut pieces will land. Confirm whether the selected panels may be cut to the intended height and how cut edges must be finished.
Have the installer review the substrate and the manufacturer’s attachment instructions. Do not assume every panel is peel-and-stick or accepts the same adhesive. Shelves, mirrors and other mounted items need suitable support; the decorative finish should not be assumed to carry their weight. Coordinate electrical alterations before the panels are fitted.
6. Confirm quantities, accessories and care
Calculate quantities from the approved layout, including an installer-recommended allowance for cutting and selection. Check the exact finish, panel dimensions, matching accessories, availability, delivery charges and applicable return terms together.
Keep the care instructions for the chosen finish. Use compatible cleaning products and avoid adding coatings without manufacturer guidance. For more styling ideas, read our living-room wall decor guide.
Call or email USA Builders Depot with your wall measurements and preferred look to discuss current options. Showroom visits in Marietta are by appointment only, so arrange your visit before coming in.