
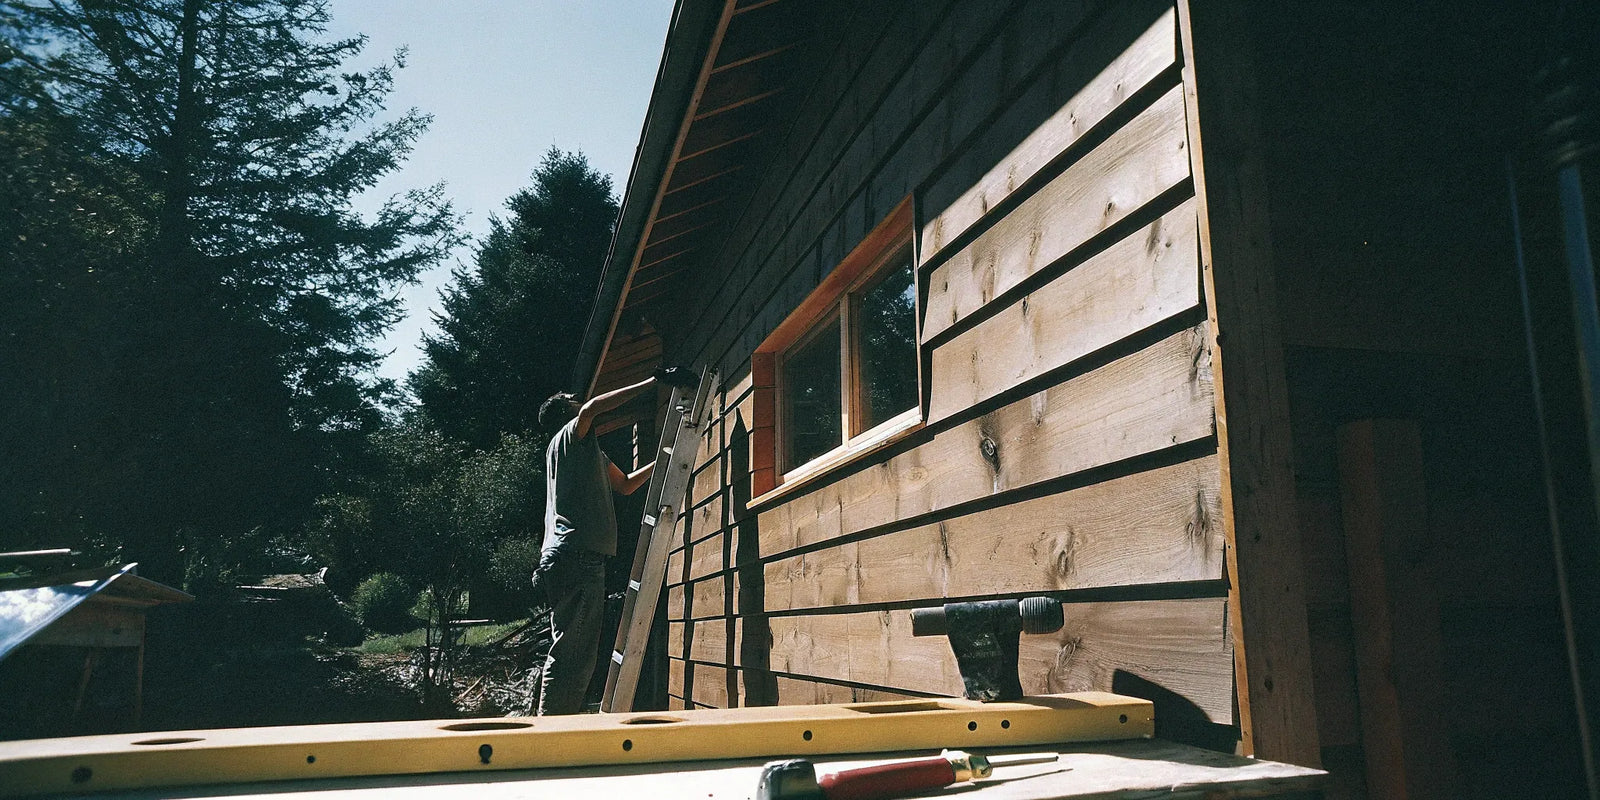
How to Install Exterior Shiplap: A Step-by-Step Guide
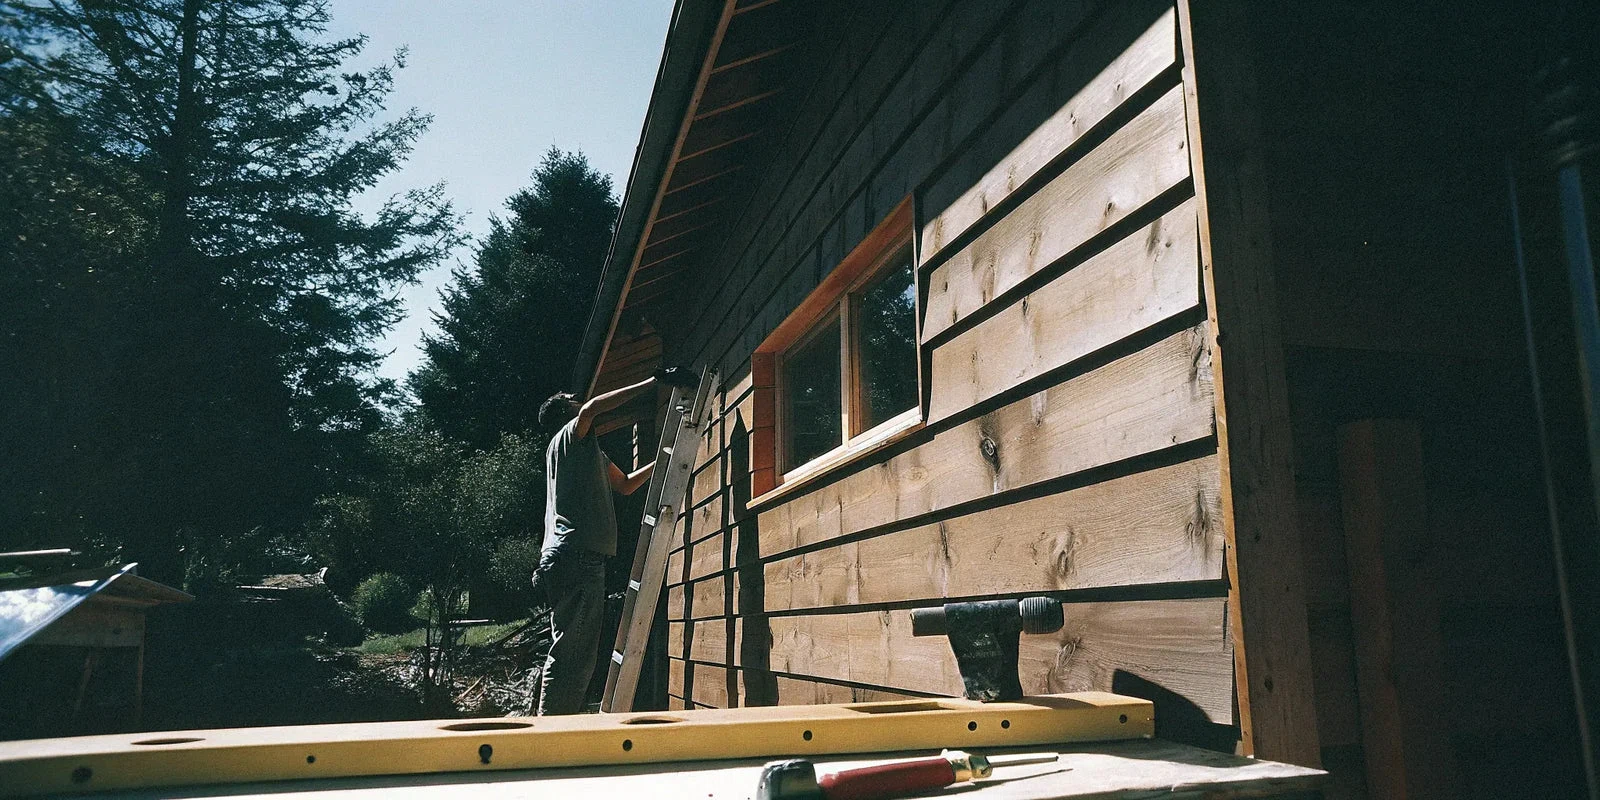
Exterior shiplap describes a cladding profile, not one universal installation system. Natural wood, WPC composite and other shiplap-style products can require different supports, fasteners, clearances and finishes. Identify the exact product before choosing tools or starting the wall layout.
Use this checklist to plan the project with your installer. The product’s current installation instructions should determine the construction details.
1. Confirm the material and approved application
Start with the product name, profile, finish and intended installation orientation. Confirm approval for the proposed exterior wall application and obtain the manufacturer’s instructions before ordering.
| Material | Details to confirm |
|---|---|
| Natural wood shiplap | Storage and acclimation, permitted fastening, movement allowance, and any required finishing or cut-end treatment. |
| WPC composite shiplap | Compatible supports, clips or fasteners, temperature-related clearances and approved edge details. |
| Other shiplap-style cladding | The exact material’s attachment, cutting, joint and maintenance requirements. |
Do not apply wood sanding, priming, blind-nailing or sealing instructions to a composite panel unless its manufacturer specifically requires them. Exterior wall approval also does not automatically cover ceilings, soffits or other overhead uses.
2. Review the wall assembly before covering it
Have the installer assess the existing wall and resolve damage or moisture problems before fitting new cladding. Confirm the required supporting structure and how the system will attach to it.
Review weather protection, drainage and flashing together. The visible cladding is one part of the wall assembly; decorative trim and caulk should not substitute for the required water-management details. Do not assume a weather-resistive barrier and a vapor-control layer perform the same role.
Plan around windows, doors, service penetrations and material transitions before the boards go up. If the system requires battens or a drainage space, use its specified arrangement and keep the intended drainage paths open. See our WPC cladding guide for windows and doors for planning questions.
3. Measure and draw the board layout
Measure each elevation and mark openings, corners, fixtures and exposed edges. Use the product’s effective coverage and usable lengths when calculating quantities. Include the required trims, fixings and a cutting allowance based on the actual layout.
Agree on the starting position, visible joints and narrow cuts with the installer. Check the layout at corners and across openings so the finished lines look intentional. For a vertical design, confirm that both the panel orientation and its supporting arrangement are permitted.
Inspect deliveries before installation and follow the product’s storage instructions. Acclimation requirements, where applicable, should come from the manufacturer rather than a universal seven-day rule.
4. Match trims and clips to the selected panel
USABD’s exterior shiplap accessory options include black L-trim, exterior WPC wall panel clips and spacer clips. Confirm which accessories the selected profile and installation method require before purchasing.
Different clip types are not automatically interchangeable, and listing both does not mean every project needs both. Check quantities from the fixing layout. Review trim color as well as fit: black trim can create contrast, but should not be described as a matching wood-tone finish.
5. Follow the product-specific fixing and joint details
Use the specified support spacing, fastener type, engagement and movement clearances. A generic stud spacing or nail penetration depth is not a substitute for the system’s requirements. Your installer should also confirm the appropriate attachment for the actual wall construction and project conditions.
Before proceeding across the wall, check the first boards, corner detail and terminations. Maintain the specified clearances at ends, edges and fixed objects. Do not fill every visible gap with sealant; some gaps are needed for movement or drainage.
Apply coatings or cut-edge treatments only where the product instructions call for them. Confirm the cutting equipment and handling requirements for the specific material, and plan suitable access for work above ground level.
6. Inspect the completed work and keep records
Review board alignment, trim, joints and visible fixing details with the installer. Confirm that openings and drainage paths have been completed as intended. Keep the product labels, installation instructions, warranty information and project photos for future reference.
Follow the manufacturer’s cleaning and maintenance instructions. Avoid assuming that a factory-finished panel needs painting, sealing or pressure washing. Address damaged components and investigate any signs of water entry rather than simply covering them.
For a complete budget, include cladding, trims, clips, supporting materials, preparation, installation and delivery. Contact USA Builders’ Depot with your measurements, wall photos and preferred finish to check product and accessory selection. Showroom visits are by appointment only.
Continue planning with our exterior shiplap buying guide and vertical shiplap layout guide.