
Transform Your Space with Acoustic Panels: Stylish Wall Solutions for Every Room
Acoustic panels can be part of a room design that balances sound, texture and everyday use. Start by defining the problem you want to address, then compare the exact panel and installation system. A decorative feature wall and a performance-led acoustic treatment plan may require different decisions.
1. Separate room acoustics from sound isolation
Acoustic treatment addresses sound within a room, including reflections. Sound isolation addresses sound passing into or out of a space. Adding decorative acoustic panels should not be presented as a substitute for a sound-isolation assembly. This distinction is also explained in GIK Acoustics’ guide to acoustic treatment and soundproofing.
Describe what you hear: lingering echo during conversation, an unsatisfactory listening experience, or noise arriving from another room. For a specific performance target, ask an acoustic professional to assess the space. Do not buy panels on a promise that one feature wall will stop neighbor noise or improve sleep.
2. Plan around how each room is used
| Room | Planning priorities |
|---|---|
| Living room | Record seating, television and speaker positions, hard surfaces and the proposed feature-wall area. |
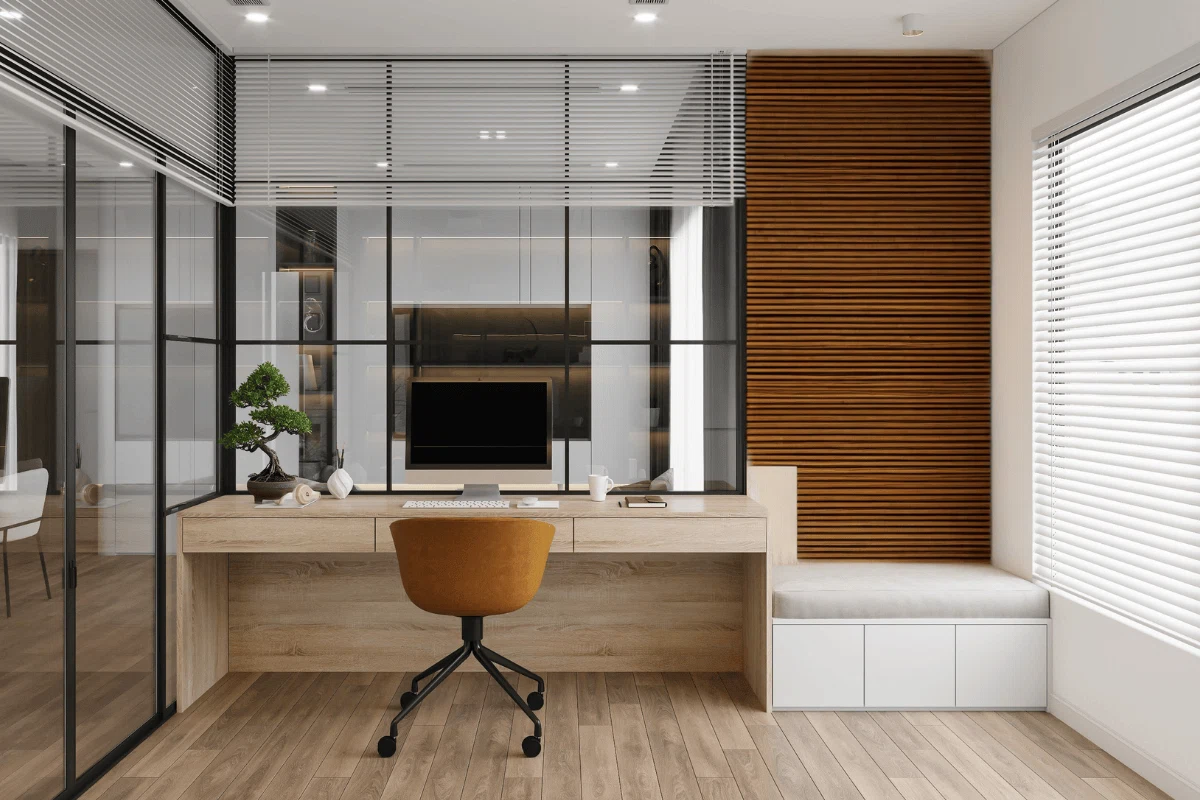
| Home office | Consider desk and microphone placement, room furnishings and the specific issue heard during calls. |
| Bedroom | Coordinate a headboard feature with the bed, outlets and lighting. Investigate incoming noise separately. |
| Hallway or entry | Check circulation, doors, exposed edges and cleaning needs before deciding panel coverage. |
| Media or music room | Define the listening or recording goal and seek a treatment plan based on the room and product data. |
Room photographs and a dimensioned sketch are more useful than a room label alone. Include ceiling height, openings, furniture and the locations where people listen, speak or work.
3. Ask for data tied to the exact product
Compare construction, dimensions, finish, backing and the specified mounting method. Where sound absorption matters, request available test information and check which installation arrangement it represents. Avoid inferring performance from the word “acoustic,” a grooved face or panel thickness alone.
Decorative WPC panels, wood slat acoustic panels and fabric-covered products are not interchangeable. Likewise, a sculpted surface does not establish documented diffusion performance. Browse our wall panel collection and confirm the exact model before making performance assumptions.
If the project requires fire-performance, sourcing or recycled-content documentation, request it for the selected product. Do not infer certifications or environmental benefits from a wood appearance or felt backing.
4. Coordinate the visual layout and installation
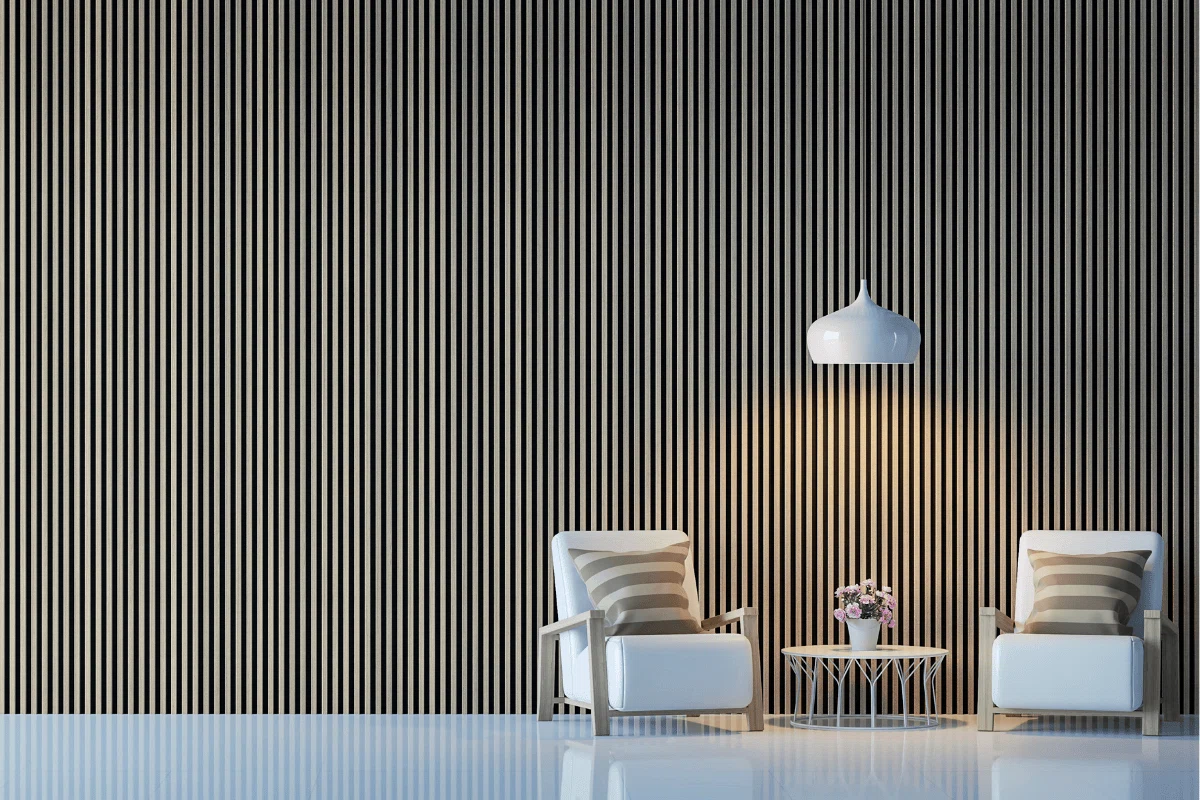
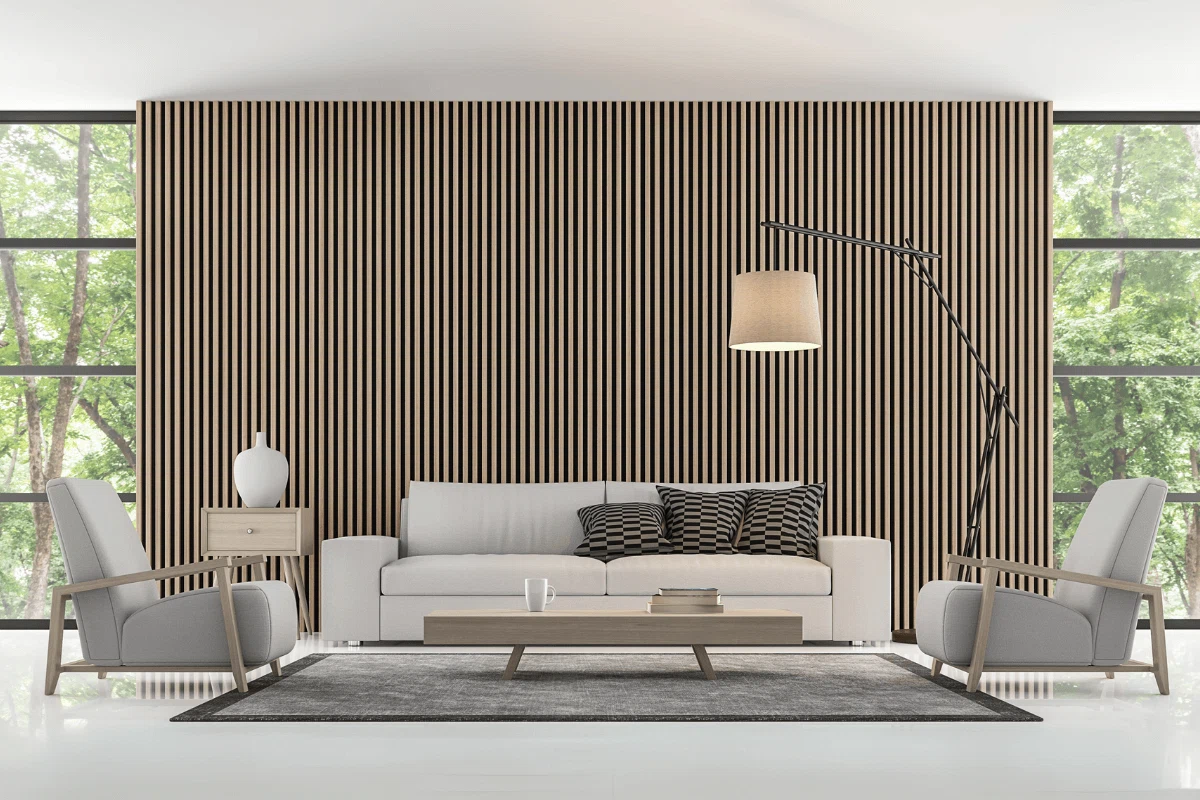
Draw panel boundaries, joints, corners and cutouts before calculating quantities. Compare the slat direction and finish against flooring, furniture and lighting. For design ideas around a television, see our living-room wall decor guide.
Confirm the substrate, attachment method and any specified mounting space with the installer and product instructions. Do not assume a wall panel is approved for ceiling installation. Televisions, shelving and other mounted items require suitable support independent of any unsupported assumptions about the decorative finish.
5. Match end slats to the selected panel
Include exposed ends and corners in the layout so accessories can be ordered at the same time. For Luxury Acoustic Wall Panel in White Oak & Grey Felt, the specified companion is the Luxury Acoustic Classic Oak End Slat. Confirm the pairing for other finishes rather than assuming this end slat matches every acoustic panel.
Check the accessory dimensions and intended edge detail with the installer. An end slat completes the appearance; it does not establish the acoustic performance of the installed assembly.
6. Confirm the order and maintenance plan
- Approve the exact panel finish, backing and dimensions.
- Calculate quantities from the layout and installer-recommended allowance.
- Include matching accessories and approved installation materials.
- Check availability, delivery charges and applicable return terms.
- Keep installation, care and any performance documentation with the project records.
Use the care method specified for the panel face and backing. Do not assume every finish accepts wet cleaning or additional coatings. For help checking current products and compatible accessories, call or email USA Builders Depot. Visits to our Marietta showroom are by appointment only.