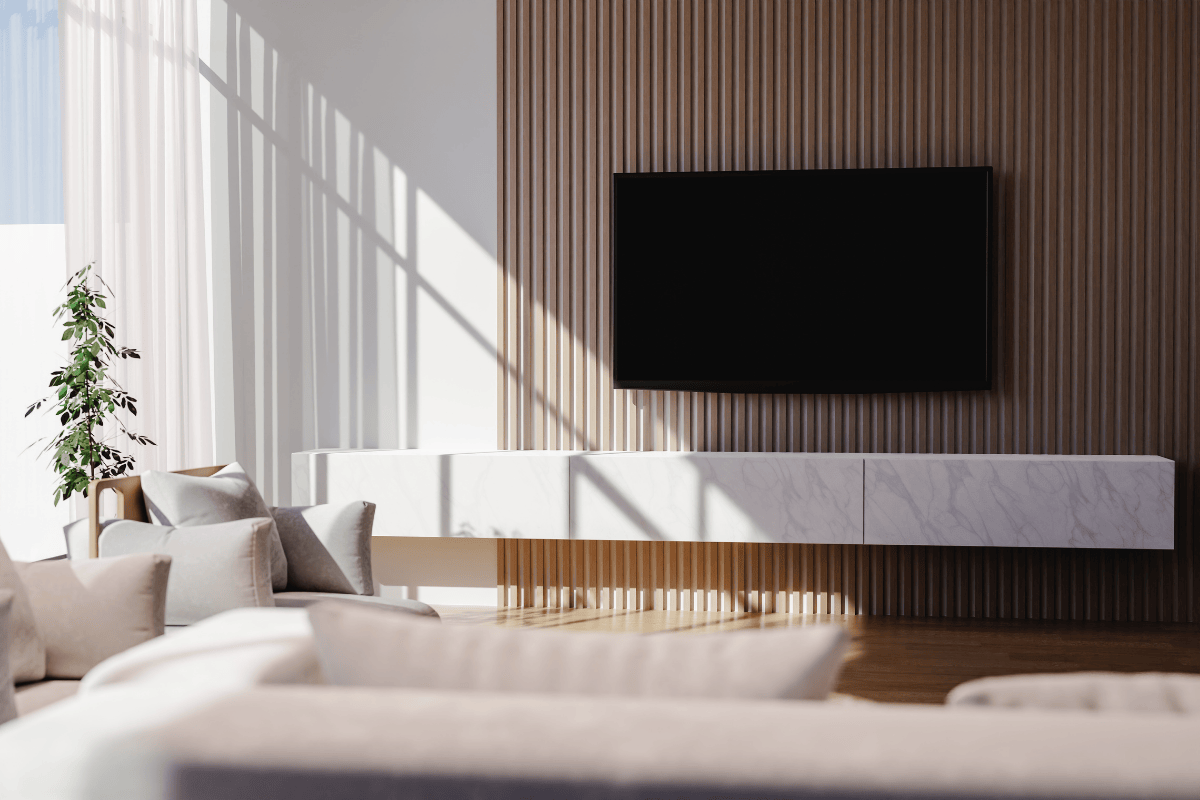

Small to Large Master Bath Ideas: Stylish Solutions for Every Home
A successful primary bathroom starts with a layout that supports your daily routine. Whether the room is compact or spacious, plan the circulation, storage, lighting and fixture connections before choosing the finishing touches. Use these master bath ideas to build a coordinated selection list for your remodel.
In this guide: Small bathrooms · Larger bathrooms · Tiles and surfaces · Fixture compatibility · Lighting and finishes · Ordering checklist
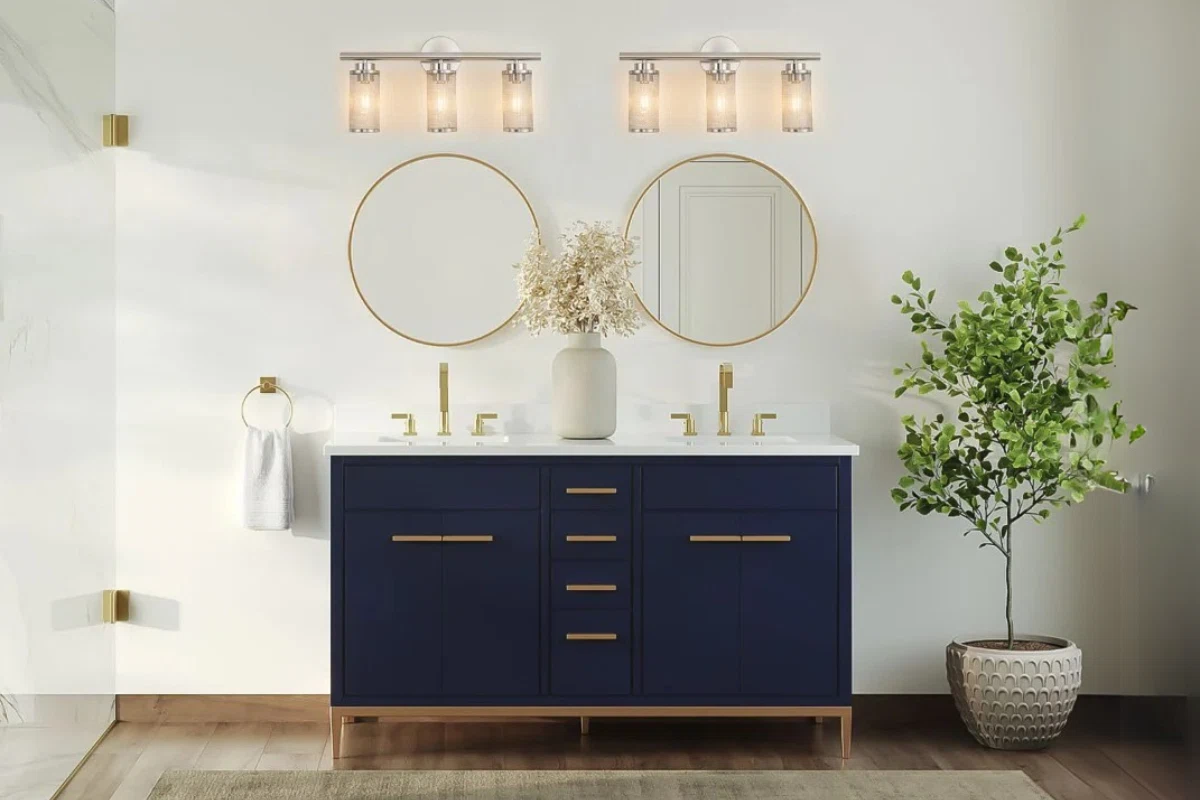
1. Make a small bathroom work around the essentials
Draw the room with its doors, windows, existing plumbing and the fixtures you want to keep. Include cabinet drawers and door swings so you can review how the room works in use. Ask your designer or contractor to confirm the required clearances and an appropriate layout before ordering.
A single vanity with useful counter space may suit a compact room better than a crowded double vanity. Compare the storage you actually need with the room available. A wall-mounted vanity can create an open visual effect, but its mounting and plumbing arrangements need to be planned with the installer.
- Keep everyday toiletries close to where they are used.
- Review mirror size together with the vanity and lighting positions.
- Use a restrained palette to connect the floor, walls and cabinetry.
- Confirm any recessed storage is feasible before opening the wall.
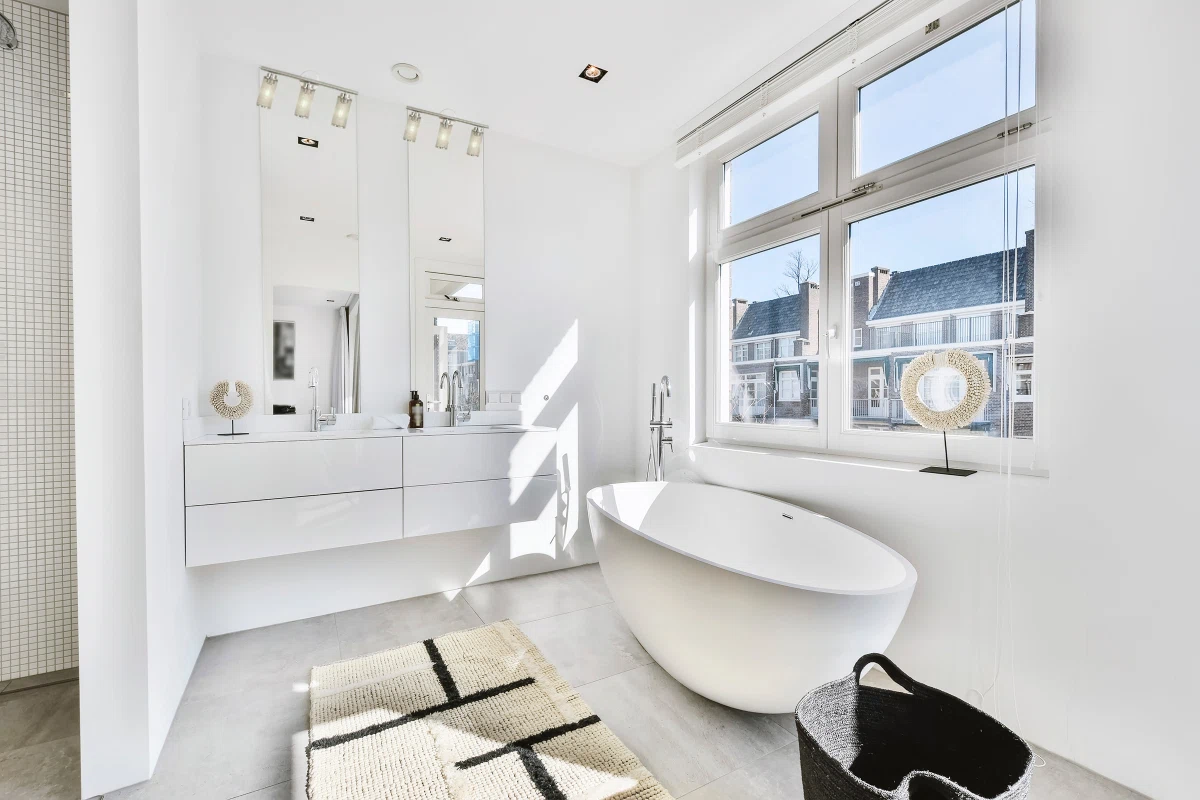
2. Give each area of a larger bathroom a purpose
More floor area allows additional choices, but every fixture should serve the household. Decide whether the priority is two grooming stations, a larger shower, a tub or extra storage. Compare those priorities on a measured drawing rather than filling every available wall.
Plan towel storage, cleaning access and the route between the shower, vanity and exit. For a proposed tub, multiple shower outlets or steam system, have the appropriate professionals confirm the space, structure, plumbing and system requirements before you commit to the products.
The room images here are design inspiration. They do not establish current product availability or provide installation dimensions.
3. Select tiles for the exact application
Browse our tile collection, then confirm the intended location for each selection: a dry wall, bathroom floor or shower surface. Ask for the product’s application and care information. Appearance or texture alone should not be treated as evidence of suitability.
Discuss tile size, grout joints, cuts and edge details with the installer. For shower work, coordinate the finish with the specified substrate, waterproofing, drainage and joint details. Include niches and corners on the drawing so their cuts are planned before installation.
If you are considering a slab look, our large-format shower wall layout guide covers the decisions to discuss with your installer. Confirm the exact slab material and application rather than treating every large surface product as interchangeable.

4. Check fixture compatibility before choosing by finish
Review the current plumbing collection and create a schedule with the exact model, finish and required components for each fixture. Ask your plumber to approve the selections before rough-in work.
| Selection | Details to confirm |
|---|---|
| Vanity faucet | Sink hole configuration, mounting type, spout reach, height and drain compatibility. |
| Shower trim | The compatible valve, included components and intended outlet arrangement. |
| Tub filler | Mounting location, reach and the tub’s installation requirements. |
| Coordinated finishes | Exact finish names and samples where available; similar names across brands may look different. |
Confirm any desired water-efficiency certification, flow specification or electronic feature on the exact product documentation. Do not assume those features apply to an entire collection.
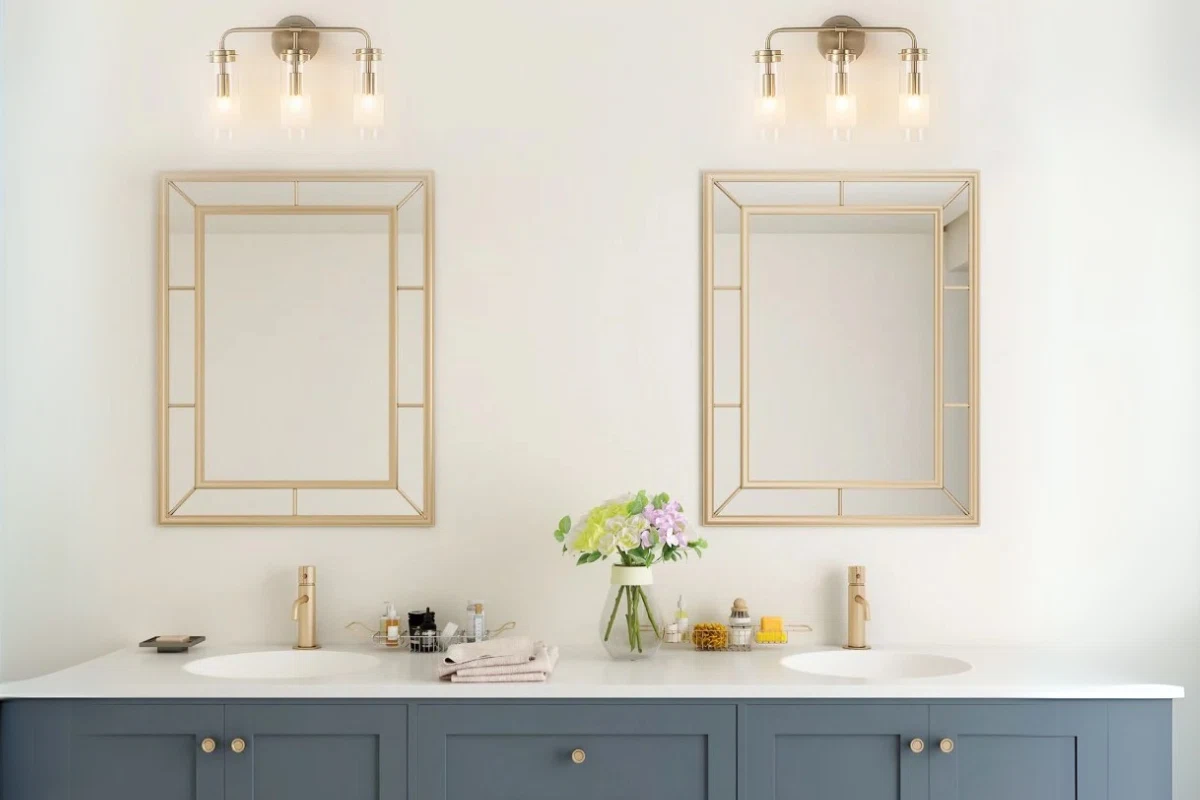
5. Coordinate lighting with the mirror and material palette
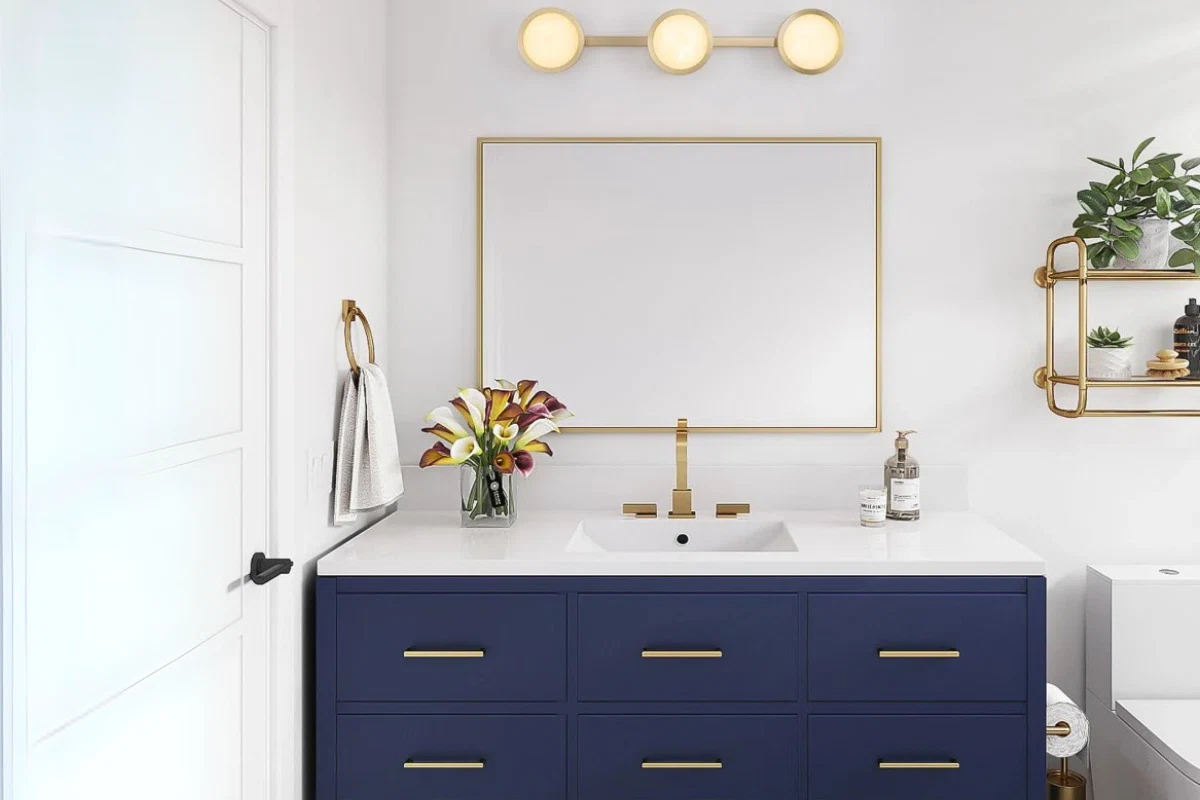
Review lighting options alongside the vanity, mirror and ceiling plan. Separate general room lighting from the light needed for grooming. Have your electrician confirm each fixture’s suitability for its proposed location, mounting requirements and any dimmer compatibility.
For a warm contemporary room, compare wood-tone cabinetry with a quiet tile surface and one main metal finish. For a more graphic design, contrast light surfaces with darker fixtures. Check samples and lighting specifications together so the planned color and brightness suit the room.
6. Prepare one coordinated order schedule
- Approved layout and measured installation locations.
- Exact product models, finish names and included components.
- Installer-approved fixture, valve and surface selections.
- Tile quantities, cut allowance, edge pieces and setting materials.
- Current availability, delivery arrangements and applicable return terms.
- Care instructions and a plan to inspect products before installation.
Call or email USA Builders Depot with your room dimensions, preferred finishes and selection list to discuss current options. Visits to our Marietta showroom are by appointment only.