
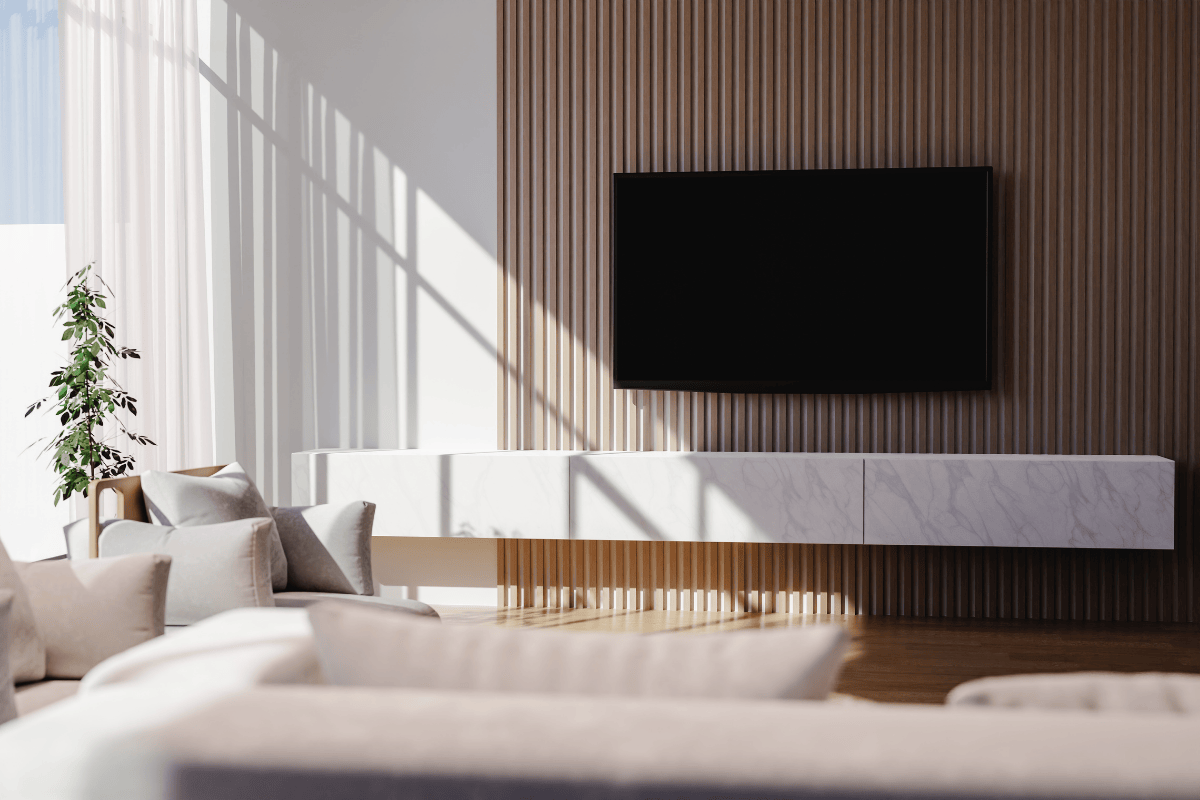
From Blank Wall to Wow: Gorgeous TV Wall Panel Ideas You’ll Love

A well-planned TV wall brings the screen, cabinetry, wall finish and lighting into one composition. Start with the view from your seating area, then choose panel texture and color that complement the room without making the screen feel crowded.
Five TV wall panel ideas
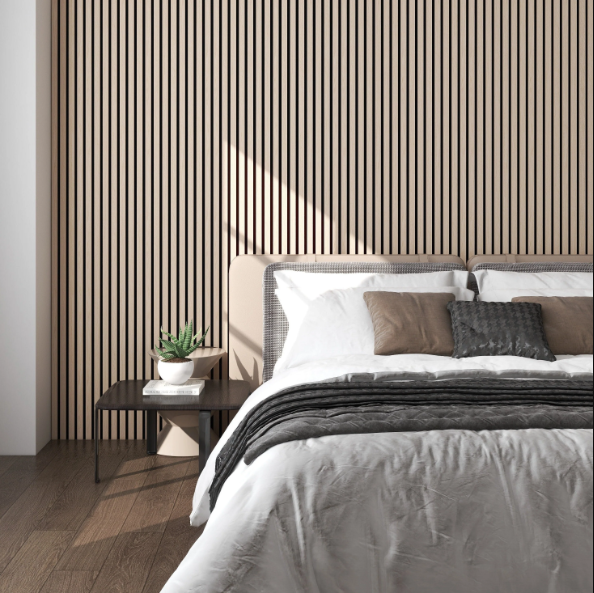
1. A full-height fluted backdrop
Run a consistent vertical pattern behind the television and console. Keep the surrounding furniture simple so the panel texture remains the main detail. Plan the starting and finishing edges before cutting so narrow leftover strips do not become the focal point.
2. A natural-veneer feature wall
Use broad wood-grain panels for a quieter backdrop. Review grain direction, seam positions and the sequence of panels before installation. Explore the White Oak with Cathedral Grain natural veneered panel, and compare a sample with your floor and cabinet finishes.
3. A framed panel section
Instead of covering the entire wall, frame a panel section around the TV and align it with the console below. This approach gives the feature a defined boundary. Draw the panel width, exposed edges and trim profile together so the finished proportions are intentional.
4. An asymmetric slatted accent
Place a slatted section on one side of the screen and balance it with shelving or cabinetry on the other. Repeat one wood tone or metal finish across the composition. Check shelf supports and access to equipment before finalizing the panel layout.
5. A dark feature wall with restrained lighting
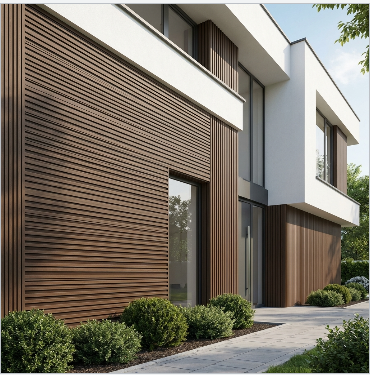
Compare a darker panel finish with lighter furniture and a simple console. Test the finish under daytime and evening lighting; texture and sheen can appear different when light strikes the wall from the side. Keep decorative lighting adjustable so it works with both viewing and everyday use.
Plan the layout from your seating position
- Mark the screen outline: use a temporary outline to assess its height and position from the seats you use most.
- Include equipment: show the soundbar, console, speakers and any devices that need access.
- Draw panel joints: coordinate seams, slat spacing, corners and end pieces around the screen.
- Compare samples: review the actual finish beside flooring, cabinetry and paint.
- Check clearances: follow the TV and equipment manufacturers' ventilation and service-access requirements.
For more finish-planning advice, read our white oak paneling guide.
Coordinate mounting and services before panel installation
Decorative panels should not be assumed to support a TV bracket. Have the installer select a mount compatible with the TV and wall construction, and account for the added thickness of paneling, backing and any battens when planning the attachment.
Use the instructions for the exact mount. For example, the SANUS LMT1 installation manual specifies supported wall types and excludes installation into drywall alone. That example is not a fixing specification for every TV wall.
Coordinate outlets, cable routes and lighting controls before closing the wall. Have electrical work planned and completed by a qualified professional. Keep connections and equipment accessible for maintenance. If a fireplace is part of the design, confirm its clearances and the temperature limits of the TV and panel finish before approving the layout.
Choose lighting that complements the screen
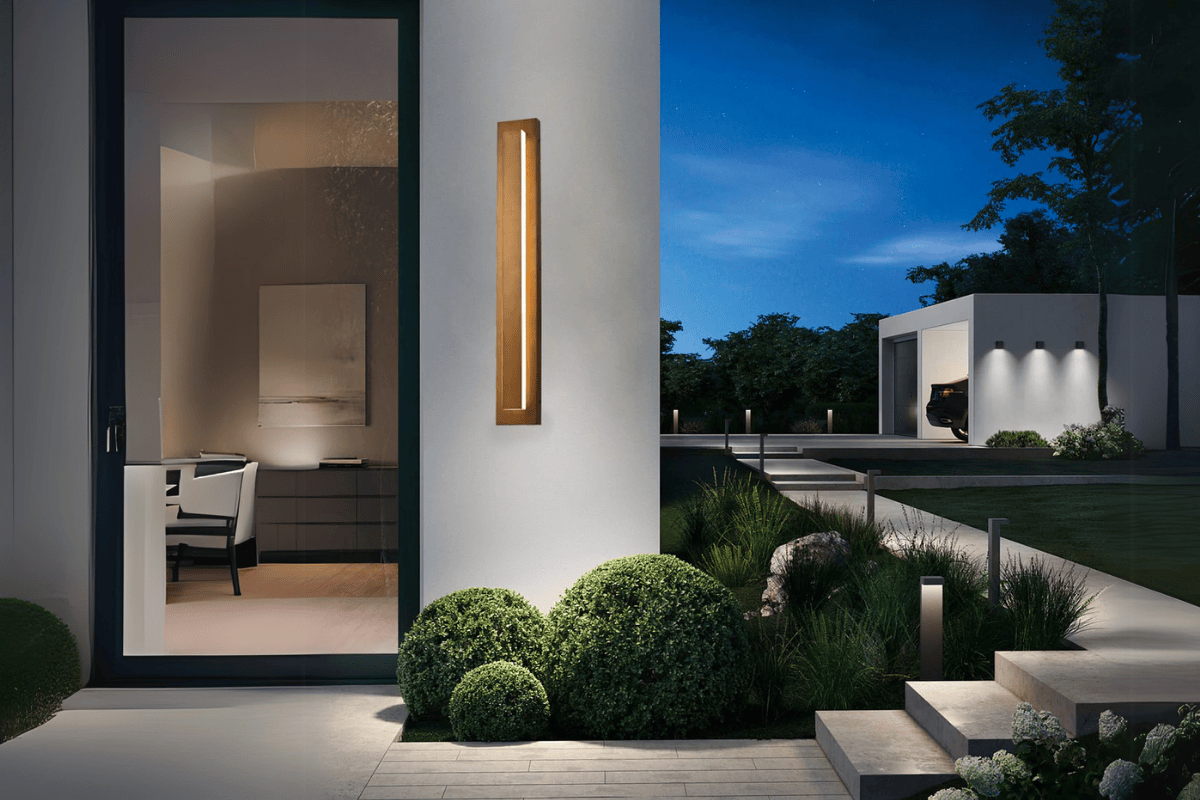
Wall sconces can frame the feature, while indirect lighting can outline a panel section. Test light placement from the seating area to identify reflections on the screen and harsh highlights across the panel face.
Confirm dimmer compatibility and access to drivers or power supplies for the fixtures you select. Browse USABD lighting for current options; confirm each fixture's mounting and electrical requirements before installation.
Set realistic acoustic expectations
Choose decorative fluted or veneered panels for their appearance unless the exact product has documented acoustic performance. A slatted look alone does not establish a sound-absorption rating.
For acoustic panels, request test information for the proposed installation, including backing, air gap and coverage. Reducing reflections within a room and reducing sound transmission between rooms are different goals. Do not treat a decorative TV wall as a soundproofing system.
Match trim and accessories to the panel family
| Panel selection | Accessory starting point | Check before ordering |
|---|---|---|
| Natural veneered wall panels | Natural Veneered Corner Trim | Matching finish, thickness, corner profile and lengths. |
| WPC interior fluted slat wall panels | Interior fluted wall clips | Compatibility with the exact panel and specified substrate. Select edge trim in the matching finish. |
| Luxury Acoustic Wall Panel, White Oak & Grey Felt | Classic Oak End Slat | This is the USABD pairing for that panel. Confirm the number and orientation of exposed ends. |
Accessories are not interchangeable simply because their colors look similar. Send the product name and a wall sketch to our team if you need help matching the edge details.
Prepare your order
Measure the wall, confirm actual coverage per panel or pack, and create a cutting layout before setting the quantity. Include an agreed allowance for cuts, matching trim and the specified installation materials. Confirm current availability, delivery arrangements and return terms before ordering.
Explore USABD wall panels or contact our team with your measurements, preferred finish and layout. Our Marietta, Georgia showroom is open by appointment only.