
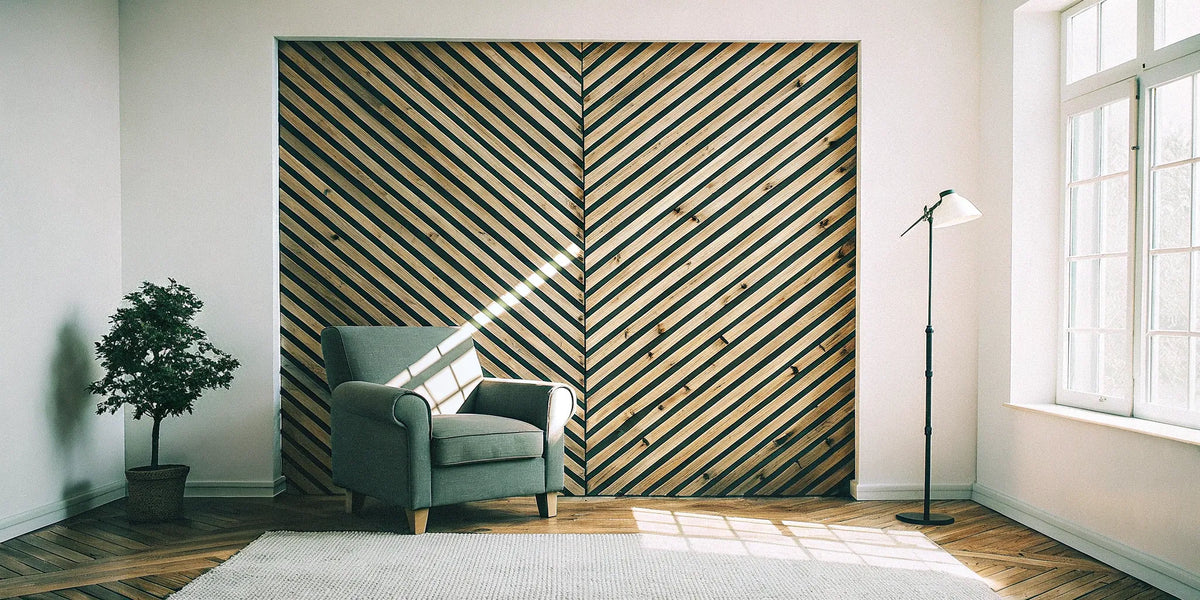
Wood Slat Wall: Your Complete Design & DIY Guide

A wood slat accent wall creates a repeated pattern of lines, gaps and shadows. The most successful layout starts with the whole wall: panel direction, exposed edges, outlets, lighting and furniture all affect the result. Use this guide to plan the design and decide which work you can complete yourself before ordering materials.
Explore interior wall panels or browse acoustic wood slat panels. Confirm the selected product’s construction and installation requirements before purchase.
Choose the wall and the direction of the slats
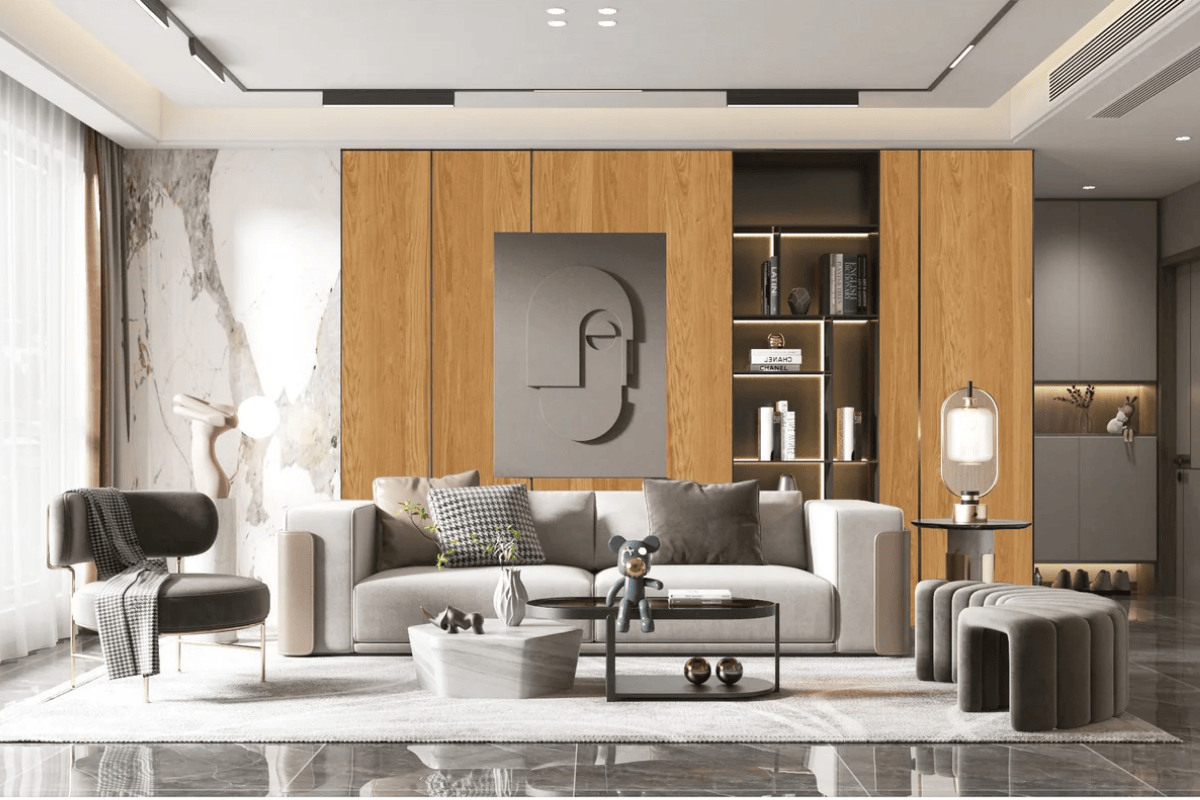
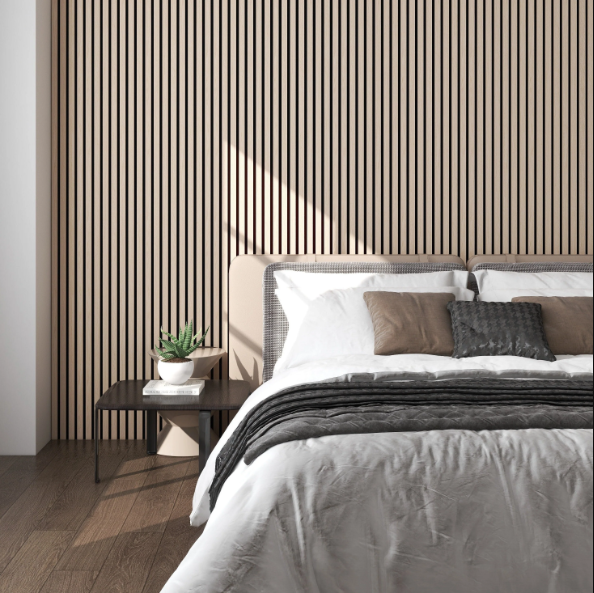
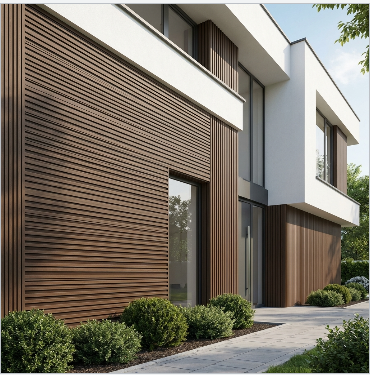
Start with one defined feature: a bedroom backdrop, an entry wall or the area around a media unit. Compare vertical and horizontal layouts using the actual panel dimensions and permitted orientation. Check the visible thickness where the panel meets baseboards, door casings and adjoining finishes.
Review a sample against the wall in daylight and evening lighting. The color of the backing between slats can be as noticeable as the slat finish itself. Check sheen, texture and the contrast with floors and furniture before choosing a finish.
For a TV wall, plan the screen position, structural mounting support and access to connections before fitting panels. Decorative panels are not a substitute for suitable TV-mount anchorage. Have electrical work and concealed cable routing planned appropriately rather than simply covering cords.
Separate decorative, veneer, WPC and acoustic products
A wood appearance does not tell you the complete construction. Confirm whether the product uses solid wood, a real wood veneer over a core, or a wood-look composite surface. Inspect the backing and cut-edge details as well as the visible face.
A slatted pattern alone does not establish acoustic performance. If sound control is part of the project, request test information for the specific panel and mounting arrangement. Absorption within a room is different from blocking sound through a wall; review our acoustic panel technical resources before specifying a system.
Do not assume WPC, veneer or felt-backed panels are approved for every bathroom, backsplash, ceiling or exterior location. Confirm permitted exposure and use for the exact product. Where fire documentation is required, have the project professional verify the applicable product and assembly information.
Draw the layout before calculating the order
- Measure the wall: record height and width at several points and mark doors, windows, outlets and other interruptions.
- Map the panel modules: use effective installed coverage, not just nominal dimensions, and check how the pattern continues across joints.
- Choose a starting line: compare the resulting widths at both ends so you can avoid an unintended narrow finishing strip.
- Resolve exposed edges: identify corners, returns and the top and bottom termination before cutting.
- Calculate the order: have your installer allow for the actual cut pattern and round to the product’s selling unit. Include the required trim and mounting components.
For individually installed slats, spacing is part of the layout. For manufactured panel modules, do not change their spacing or backing without confirming that the modification is permitted.
Match accessories to the panel family and finish
- Natural Veneered Wall Panel: choose the compatible finish from the Natural Veneered Corner Trim collection.
- WPC Interior Fluted Slat Wall Panel: confirm the matching profile and color. The Alder corner trim is the Alder option. Check the interior wall clips against the selected panel’s instructions.
- Luxury Acoustic Wall Panel, White Oak & Grey Felt: use the designated Luxury Acoustic Wall Panel, Classic Oak End Slat pairing.
Check trim length, orientation and quantity as well as color. Similar names do not establish compatibility between different panel systems.
Check the wall and the work involved
Read the manufacturer’s instructions before selecting tools or adhesives. Confirm the approved substrate, support requirements, storage conditions and any acclimation instructions. Address moisture, loose finishes or an unsuitable wall surface before installation.
Decide whether the project fits your skills and equipment. A straightforward wall may be manageable for an experienced DIYer; complex returns, ceiling work, electrical alterations or uncertain structural support call for appropriate professional help.
Follow the product’s attachment method
Dry-fit the layout and confirm the first panel’s alignment before permanent attachment. Use the specified clips, screws, adhesive or supporting framework, including required spacing and movement provisions. There is no single nail length or adhesive pattern suitable for every slat panel.
Do not add battens or insulation solely on the assumption that they guarantee an acoustic rating. Use the documented mounting arrangement when a tested performance result is required.
Plan outlet and switch details for the new wall thickness and keep required access available. Have electrical adjustments handled by a qualified professional. Follow the specified cure times and check that the final edges and joints are secure before putting the room back into use.
Confirm care and order details
Use the cleaning method approved for the panel’s surface and backing. Do not assume veneer can be sanded or that a factory finish should receive oil, wax, varnish or paint. Ask for an approved repair method if a panel is damaged.
Before ordering, confirm product availability, quantities, delivery arrangements, warranty and return terms. Include preparation, installation materials, accessories and labor when comparing the full project cost.
Contact USA Builders Depot with measurements, wall photographs and your preferred panel for order assistance. Showroom visits are by appointment only.
For more design planning, explore our horizontal slat wall guide and 3D wood wall panel guide.