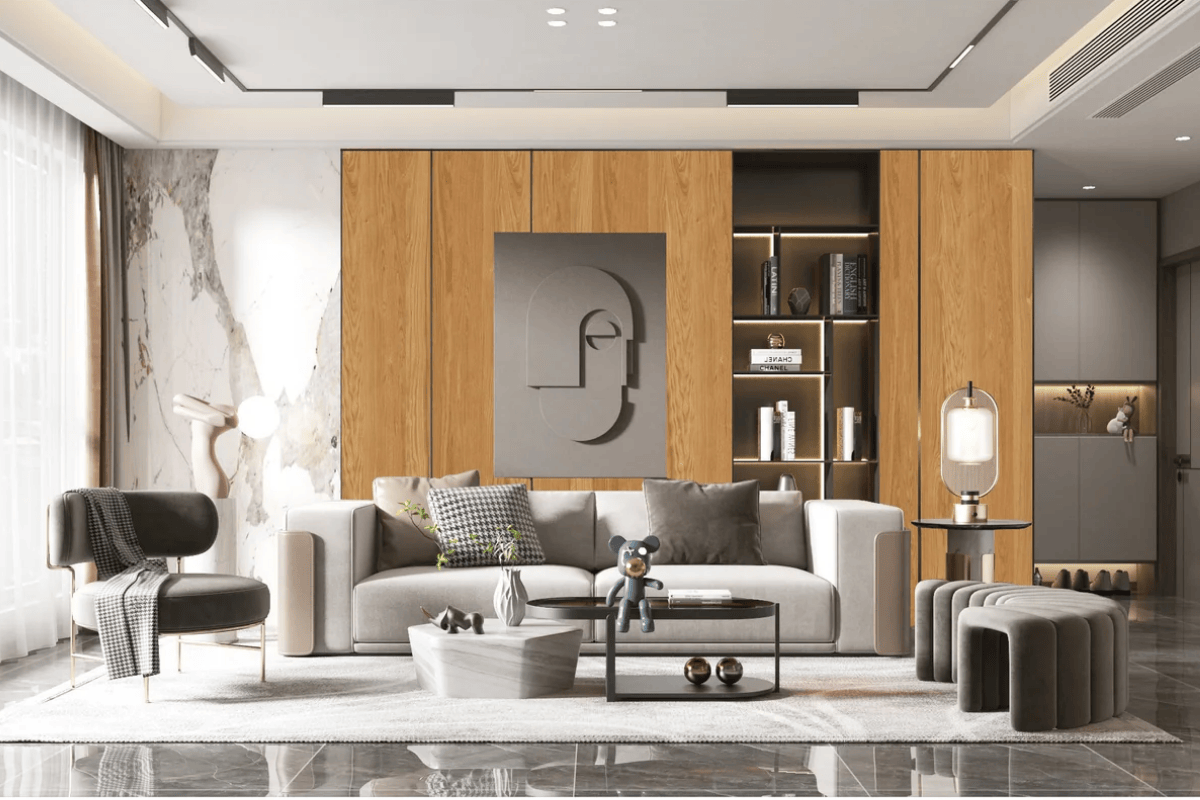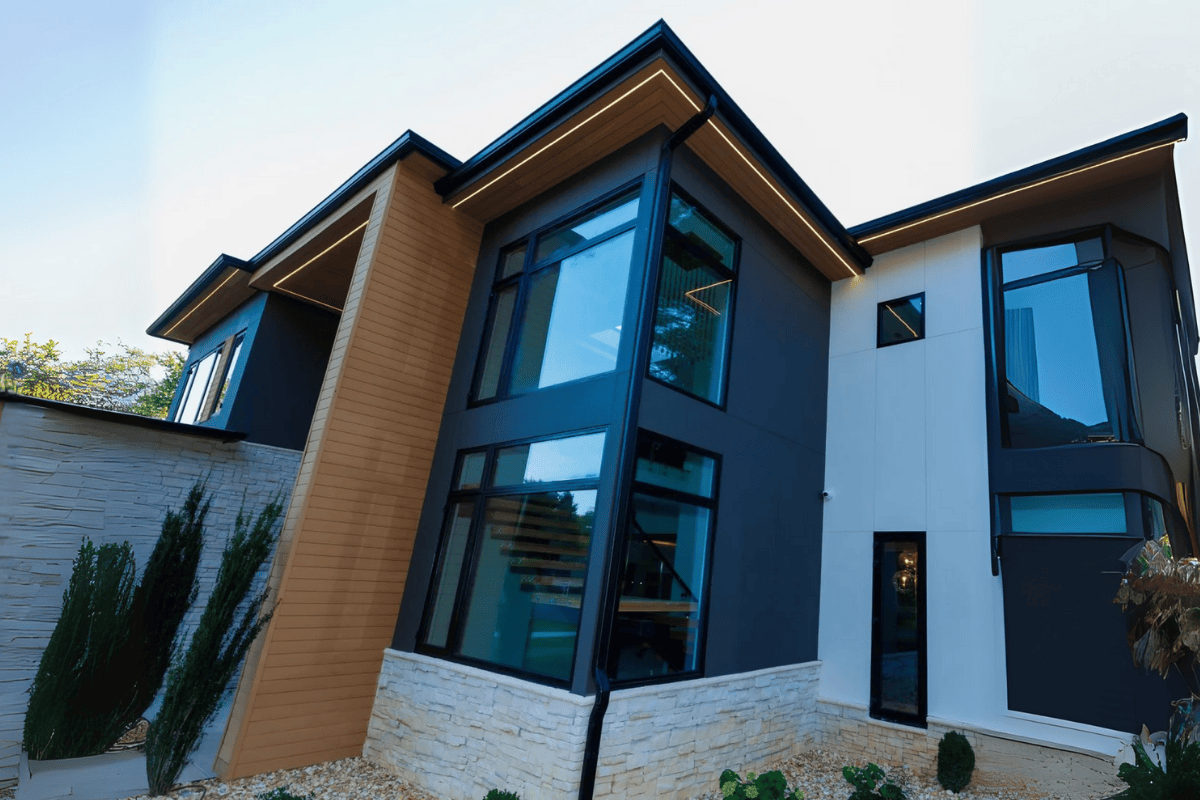
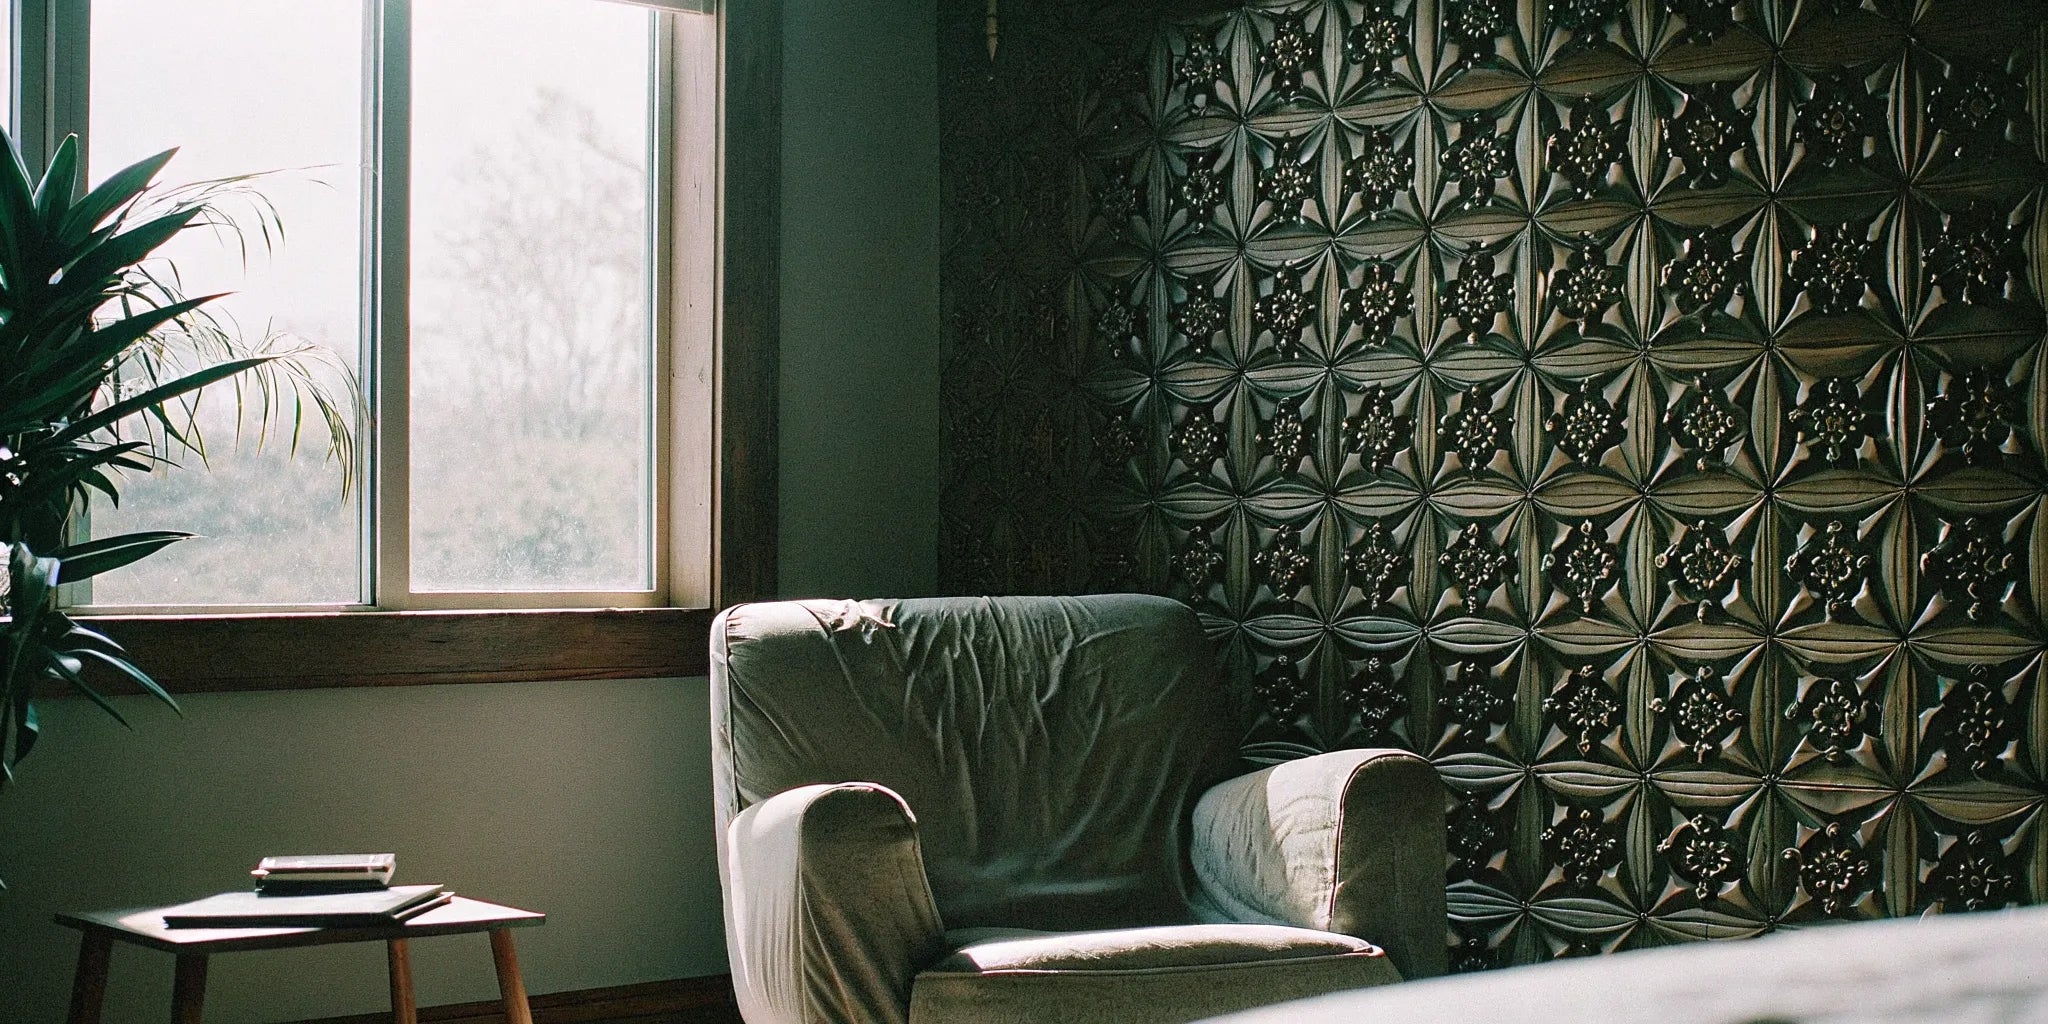
3D Wall Panels: Your Guide to Stunning Walls
3D wall panels bring physical depth to a bedroom through raised patterns, slats or sculpted surfaces. A successful feature wall starts with the right scale and finish, then accounts for panel thickness, attachment and the details around your bed, lighting and outlets. Use this guide to plan a wall that suits your room and the product you choose.
Explore wall panels or ask our team about a specific panel and matching accessories.
Choose a bedroom feature wall that works with the room
The wall behind a bed is a useful starting point because the headboard provides a clear focal point. Compare the panel pattern with the width of the bed and nightstands, rather than choosing a design from a close-up photo alone. A shallow profile can add interest where space is limited; a deeper pattern creates stronger shadows and needs more clearance.
View a sample upright in daylight and under your bedside lights. Grazing light can emphasize both the pattern and panel joints. Check whether lamps, artwork and furniture will sit comfortably against the finished surface. Keep access to switches and outlets in your layout.
Compare the actual panel construction
“3D” describes the appearance, not a single material or performance standard. Product families can differ in weight, finish, backing and installation requirements.
- Wood and veneered panels: review the core, face material, finish and permitted indoor conditions. Expect variation in natural grain and compare samples before committing.
- MDF or other paintable panels: confirm that the specific product is intended for painting and use its approved preparation and coating system.
- Polymer, foam or composite panels: check impact resistance, heat limits, backing and approved locations. These materials are not interchangeable.
- Acoustic panel systems: evaluate the complete assembly and available test information when sound absorption is a project requirement.
Not every material described here is necessarily available in the current collection. Confirm the construction and specifications on the exact listing before ordering.
Separate decorative texture from sound performance
A raised surface alone does not establish that a panel absorbs sound. Decorative panels should not be presented as a guaranteed solution to traffic noise, voices through a wall or poor insulation. Room sound absorption and sound transmission between spaces are different issues.
If reducing echo is a priority, review the acoustic wall panel technical resources and the tested mounting method for the selected product. Do not assume an acoustic rating applies to a different backing or installation. Thermal performance likewise needs product or assembly evidence; choose decorative panels primarily for their documented uses and appearance.
Check moisture and fire-performance requirements for the intended location. A water-resistant panel face does not make the wall assembly waterproof, and an interior panel is not automatically suitable beside a heater, in a wet area or outdoors.
Plan seams, edges and quantities before ordering
Measure the wall and draw the bed, nightstands, outlets and any windows to scale. Mark full panels and cut pieces so the pattern is balanced around the focal point. Use the product’s effective coverage dimensions, including any overlaps, rather than assuming the full sheet size equals installed coverage.
Allow for cuts and pattern alignment based on your layout. Avoid subtracting every opening from the order quantity without checking whether the offcuts can actually be reused. Include the correct starter pieces, end details or trims, and keep a record of the selected finish and profile.
Matching accessories must fit the panel system as well as coordinate in color. For more detail, see the fluted wall panel planning guide. Similar-looking trim names do not establish compatibility.
Use the selected product’s installation instructions
Repair loose, damp or damaged substrates before covering them. Panels can conceal small cosmetic marks, but they do not repair moisture problems or stabilize a failing wall. Confirm surface flatness, paint cure requirements and any acclimation instructions before starting.
Peel-and-stick, adhesive, clips and mechanical fasteners are different attachment systems. Use only the method, adhesive and support specified for your panel and substrate. Do not assume a generic adhesive or a few finish nails will safely support every material. Follow the manufacturer’s joint and movement requirements rather than forcing every panel tightly together.
Plan electrical box depth and fixture mounting around the added wall thickness, using a qualified electrician where changes are needed. Wall lights, shelves and headboards need suitable support; decorative panels should not be assumed to carry their weight. Ceiling installation also requires explicit product approval and the specified attachment system.
Plan for cleaning, repairs and eventual removal
Follow the finish-specific cleaning instructions. Start with gentle dust removal; use wet cleaning or a cleaner only when approved. Test an inconspicuous area first, and avoid assuming that every coating can tolerate scrubbing, sanding or repainting.
Keep spare pieces when practical, but check whether the installation allows an individual panel to be removed. Adhesive-backed panels can pull off paint or damage drywall even when described as peel-and-stick. For a rental, obtain the owner’s approval and plan for restoration costs.
Build a complete project budget
Compare the total cost of panels, matching trim, attachment materials, wall preparation, cutting, labor and delivery. Use current product pricing and an installation quote for your room instead of generic per-square-foot estimates. Decorative upgrades do not guarantee energy savings or resale gains.
Before ordering, confirm the panel dimensions, finish, approved use, attachment instructions, accessory quantities and delivery arrangements. Contact USA Builders Depot with your measurements and product selection for help planning the order. Showroom visits are by appointment only.
Related reading: Peel-and-stick panels for living rooms · Brick-look wall panels · Acoustic wood panels