How to Install Fiber Cement Siding: Jobsite Checkpoints
To install fiber cement siding, first identify the exact product and approved wall assembly. Large panels, lap planks, and trim can require different supports, fasteners, joints, and finishing methods. This guide explains the work sequence and the checks to make with your installer; use the manufacturer’s current instructions and project details for the actual installation dimensions.
Before Work Starts: Confirm the Installation Package
Keep the product identification, installation manual, approved drawings, safety data sheet, and finish instructions available to the crew. Confirm that the delivered material matches the specified product, thickness, finish, and orientation. Resolve missing or conflicting details with the manufacturer and project designer before work proceeds.
Manufacturer instructions are specific to the system. For example, Nichiha’s literature library separates guidance by product system and orientation. Another brand’s manual is useful for understanding that distinction, but it does not establish the requirements for a USABD board.
1. Inspect the Wall Before Covering It
Have the installer check the framing or substrate against the approved assembly. Identify damaged areas, uneven surfaces, and any repairs needed before installing the cladding. Confirm the attachment locations and any specified support or furring system.
Checkpoint: Photograph the prepared wall and resolve repairs before they become concealed. Do not assume that fasteners selected for an interior cement backer board are approved for exterior siding.
2. Coordinate Water Management and Openings
Review the specified weather-resistive barrier, flashing, drainage, and transitions at windows, doors, penetrations, and adjoining roofs. Coordinate the installation sequence between trades so these details remain accessible for inspection.
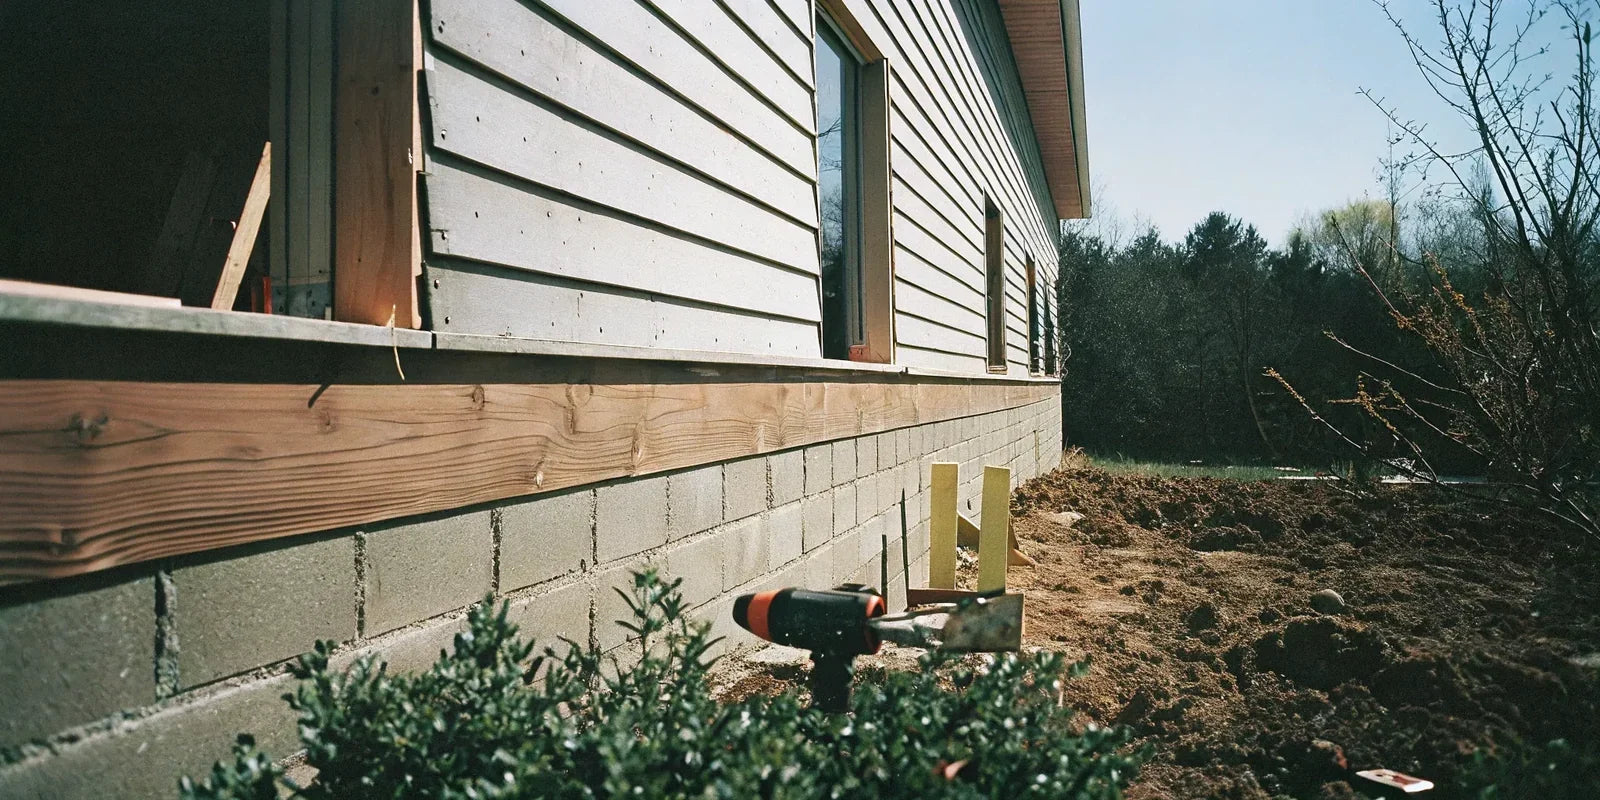
Checkpoint: Confirm the details at the base of the wall, above openings, and where cladding meets other materials. Use the project’s specified clearances at soil, paving, roofs, and decks; these locations should not all be assigned one generic gap.
3. Set Out the Siding and Joint Pattern
Mark the layout from the approved elevation drawings. Plan joints, corners, cuts around openings, and the first and last courses or panels. For lap siding, use the specified exposure and overlap. For sheet panels, use the specified joint and attachment arrangement.
Checkpoint: Review a representative area with the installer before repeating it across the wall. Confirm that the intended joint pattern and trim appearance match the design. Siding gauges intended for lap planks are not a universal installation method for large boards.
4. Organize Handling and Dust Controls
Follow the product’s storage and handling instructions, with suitable lifting assistance and access equipment. Set aside damaged material for review rather than trying to conceal it in the installation.
Cutting fiber cement with a circular saw can generate respirable crystalline silica. OSHA’s fiber cement saw guidance describes a dust-collection method for outdoor cutting with handheld saws using blades 8 inches or smaller. Indoor cutting or larger blades fall outside that method and require exposure assessment under the cited guidance. The crew must select controls and any respiratory protection for the actual task; a generic N95 recommendation or specialty blade alone is not a complete plan.
Checkpoint: Confirm the cutting method, dust collection, cleanup procedure, and worker protection before cutting begins.
5. Cut and Attach Using the Product Details
Use the approved cutting method and edge treatment for the board and finish. Follow the specified fastener type, size, corrosion resistance, spacing, edge distance, penetration, and fastening pattern. Confirm whether the system uses exposed fasteners, concealed fasteners, clips, or another attachment method.
Checkpoint: Inspect the initial installed area before continuing. If a fastener is overdriven, a panel is damaged, or a cut is incorrect, use the manufacturer’s repair or replacement instructions. Do not substitute an improvised repair.
6. Complete Joints, Trim, and Penetrations
Apply the specified joint treatment and coordinate trim, flashing, and fixture mounting details. Some details call for sealant; others depend on open joints or drainage paths. Do not caulk every seam or opening indiscriminately.
Checkpoint: Check that sealants, primers, touch-up products, and mounting accessories are approved for the selected system. A vinyl mounting block or a particular trim nailer is not automatically suitable for every fiber cement installation.
7. Inspect the Finish and Hand Over the Records
Review alignment, damaged edges, fastening, joint treatment, clearances, and transitions against the approved documents. Complete any permitted touch-ups using the finish manufacturer’s instructions. Record unresolved items and arrange the required inspections before calling the work complete.
Checkpoint: Give the owner the product details, warranty, cleaning and maintenance instructions, installation photographs, and any spare material information. Base repainting and care on the selected finish and its condition rather than a universal timetable.
Questions to Ask Your Installer
- Have you installed this exact siding system and finish?
- Which documents determine the attachment and joint details?
- Who checks concealed flashing and wall preparation before cladding goes on?
- How will you handle cutting dust, material lifting, and elevated work?
- Which repairs, finishing work, delivery tasks, and inspections are included in the quote?
These answers help define the scope and responsibilities. A generic DIY labor-saving estimate does not account for your wall condition, equipment needs, building height, or local installation costs.
Plan Your USABD Board Order
Explore our fiber cement board collection and large-format fiber cement board listing. Confirm the intended application and product-specific installation documents before ordering. A sheet board should not be treated as a lap-siding plank.
Visit our technical resources, or contact USA Builders Depot with the selected product, project location, wall drawings, and questions for review.